
Celebration Bags Antique Japanese Style
Antique Japanese Komebukuro Rice Bags are the inspiration for this post. These wonderful antique bags are so beautiful, hand stitched in natural fabrics like indigo dyed hemp. The simple designs have a beauty which transcends time. You can read more in this link.
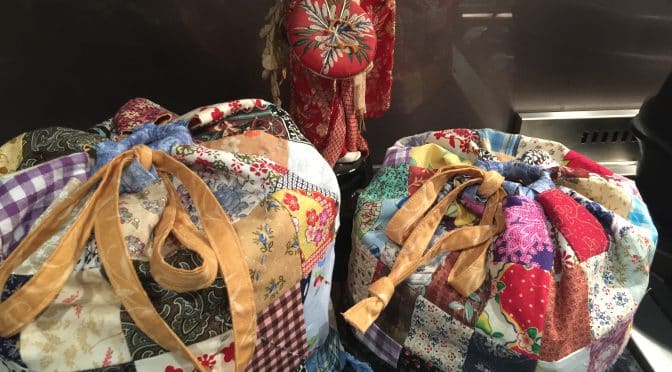
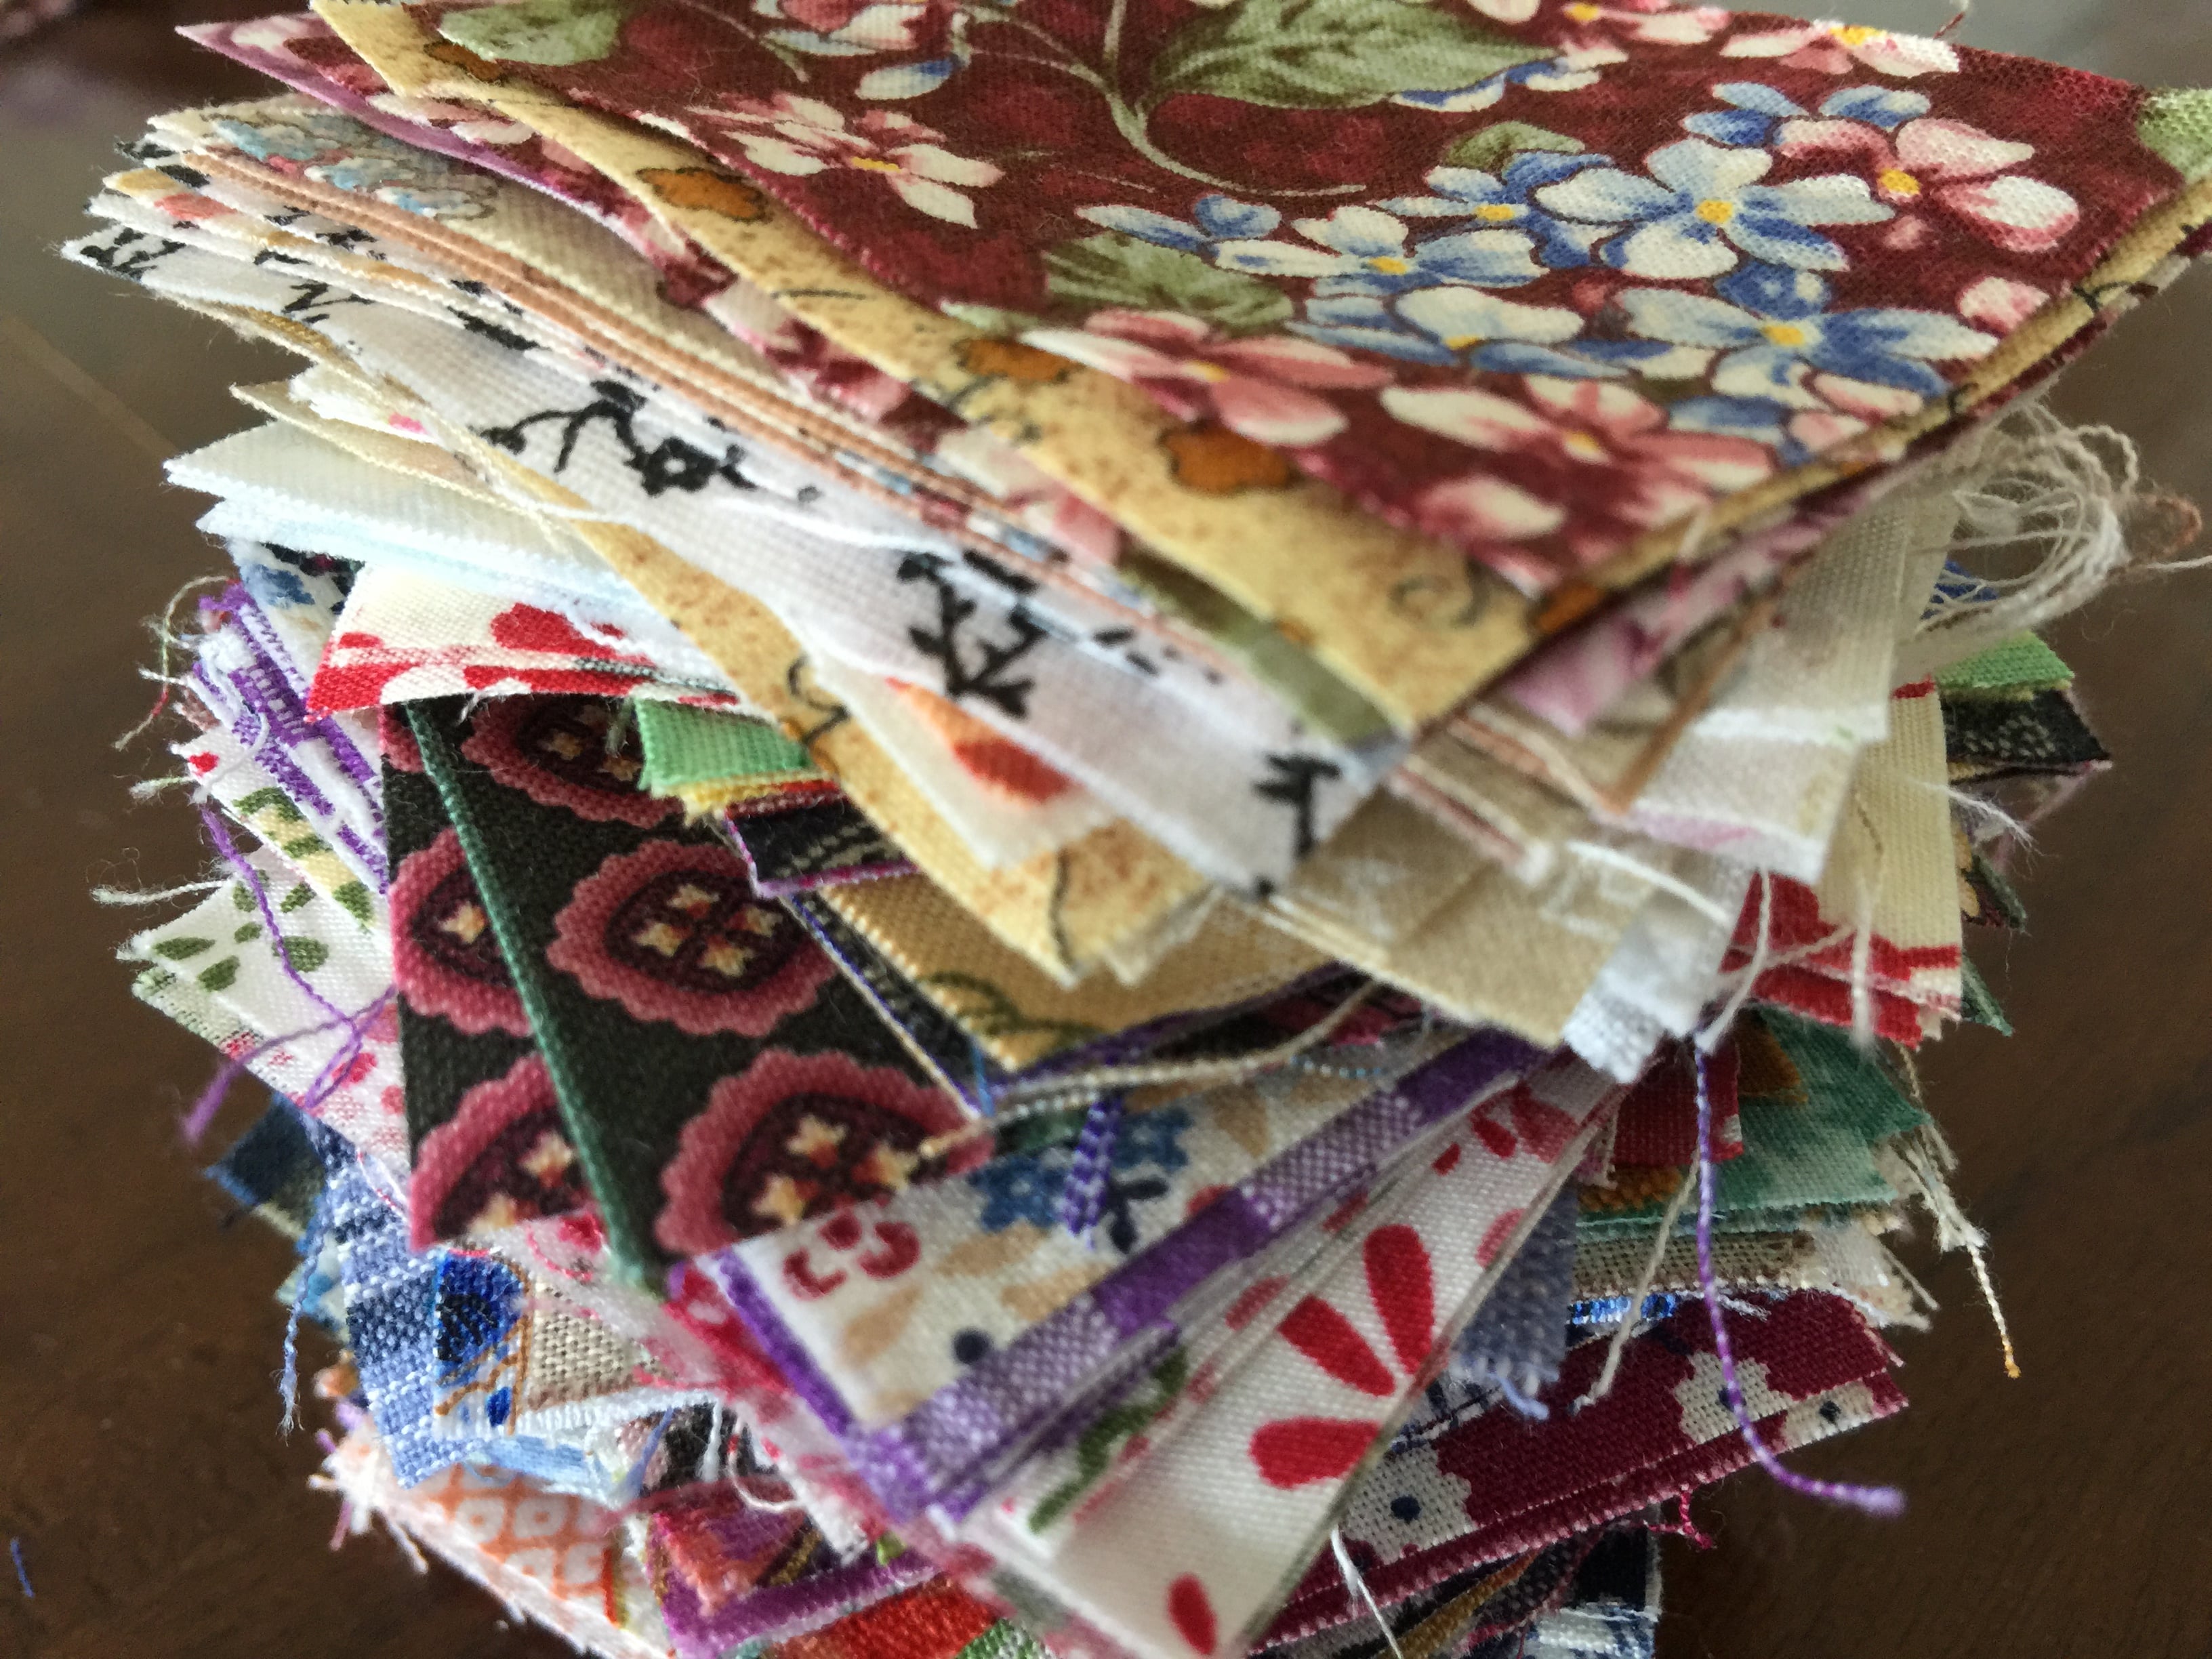
Today, I’m making this set of two Bags. They can be made from your patchwork and Quilting scraps. They will be made with small scraps, embracing tradition and creating lots of interest. This is an excellent place to add some of your “ugly” fabrics, as they will take on a new beauty in their small size amongst the other fabrics. This is also an opportunity to use textured fabrics and oddments. An opportunity to turn scraps into something useful, of beauty.
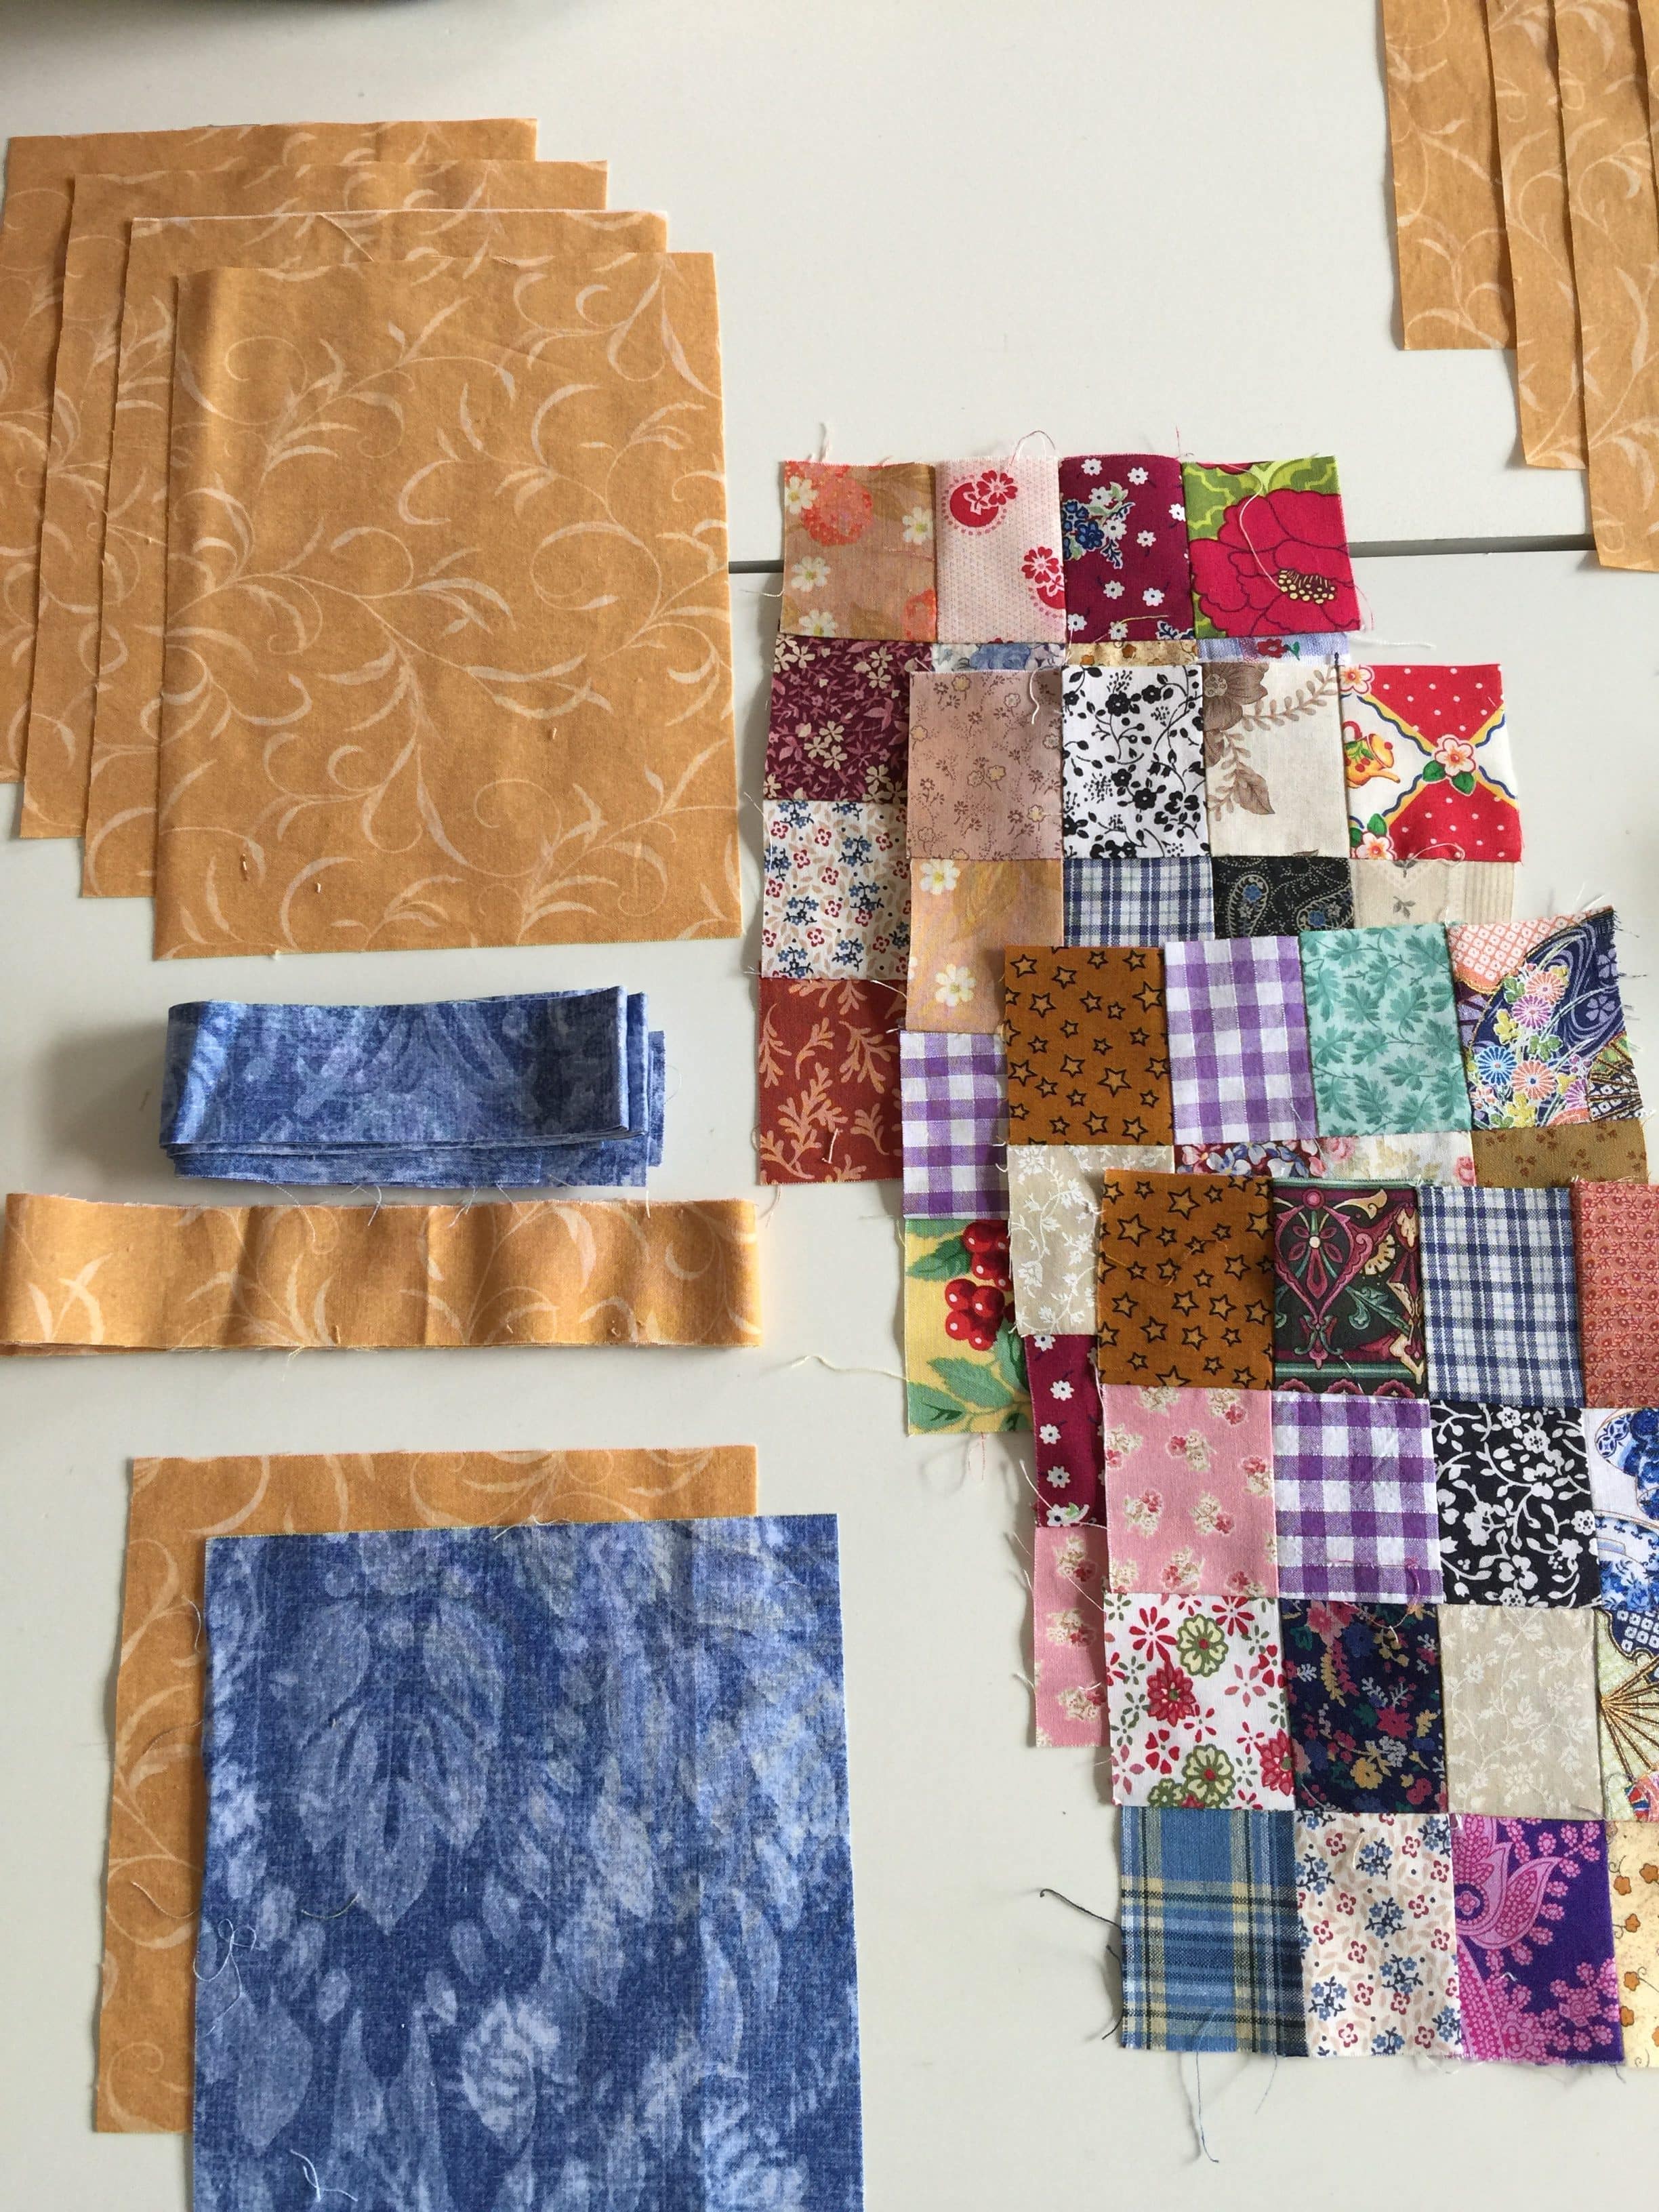
Here is one of my little stacks, ready to sew together.
Now here is some good news. You might be thinking, that’s a lot of cutting, but I have an excellent solution. These cuts can be made from strips and scraps, but, they can also be made from 5″ x 5″ charm squares, which you may already have, and, if you are like me, you may have a stack already cut, ready to go, like this….
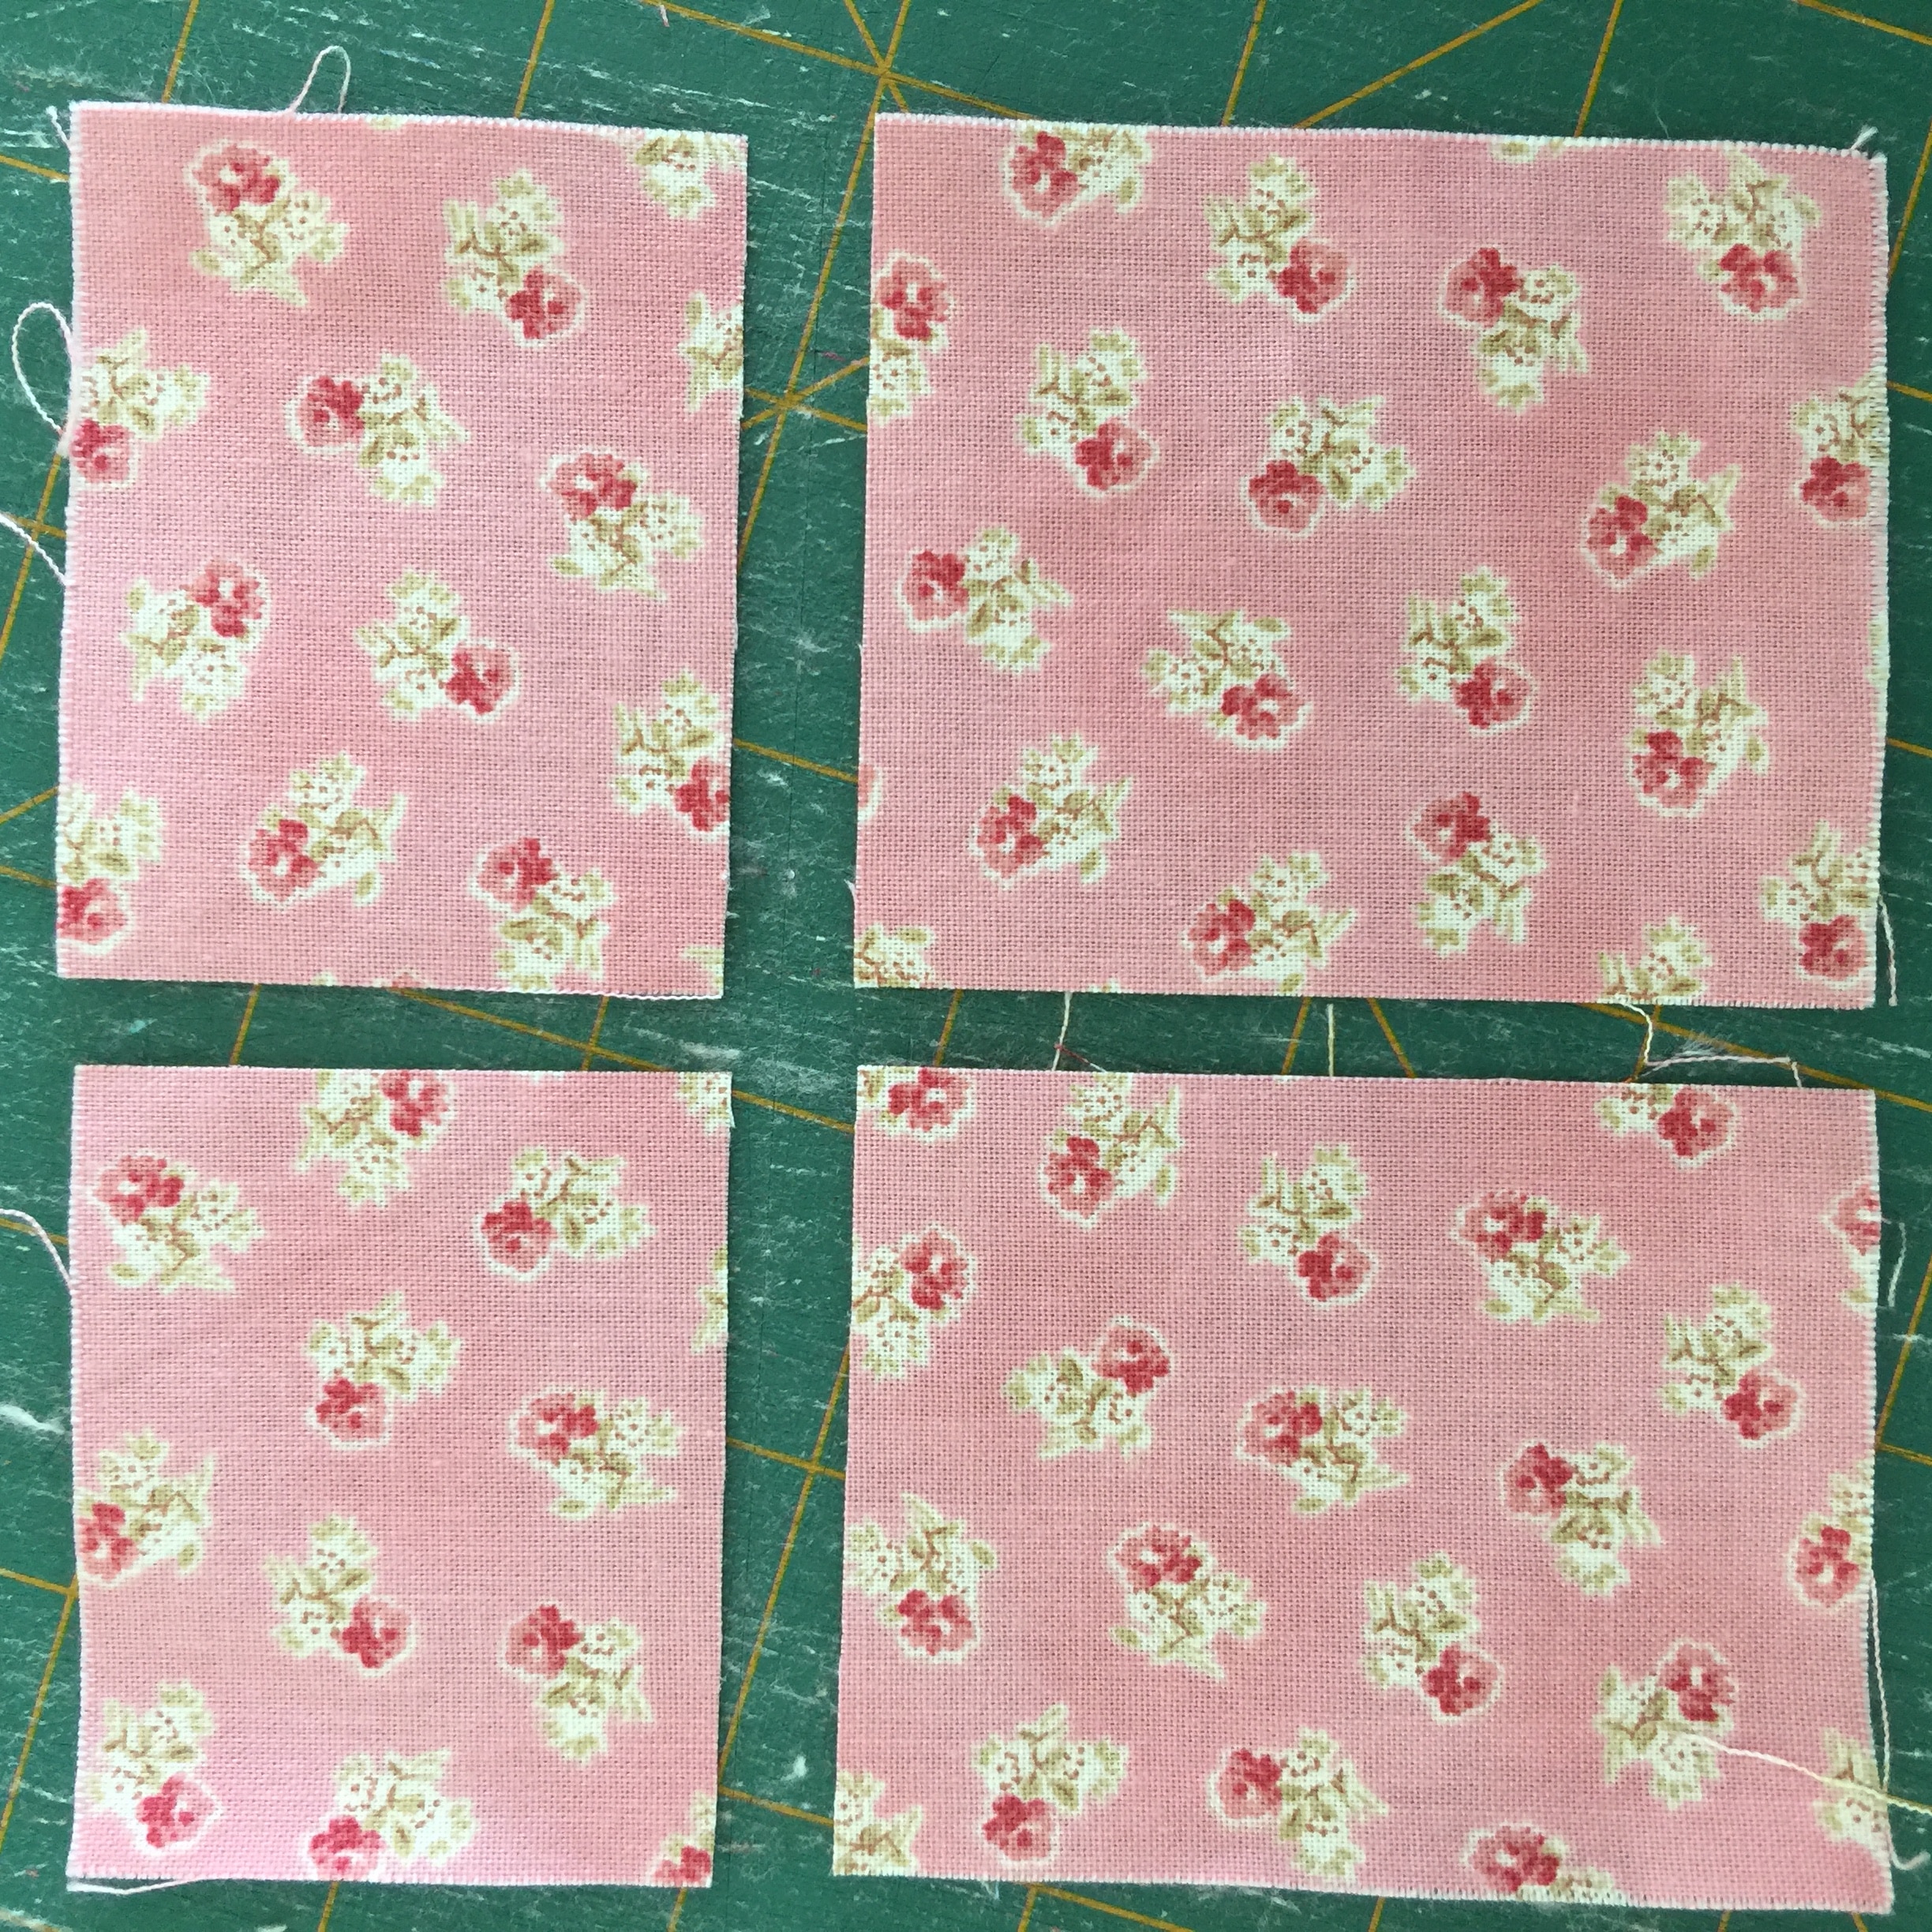
To cut from the charm square, cut across on the 3″ line, then cut across the other direction on the 2″ line. This will give four oblongs, 2 of 2 ” x 2 1/2″ and 2 of 3″ x 2 1/2″. Easy idea, don’t you think?
You will need 32 of 5″ x 5″ Charm Squares for one bag set.
Or, 64 of 2″ x 2 1/2″ oblongs for the small bag and 64 of 3″ x 2 1/2″ oblongs, for the larger bag.
Finished block sizes;
8 1/2″ x10 1/2″ for the large bag and 6 1/2″ x 8 1/2″ for the smaller bag,. Four blocks of each are required for each bag.
All seams based on 1/4″.
I recommend using this method for piecing the 16 patch blocks.
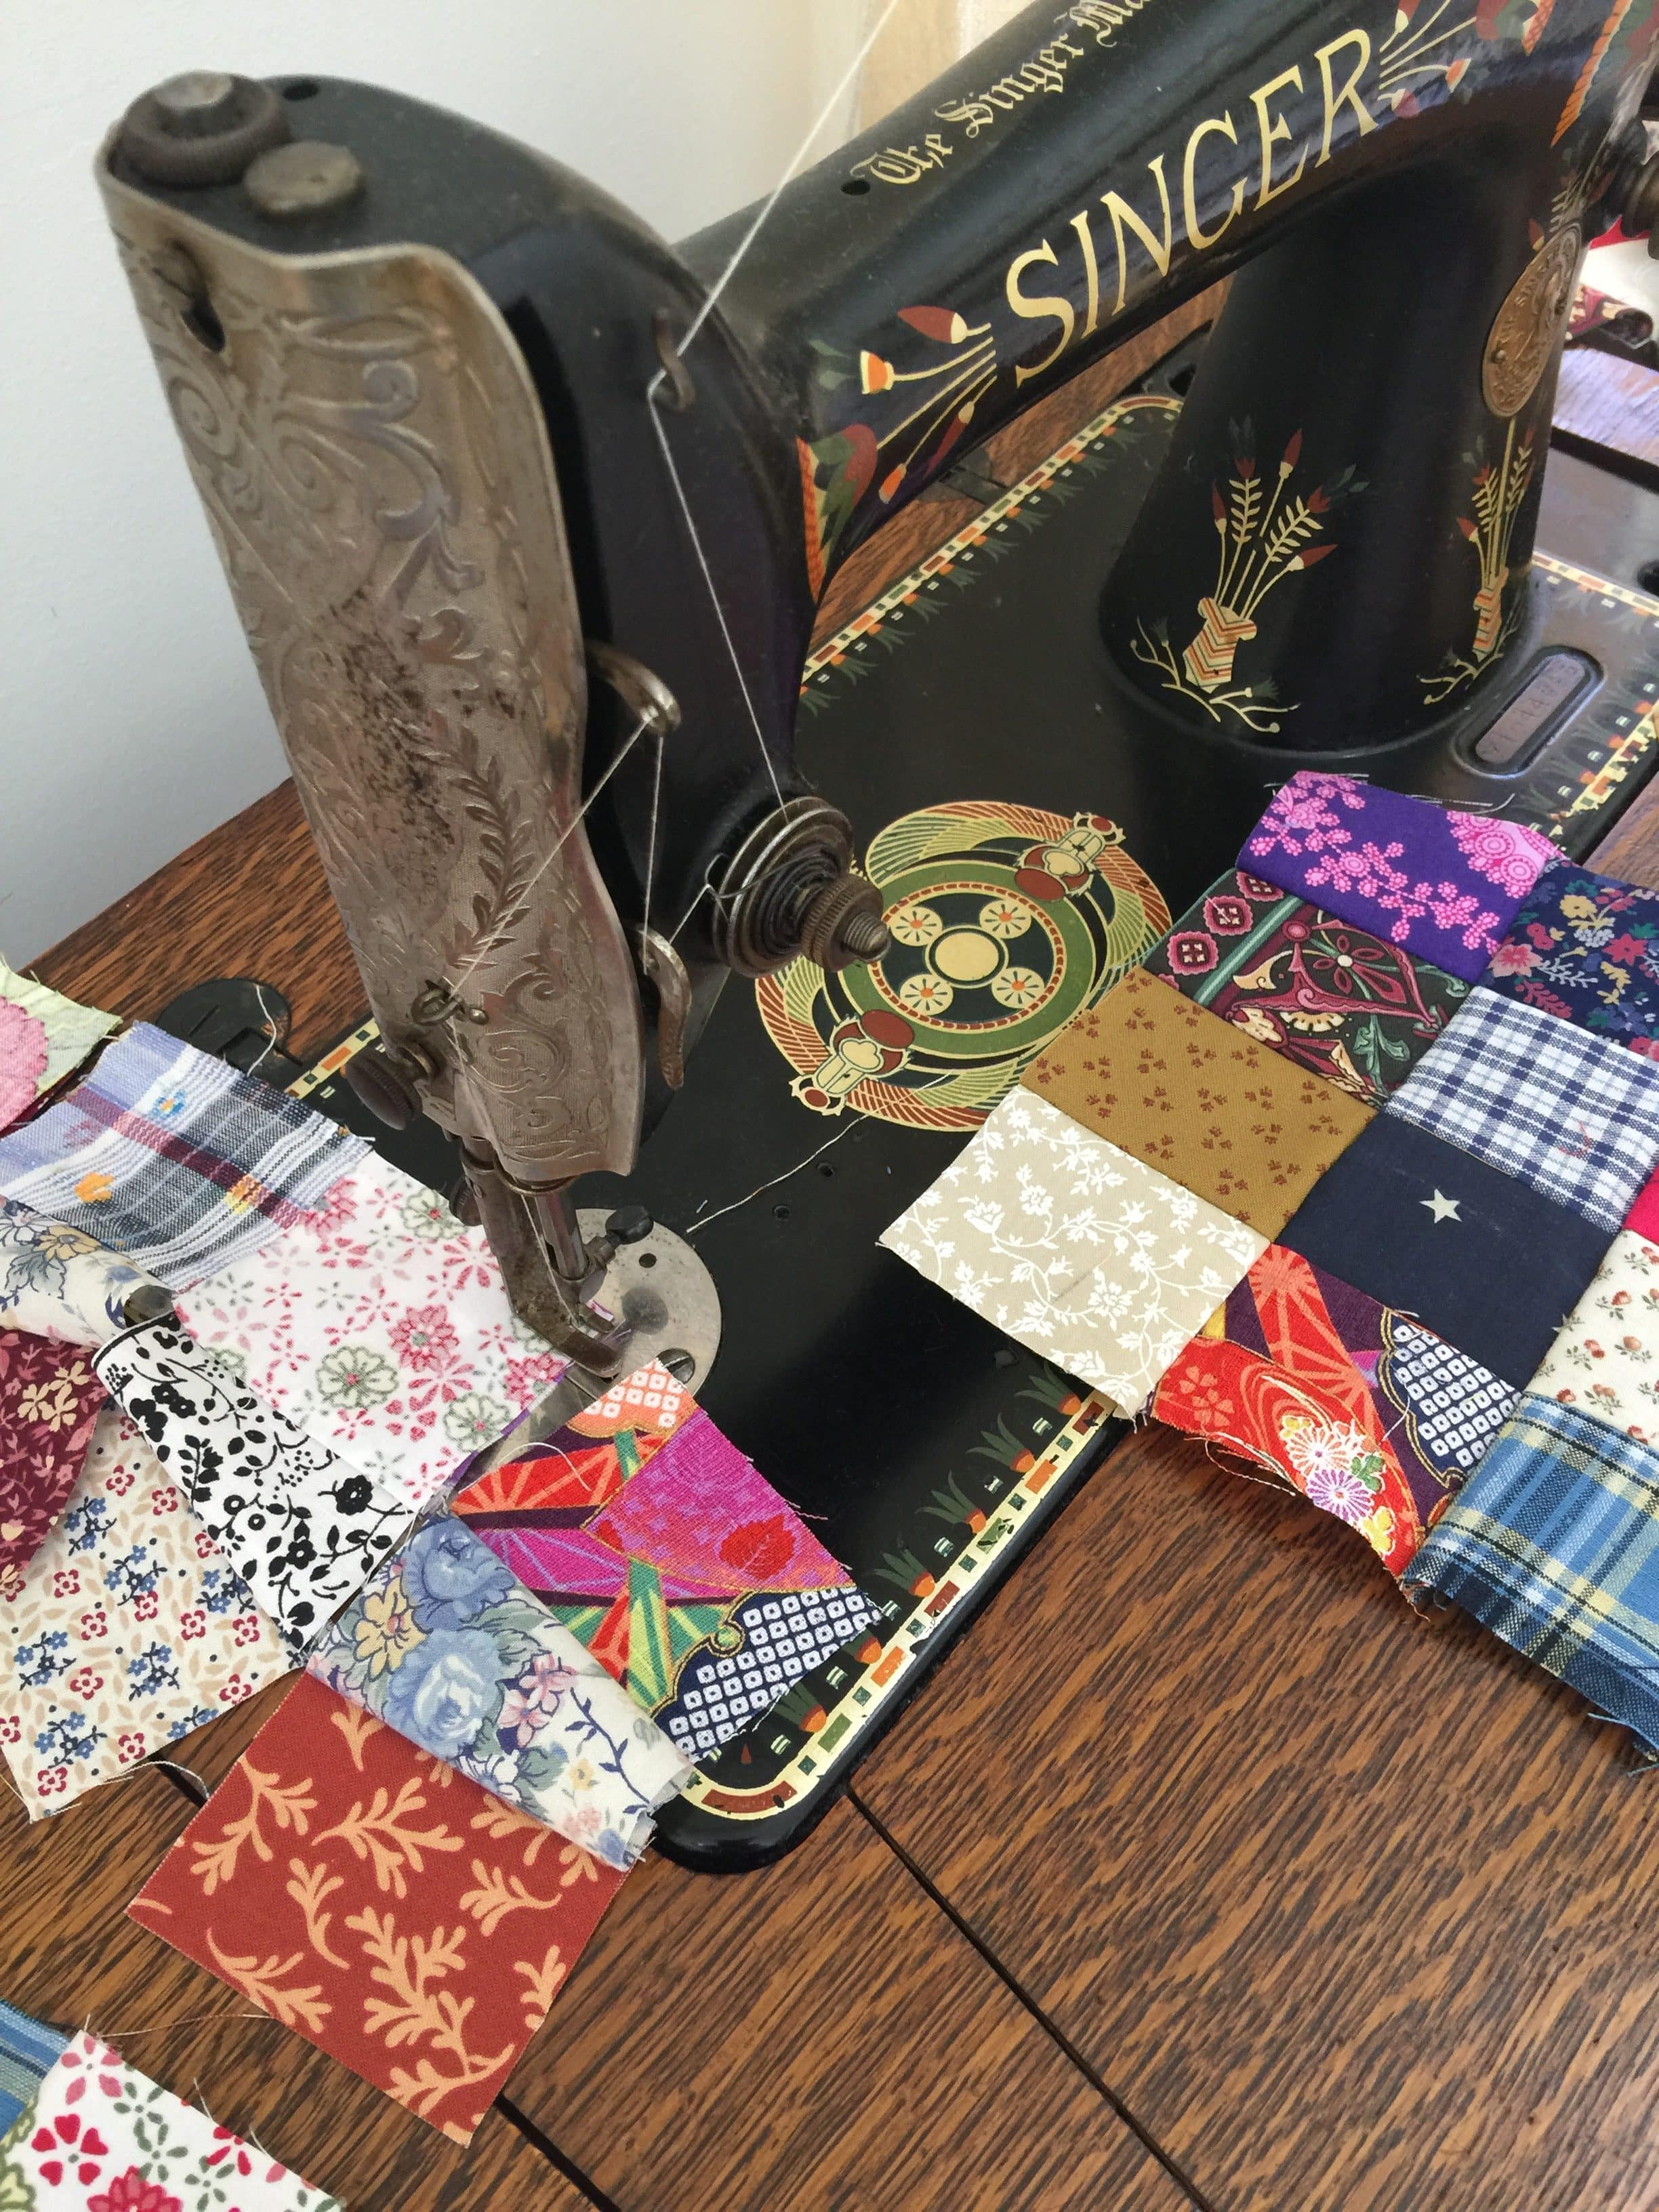
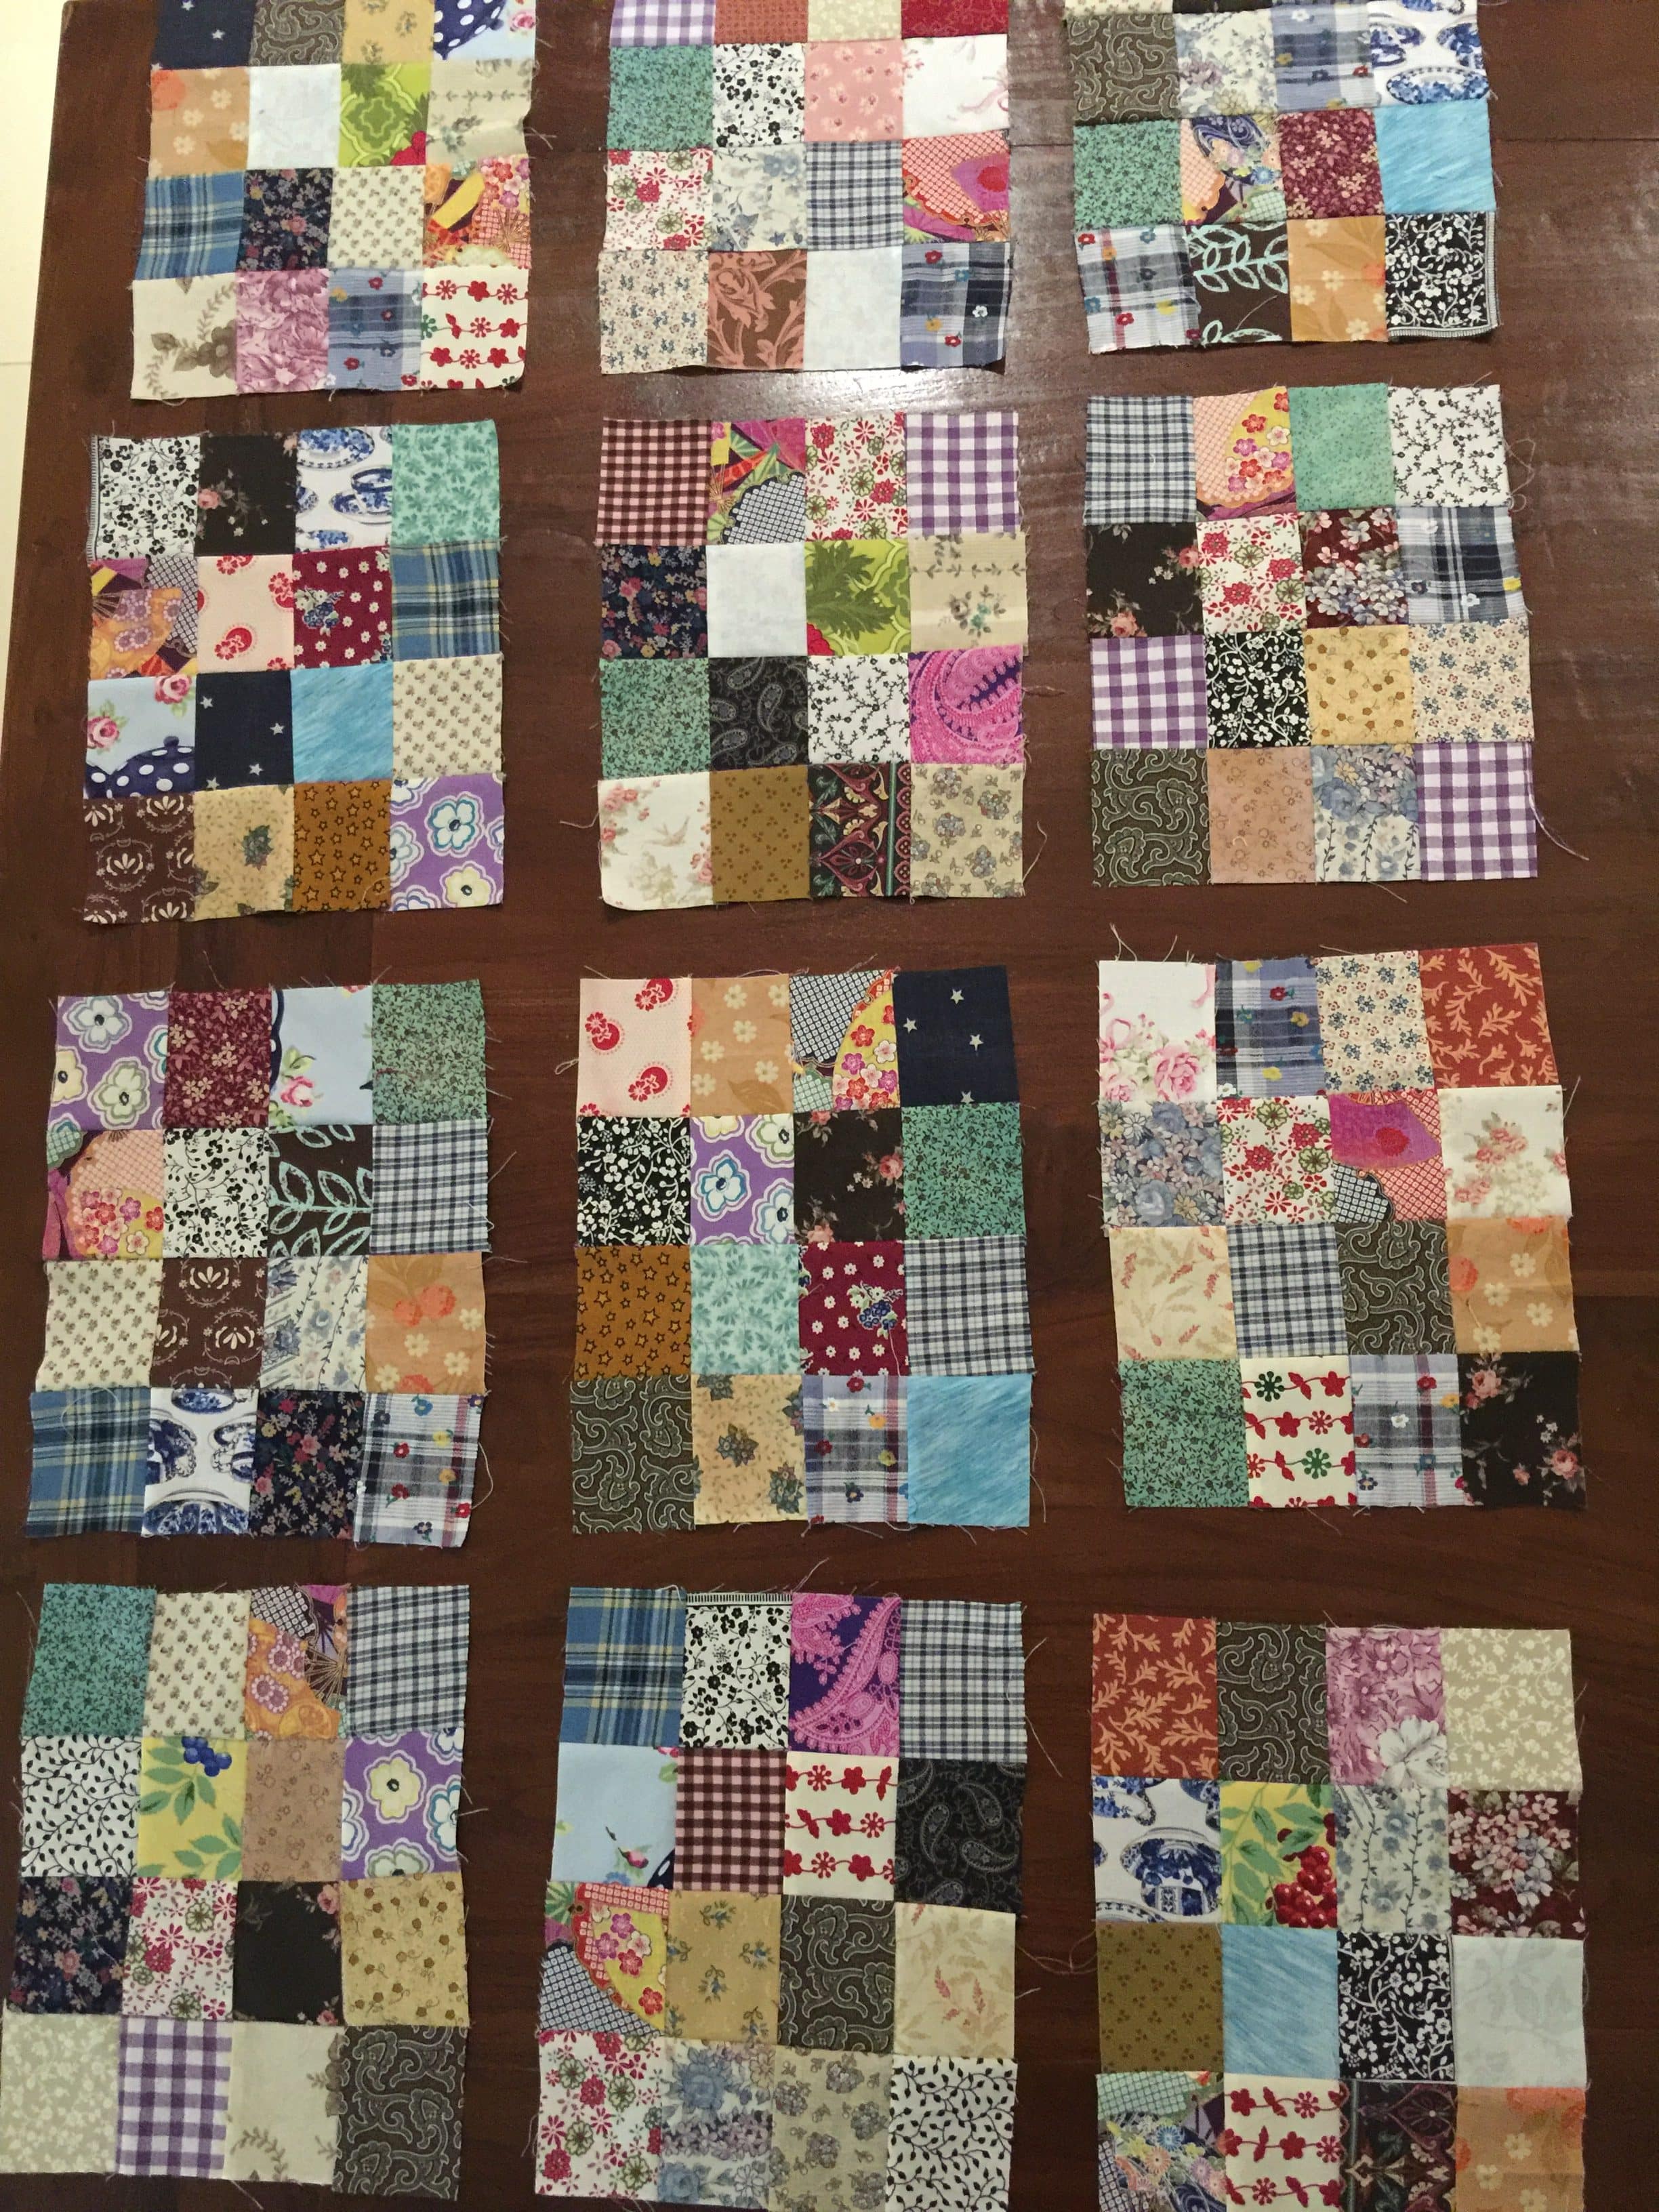
Here is a picture of some of my finished blocks – I’m making more than one set.
Requirements for one bag set
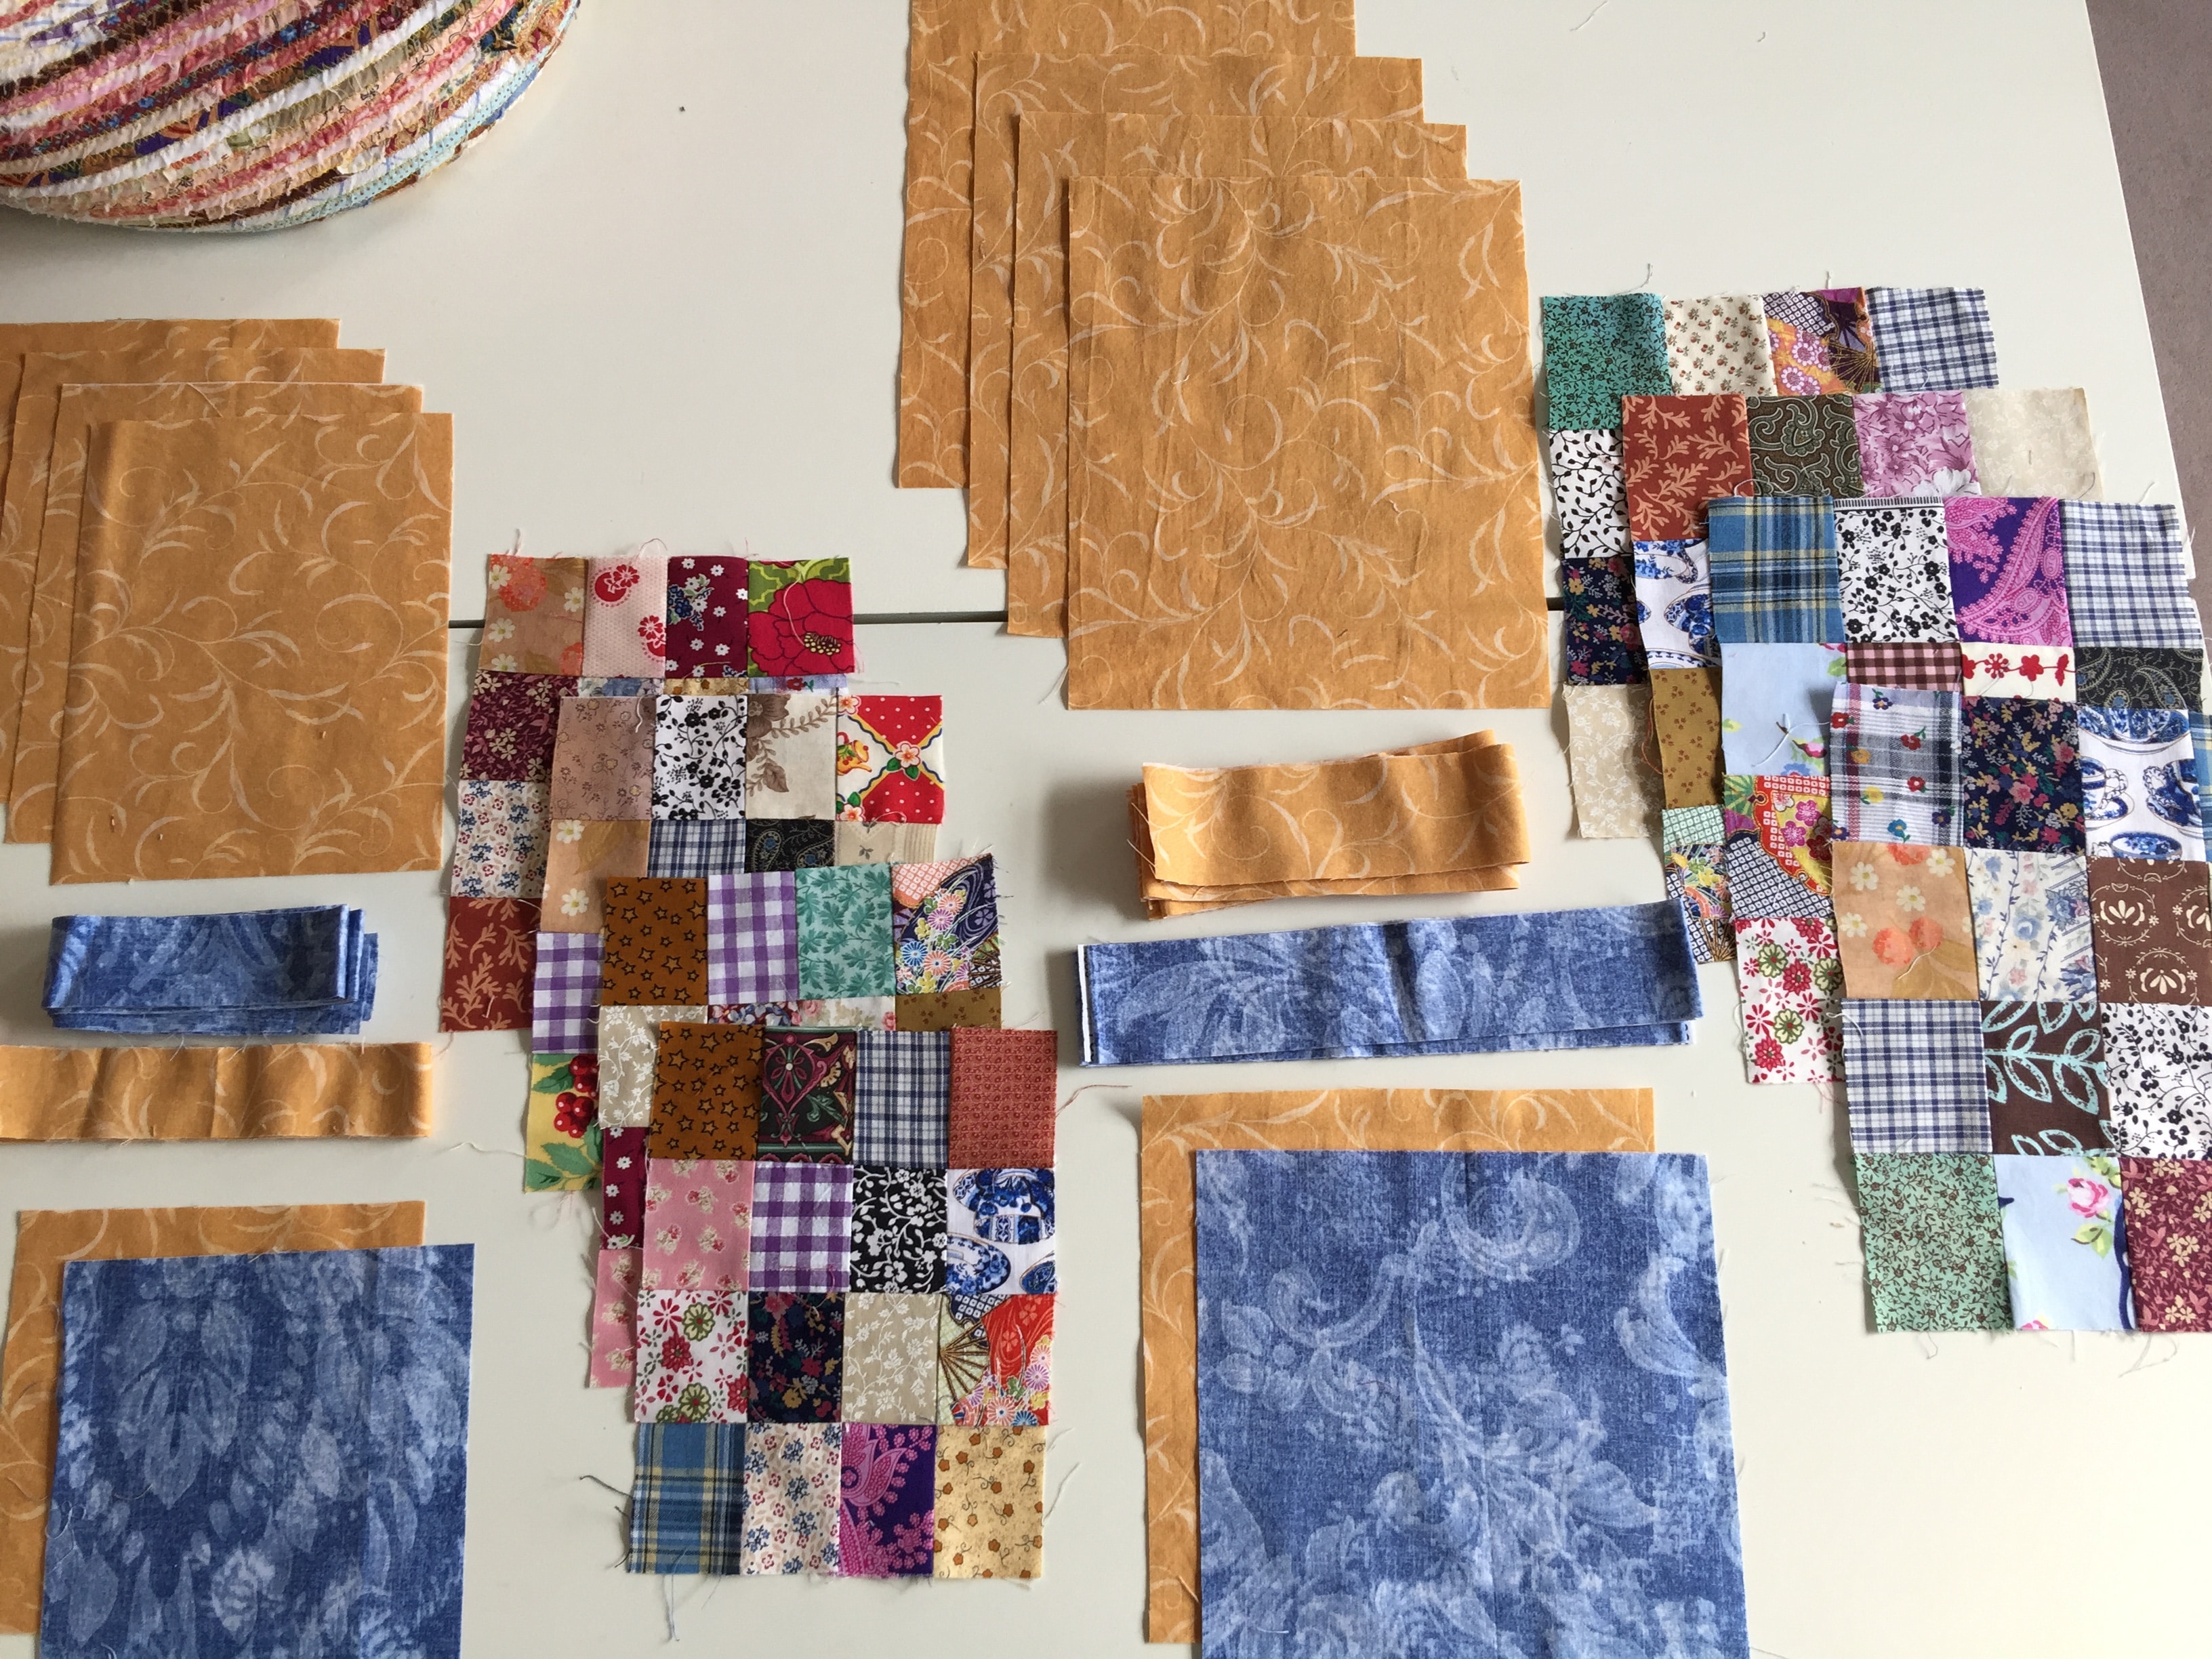
Below is a set of ingredients for one bag.
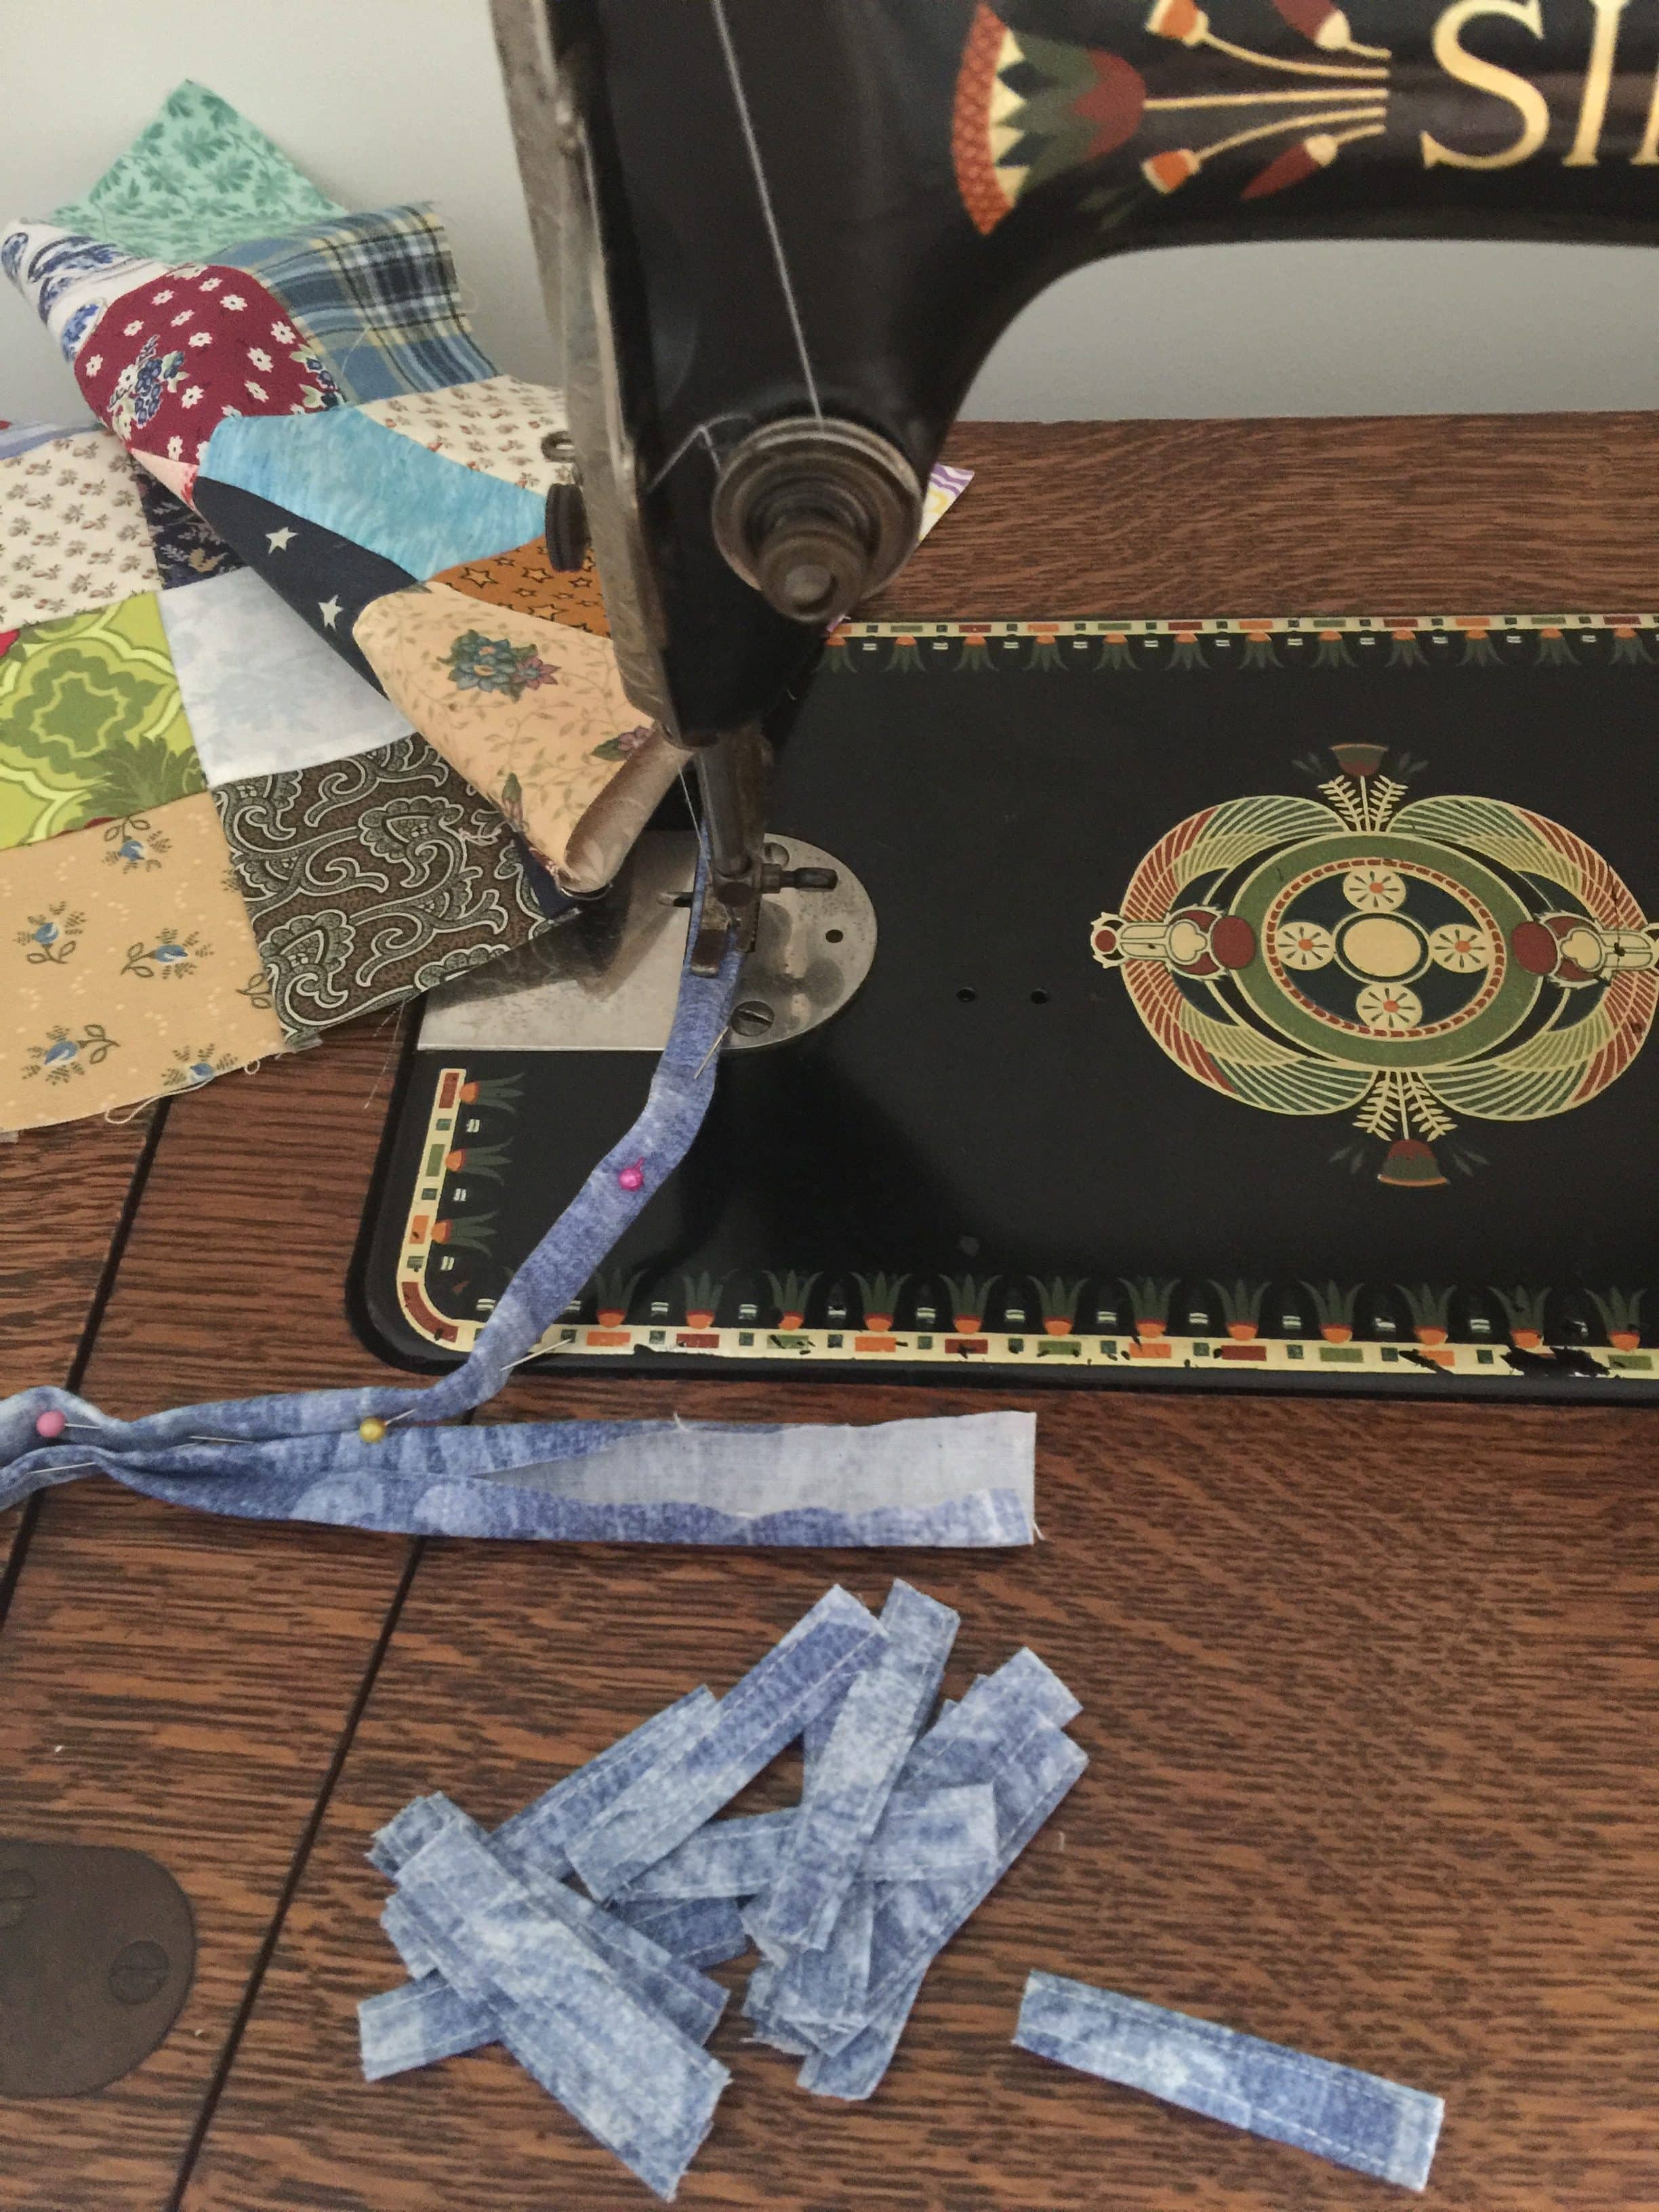
Take the two width of fabric strips. Turn in each long side to meet the centre then fold in half. Pin along the length. Stitch close to the edge on each side. Keep one whole. Cut one strip into 2″ lengths, to make the tabs. 16 are required.
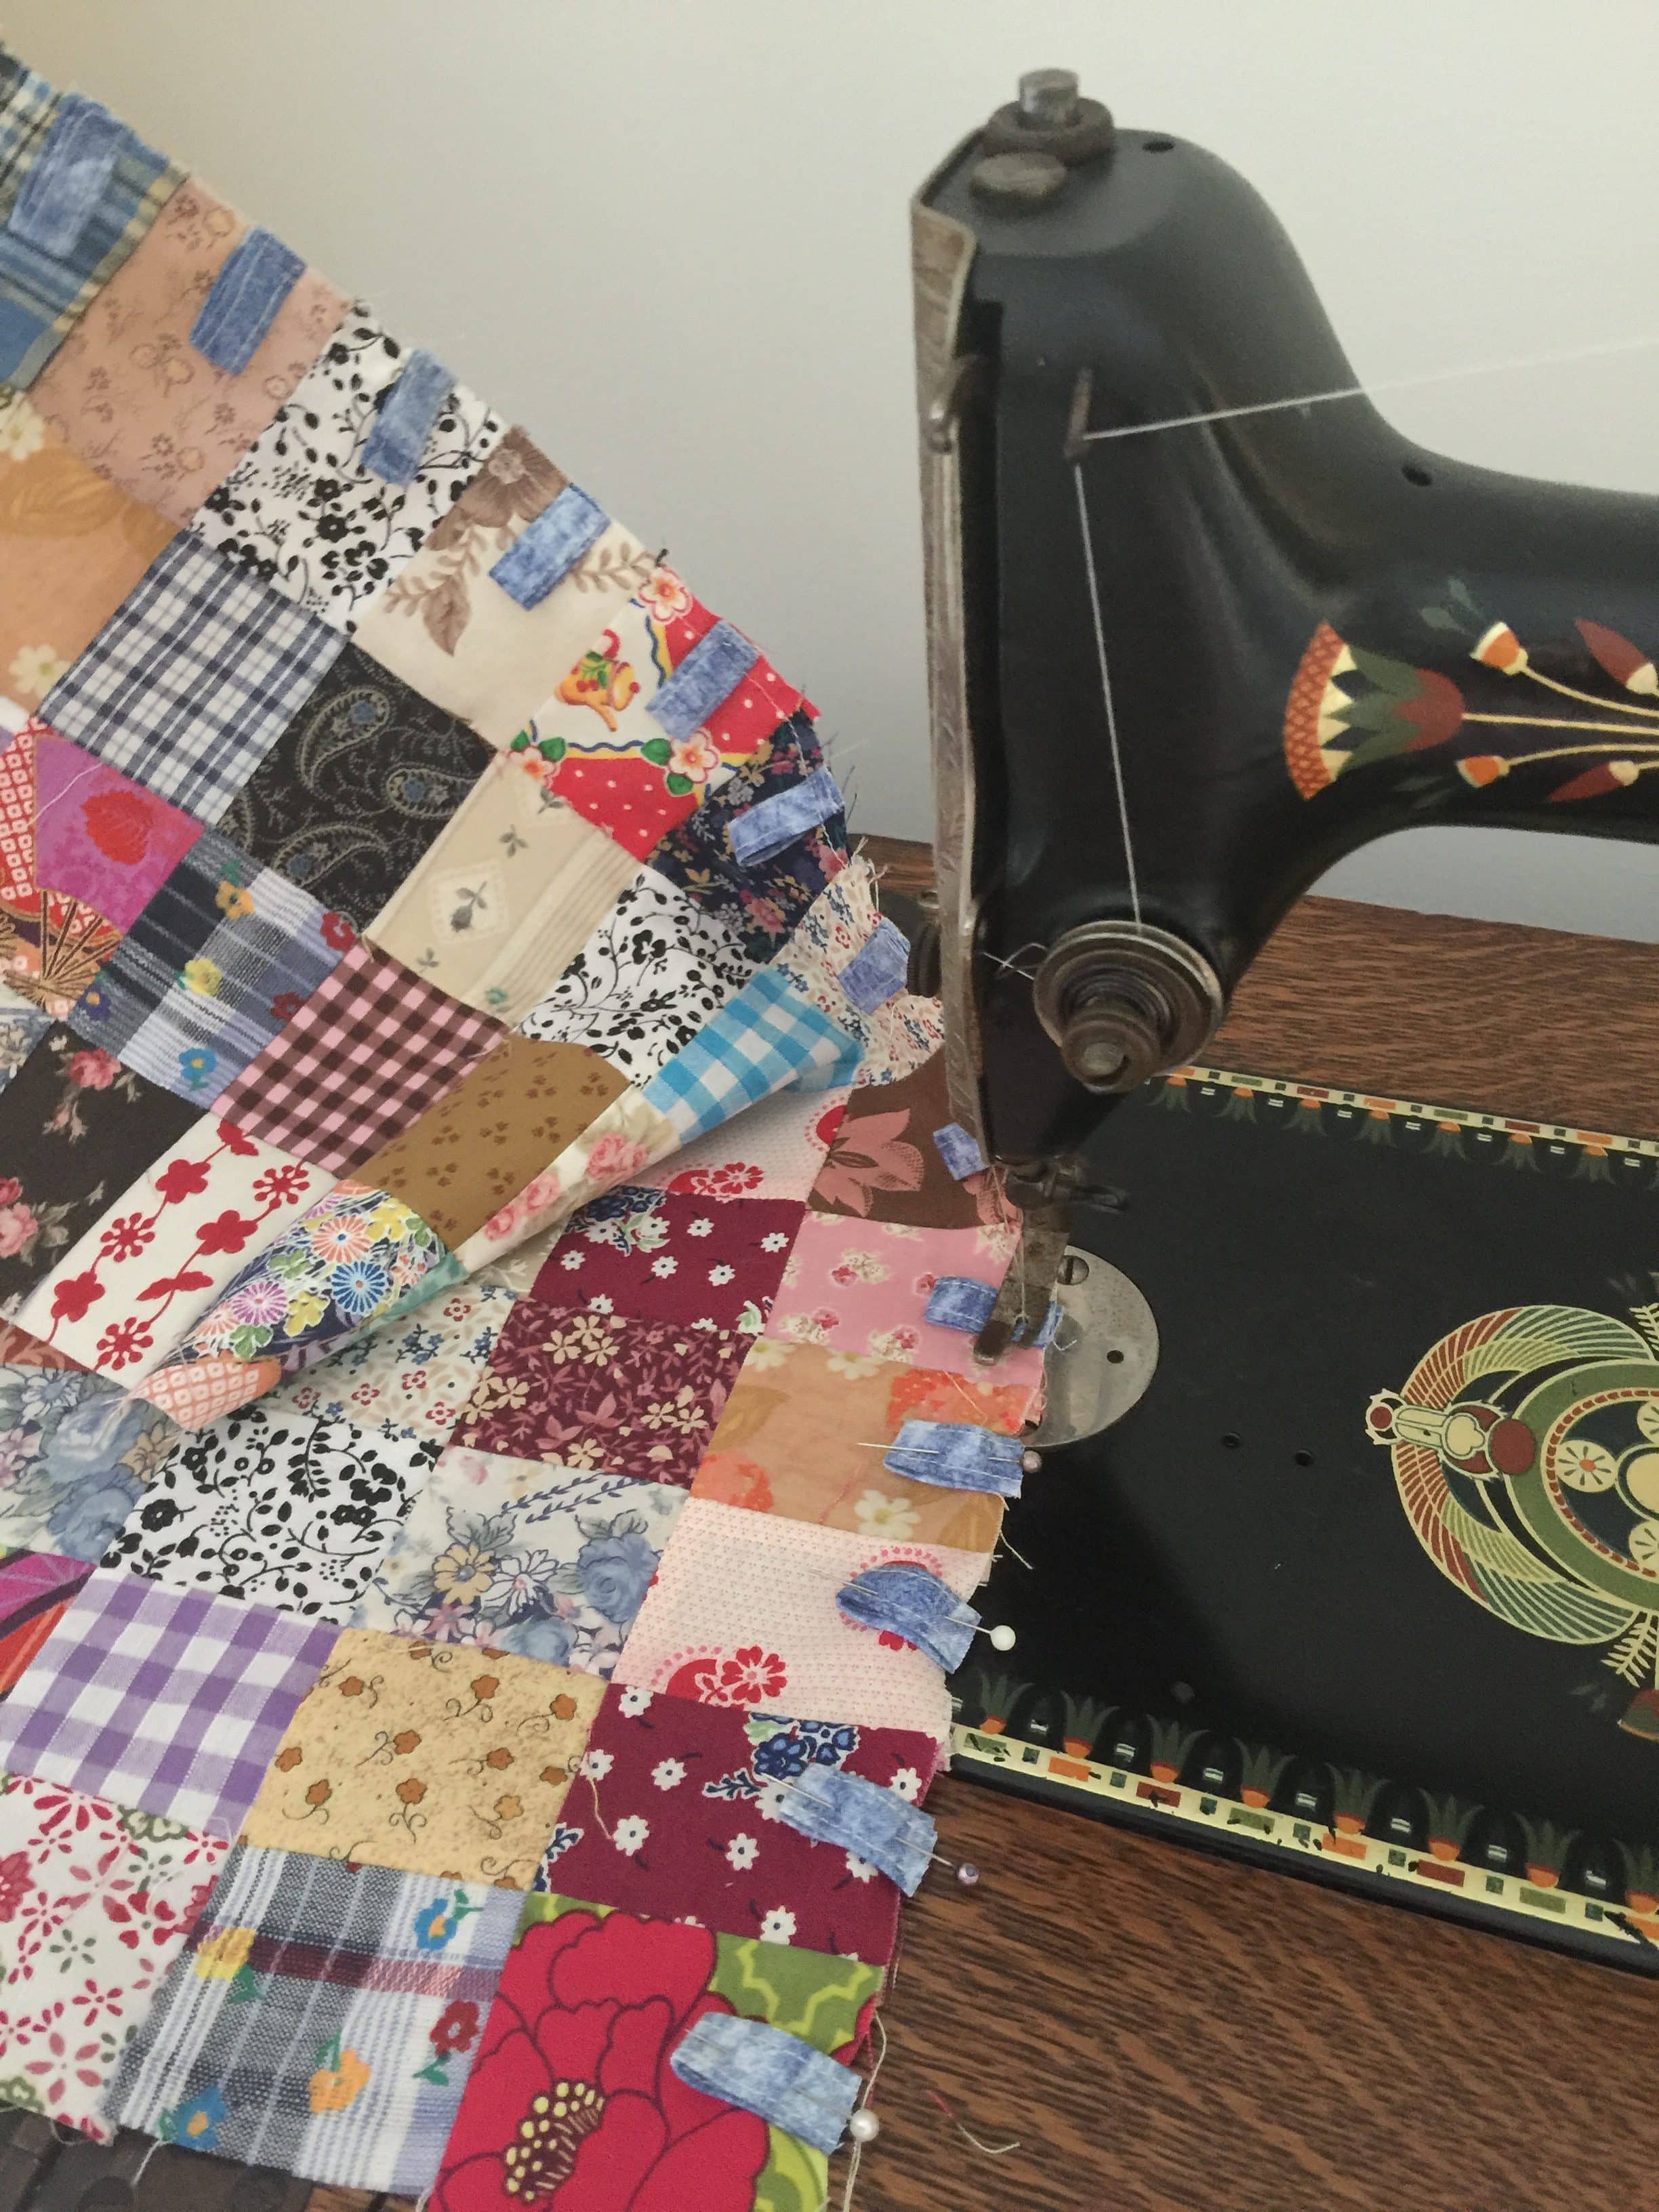
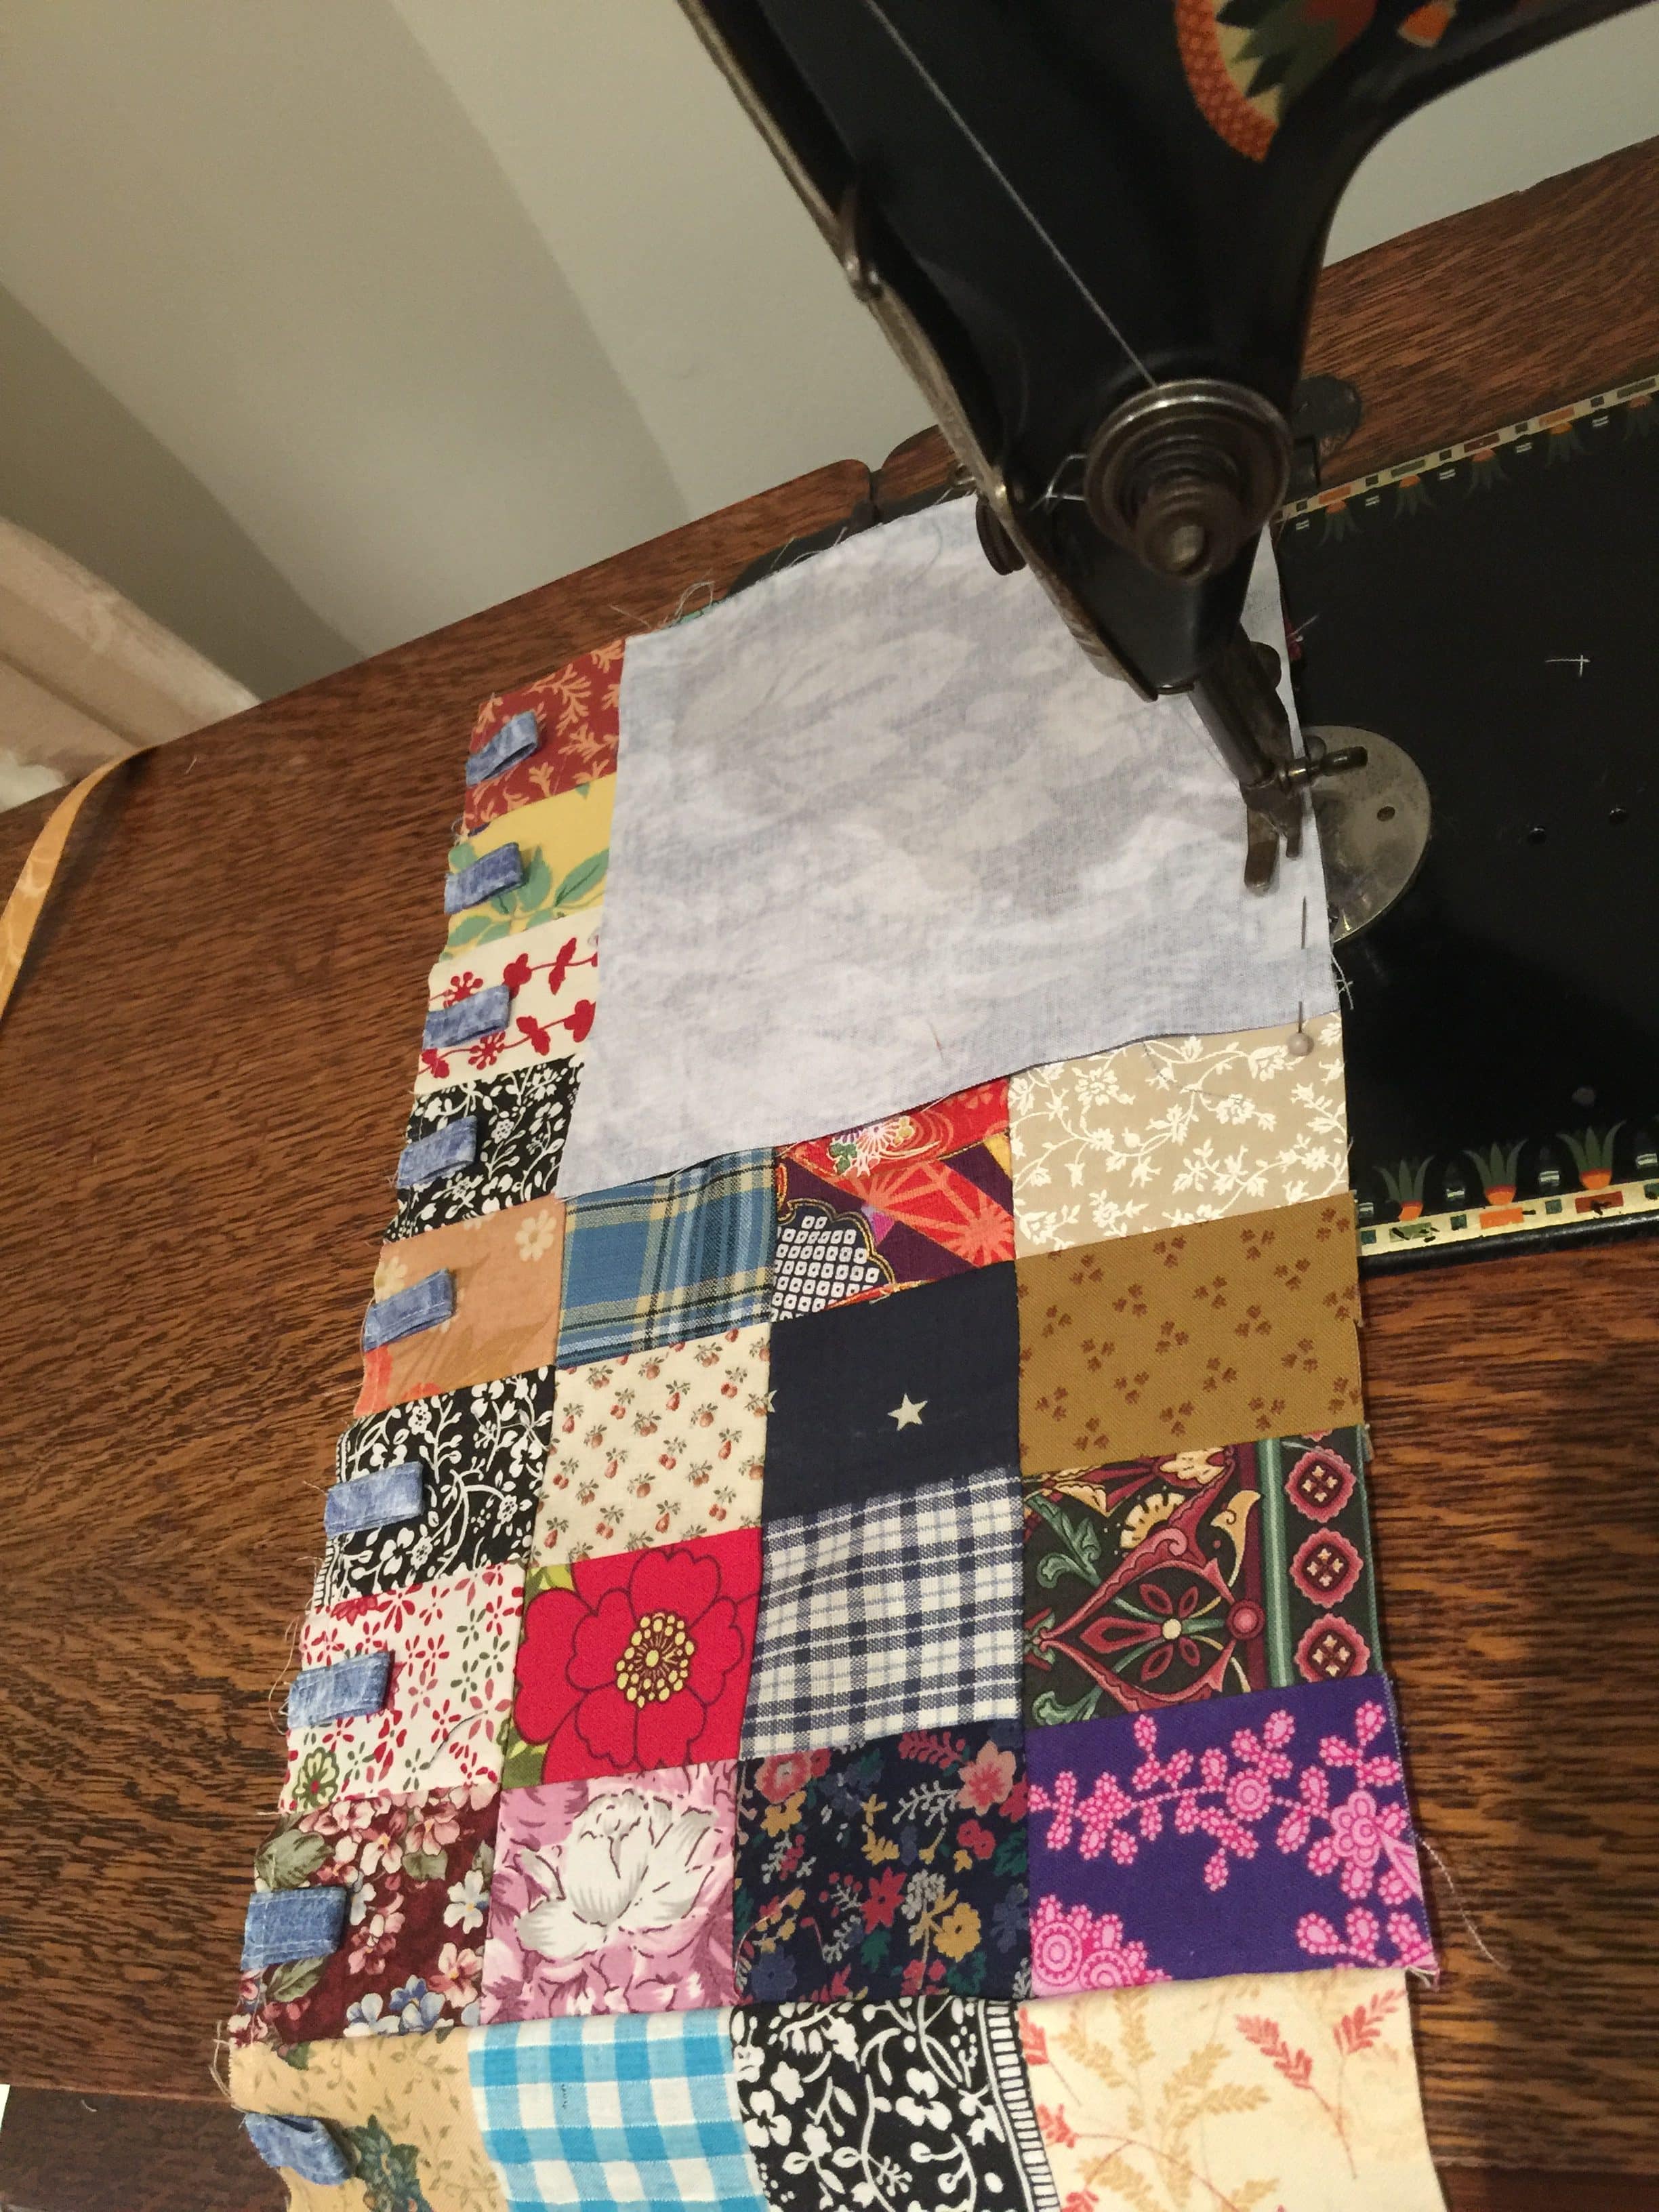
Sew the long sides of each patchwork block together to make a strip of 4 blocks.
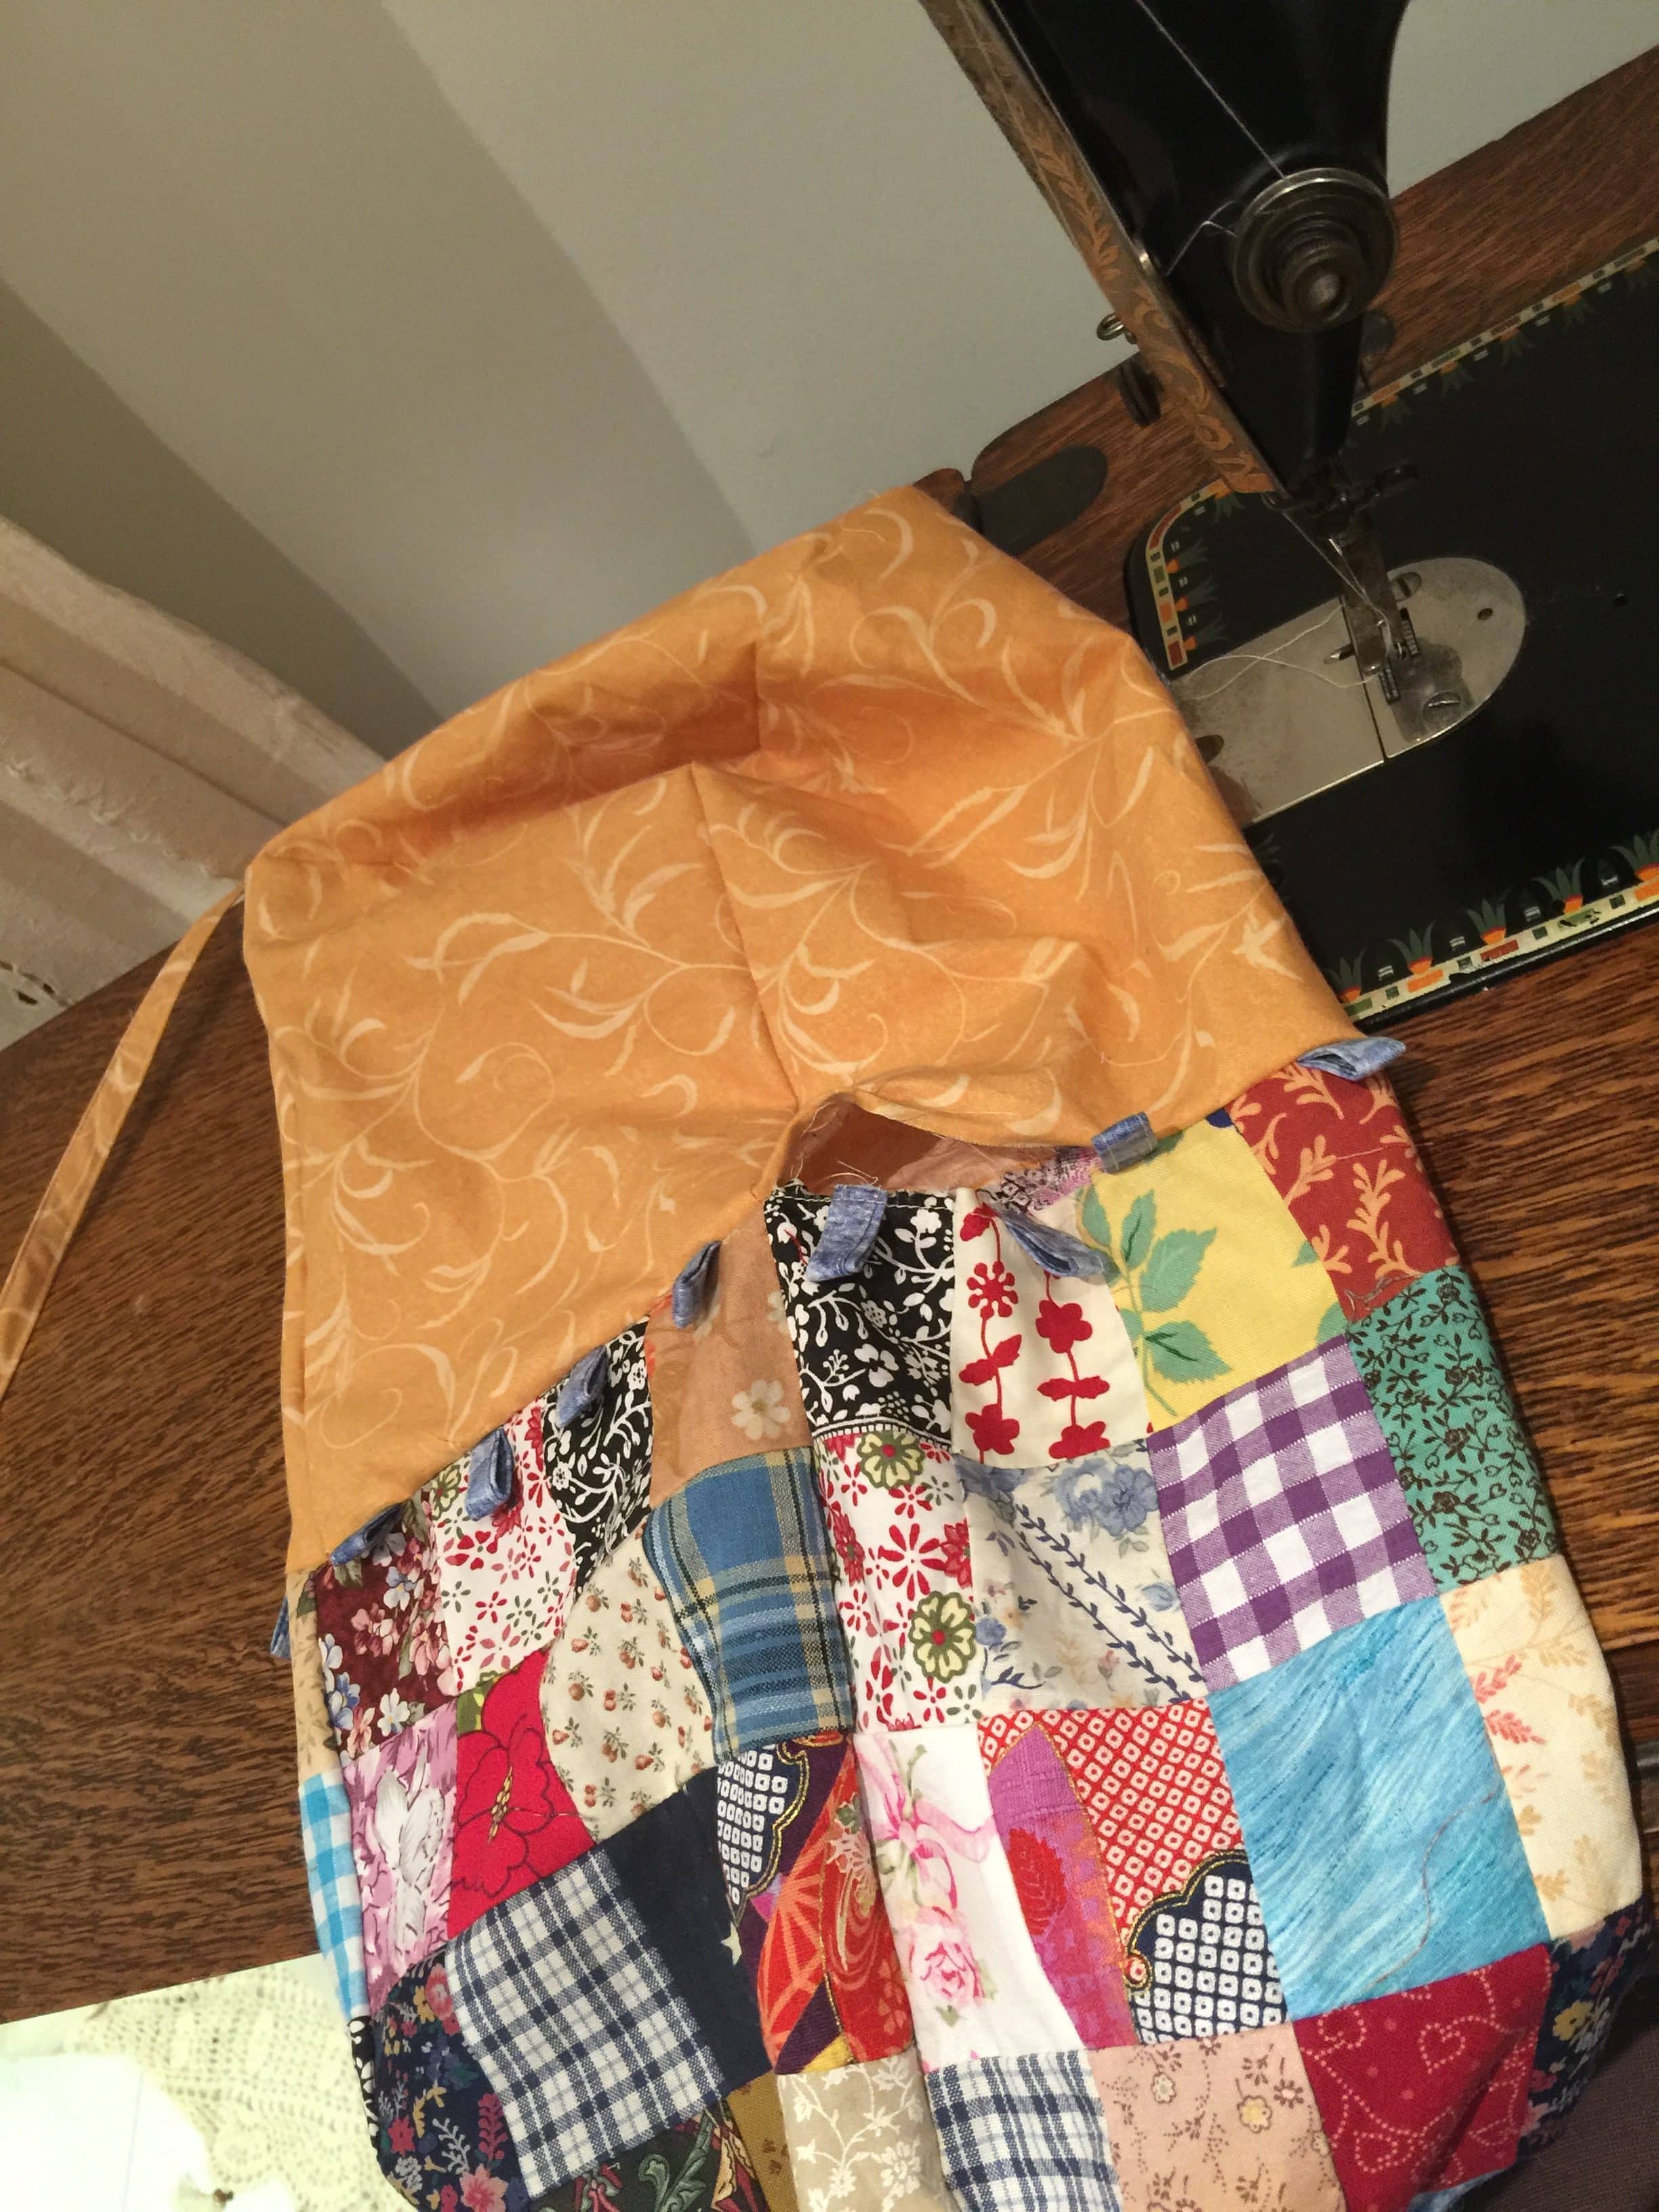
Take the 16 tabs. Fold each tab in half and position one at the top of the strip of blocks, on the right side, centred on each square raw edges meeting. Pin in place and stitch 1/4″ from the top edge for each block. The tab edges will be the top of the bag.
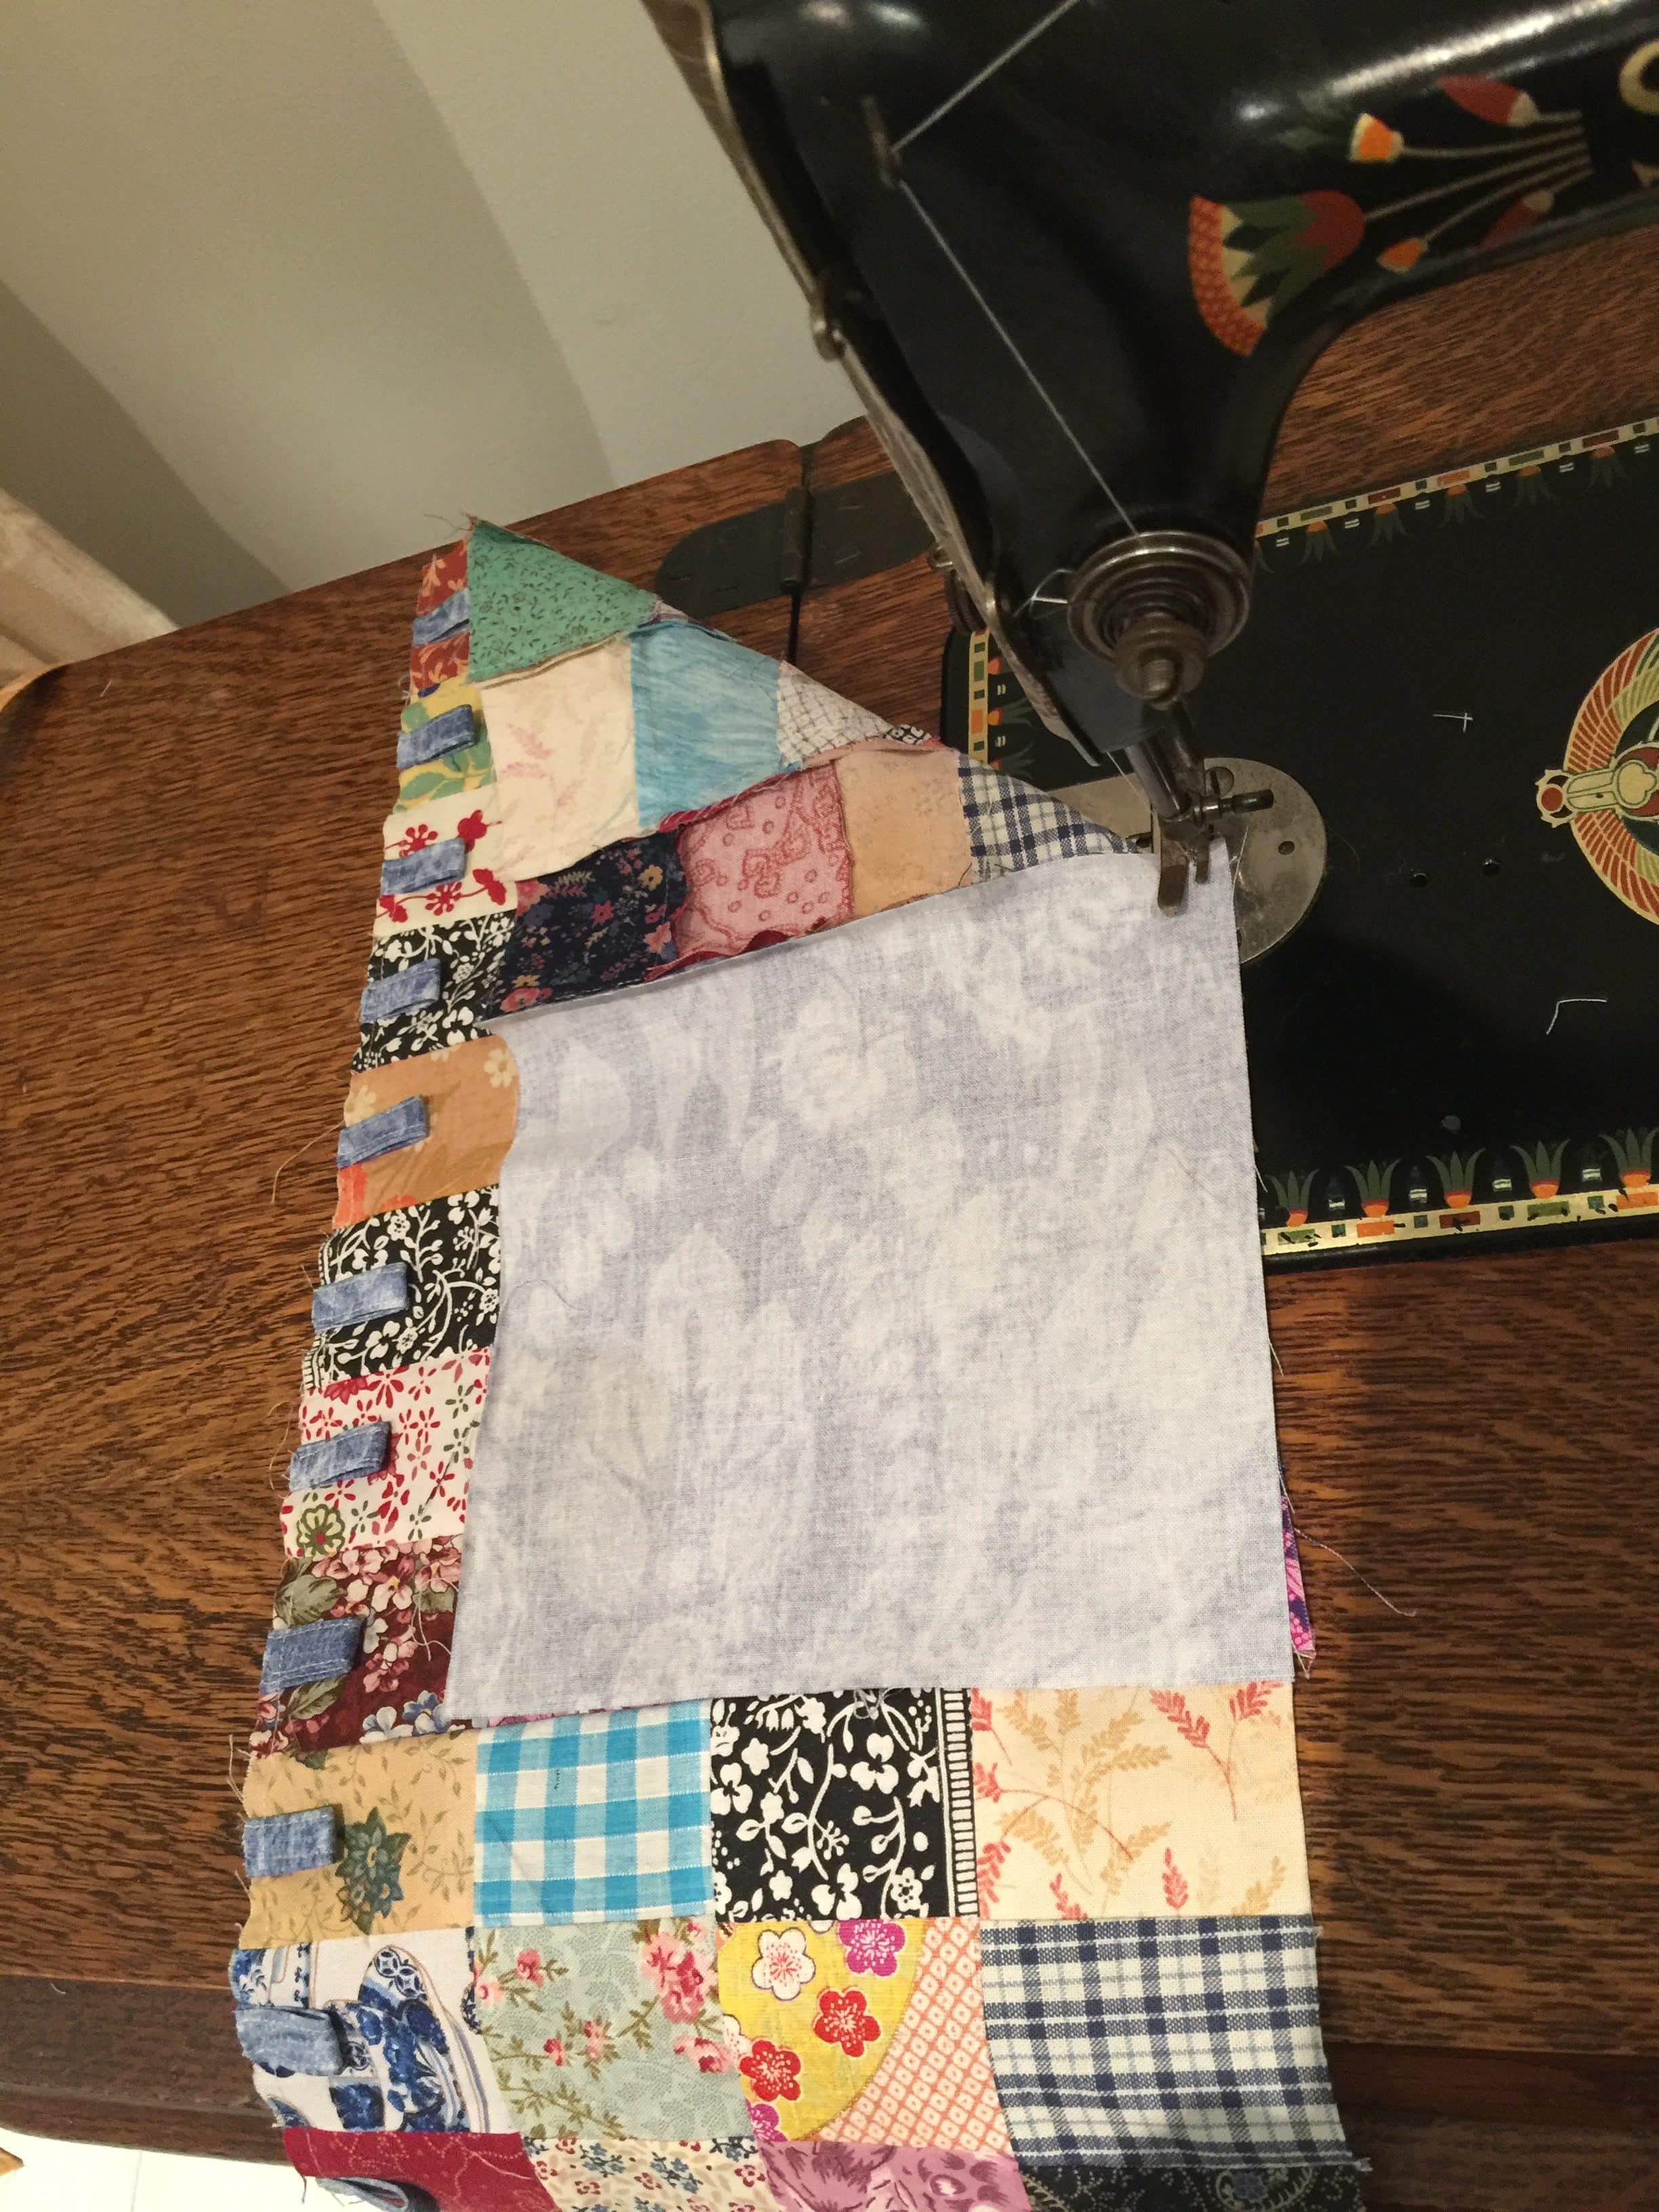
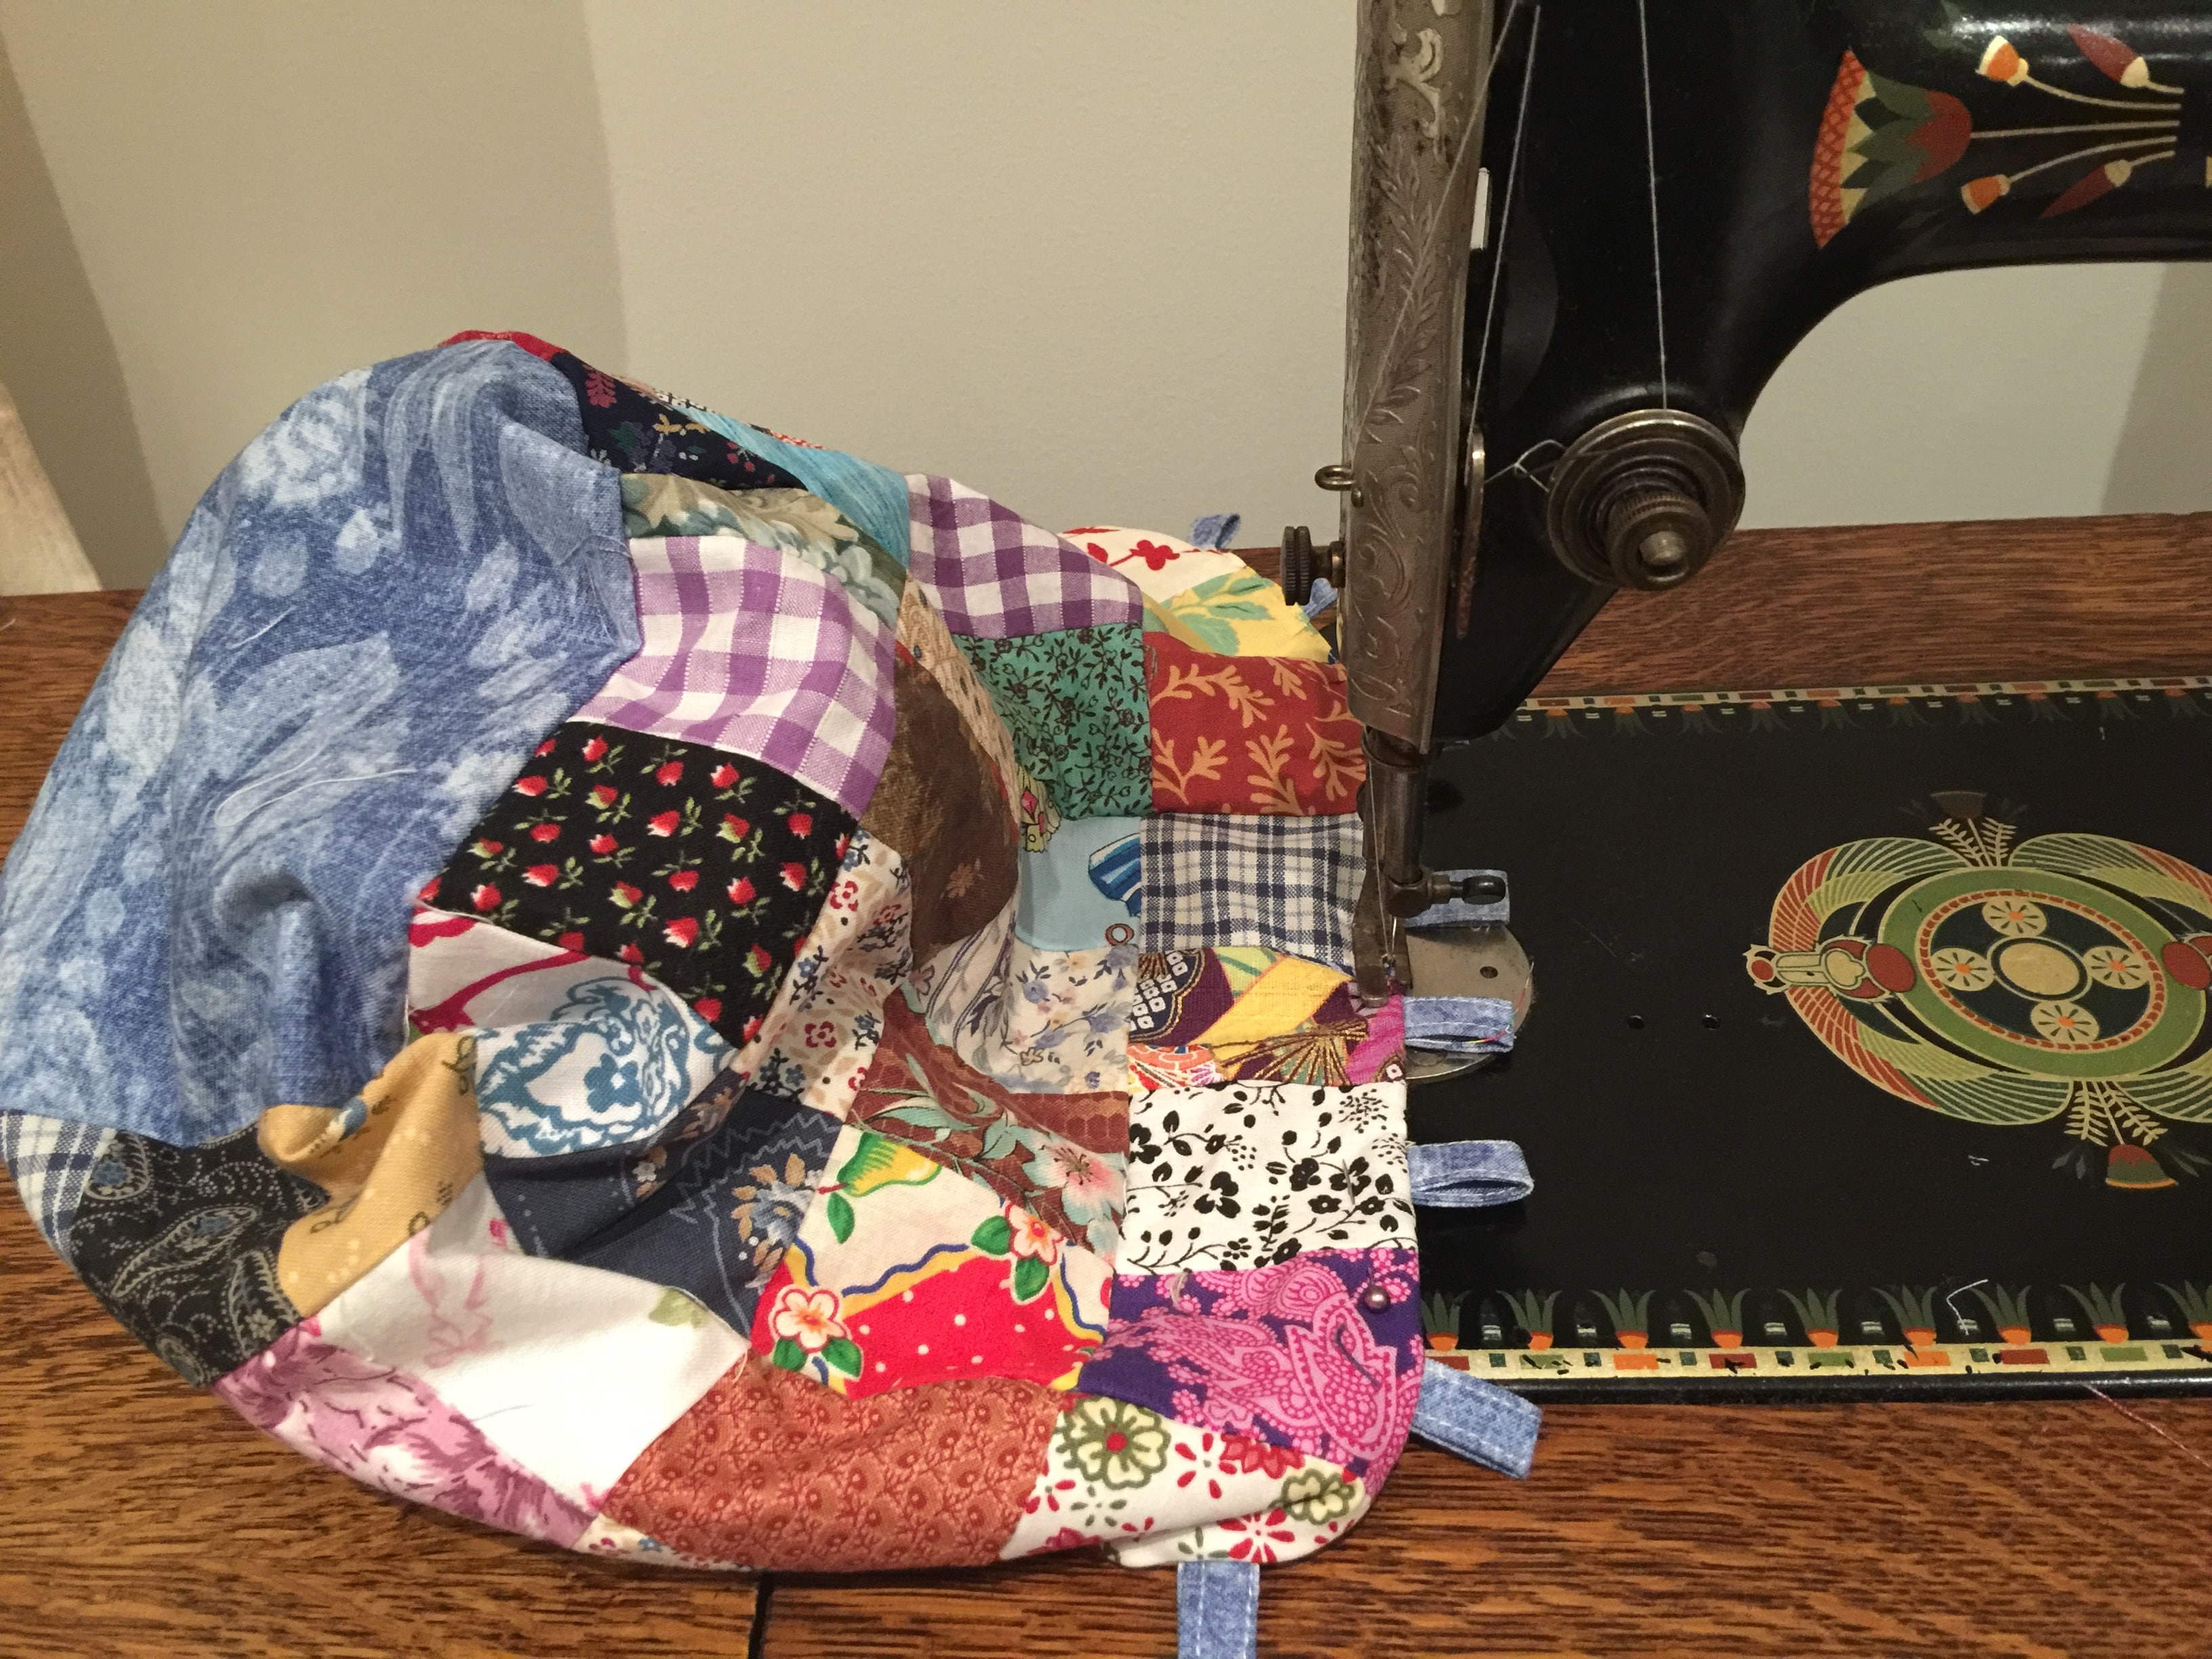
To attach the base square, put right sides together at the corner of the strip (on the edge without the tabs).
Stitch 1/4″ from the edge, stop at 1/4 from the corner of the base, (should meet with the first side seam of the blocks), needle down, turn and align the square with the next side of the base.
Repeat until the base is sewn in, then sew up the last side, to make the bag shape. Repeat for the lining pieces.
Place the bag and lining right sides together, matching the seams and the top edges.
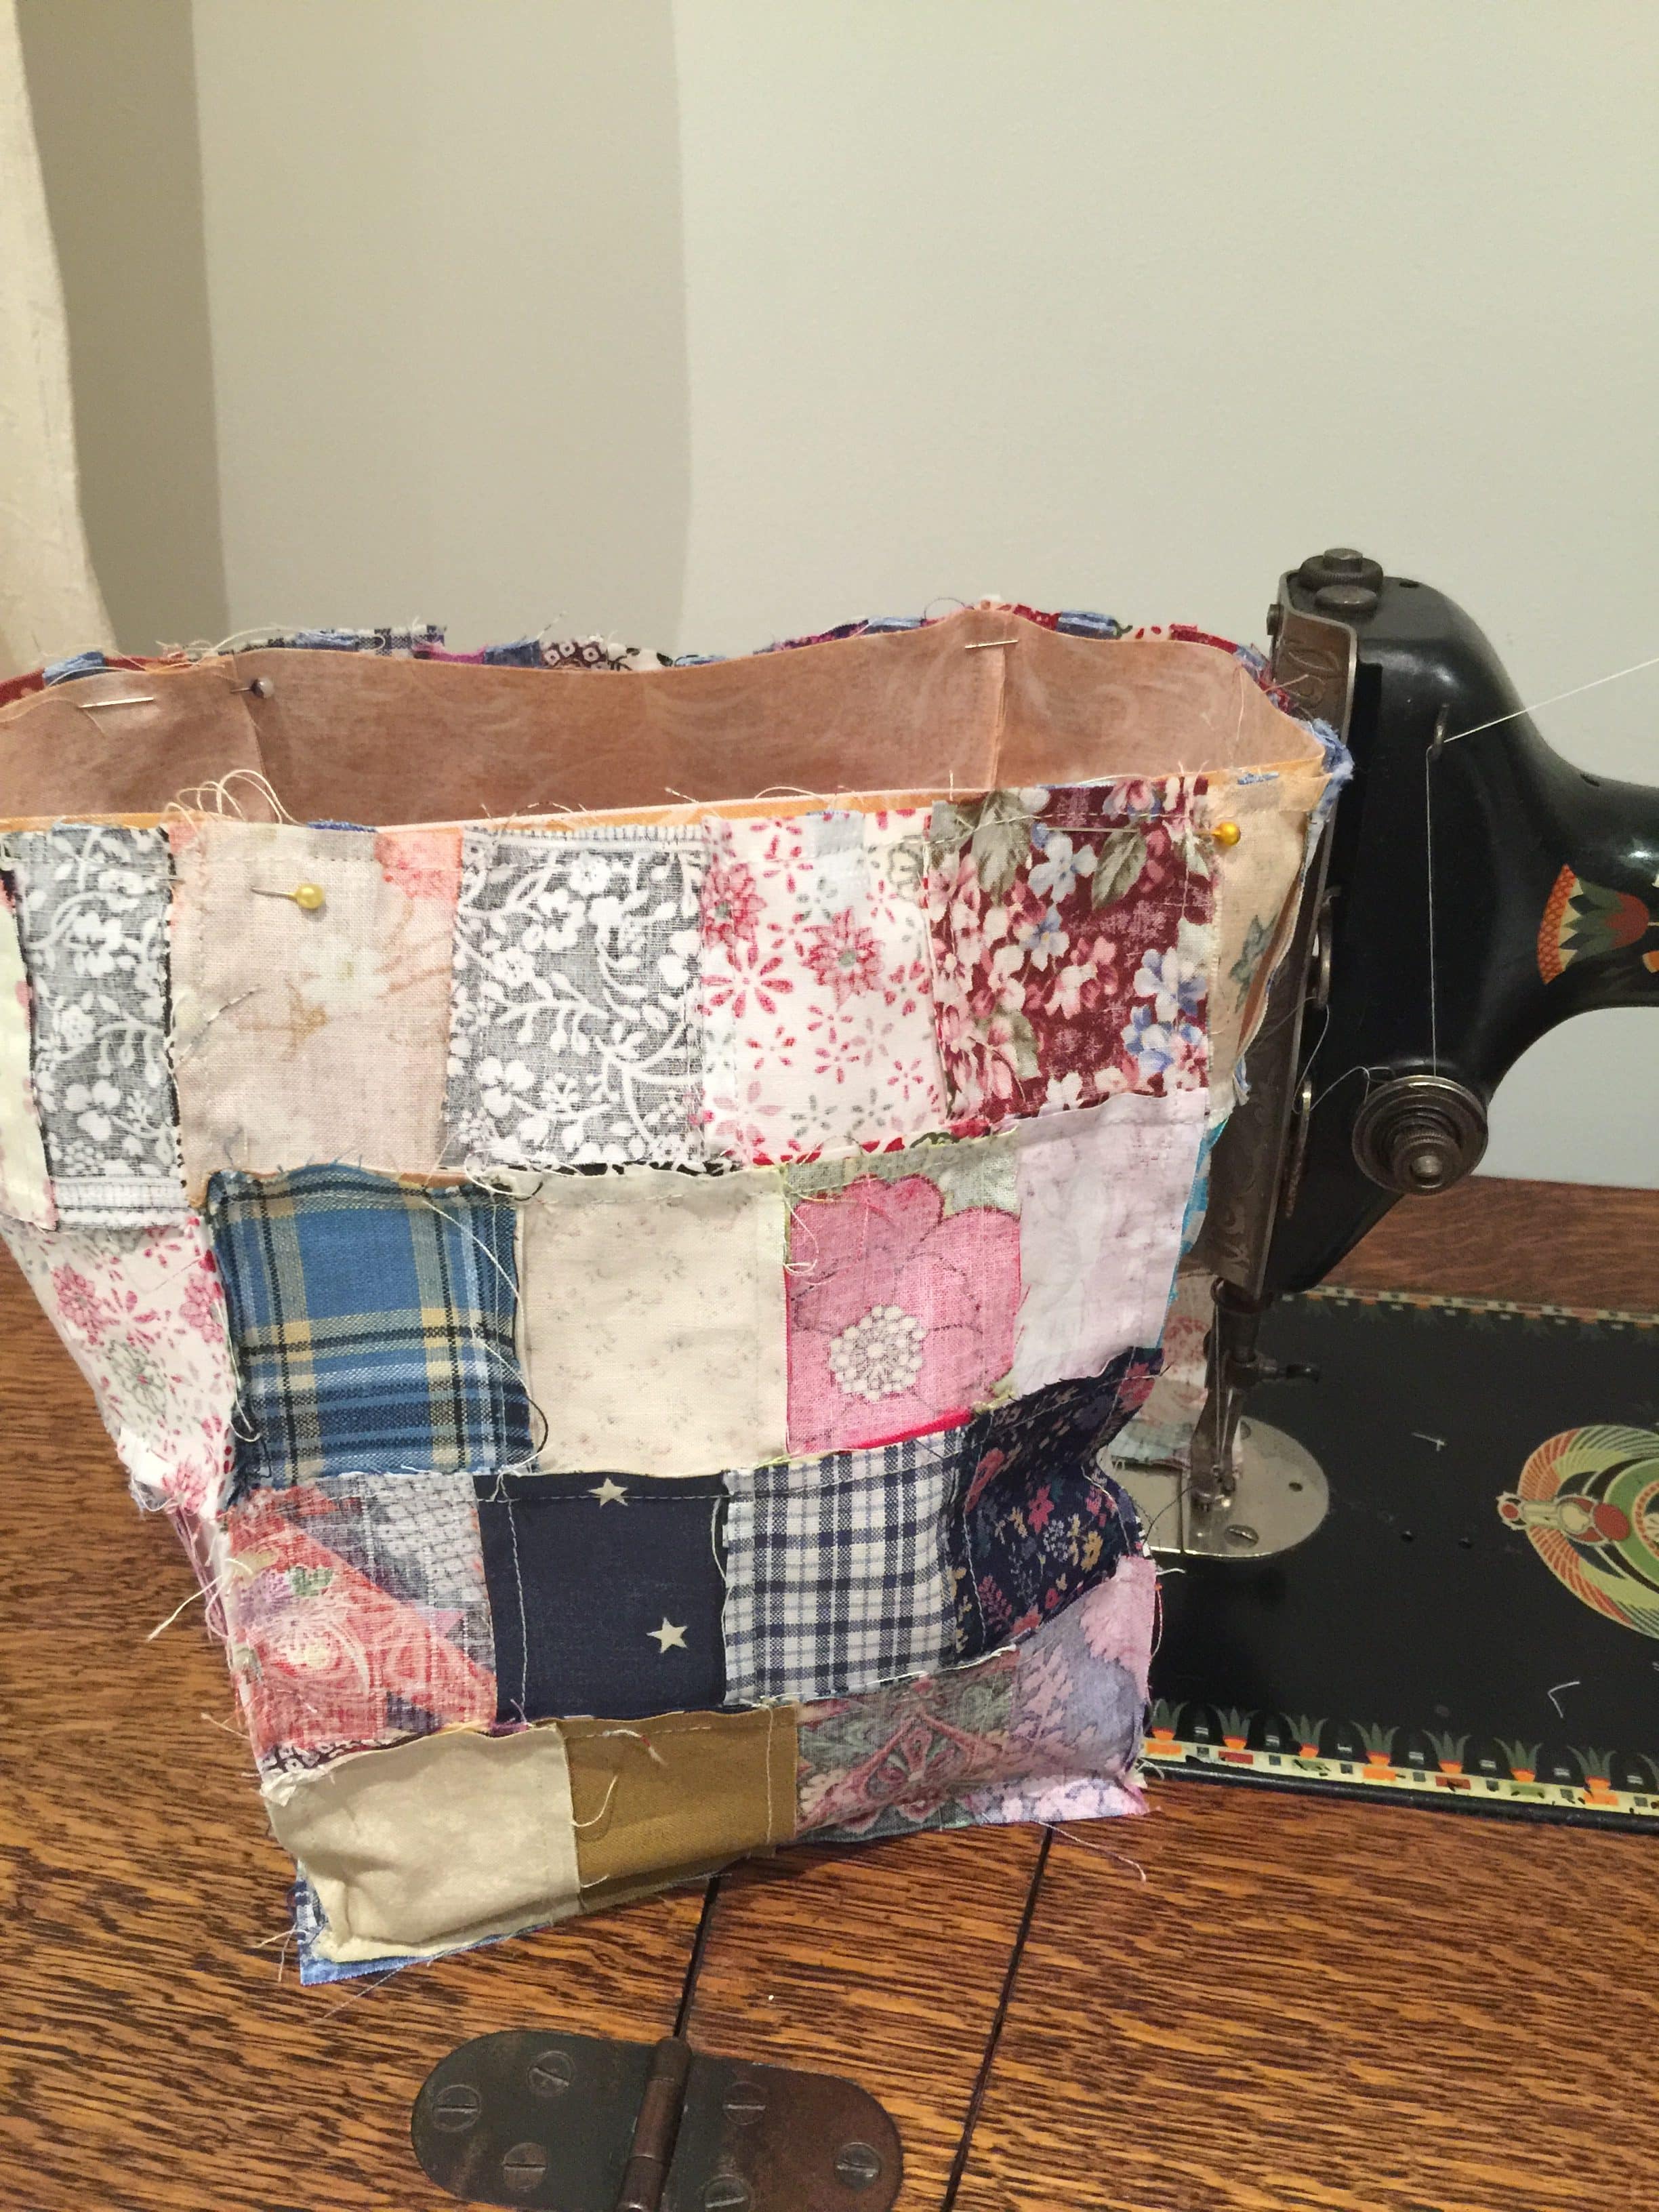
Sew around the top, leaving an opening for turning. Turn to the right side.
Top stitch all the way around to close the opening.
Optional
At this stage the bag can be embellished if desired. Hand stitch with embroidery thread, to quilt the layers together, add buttons to the base or tassels to the base corners with embroidery thread.
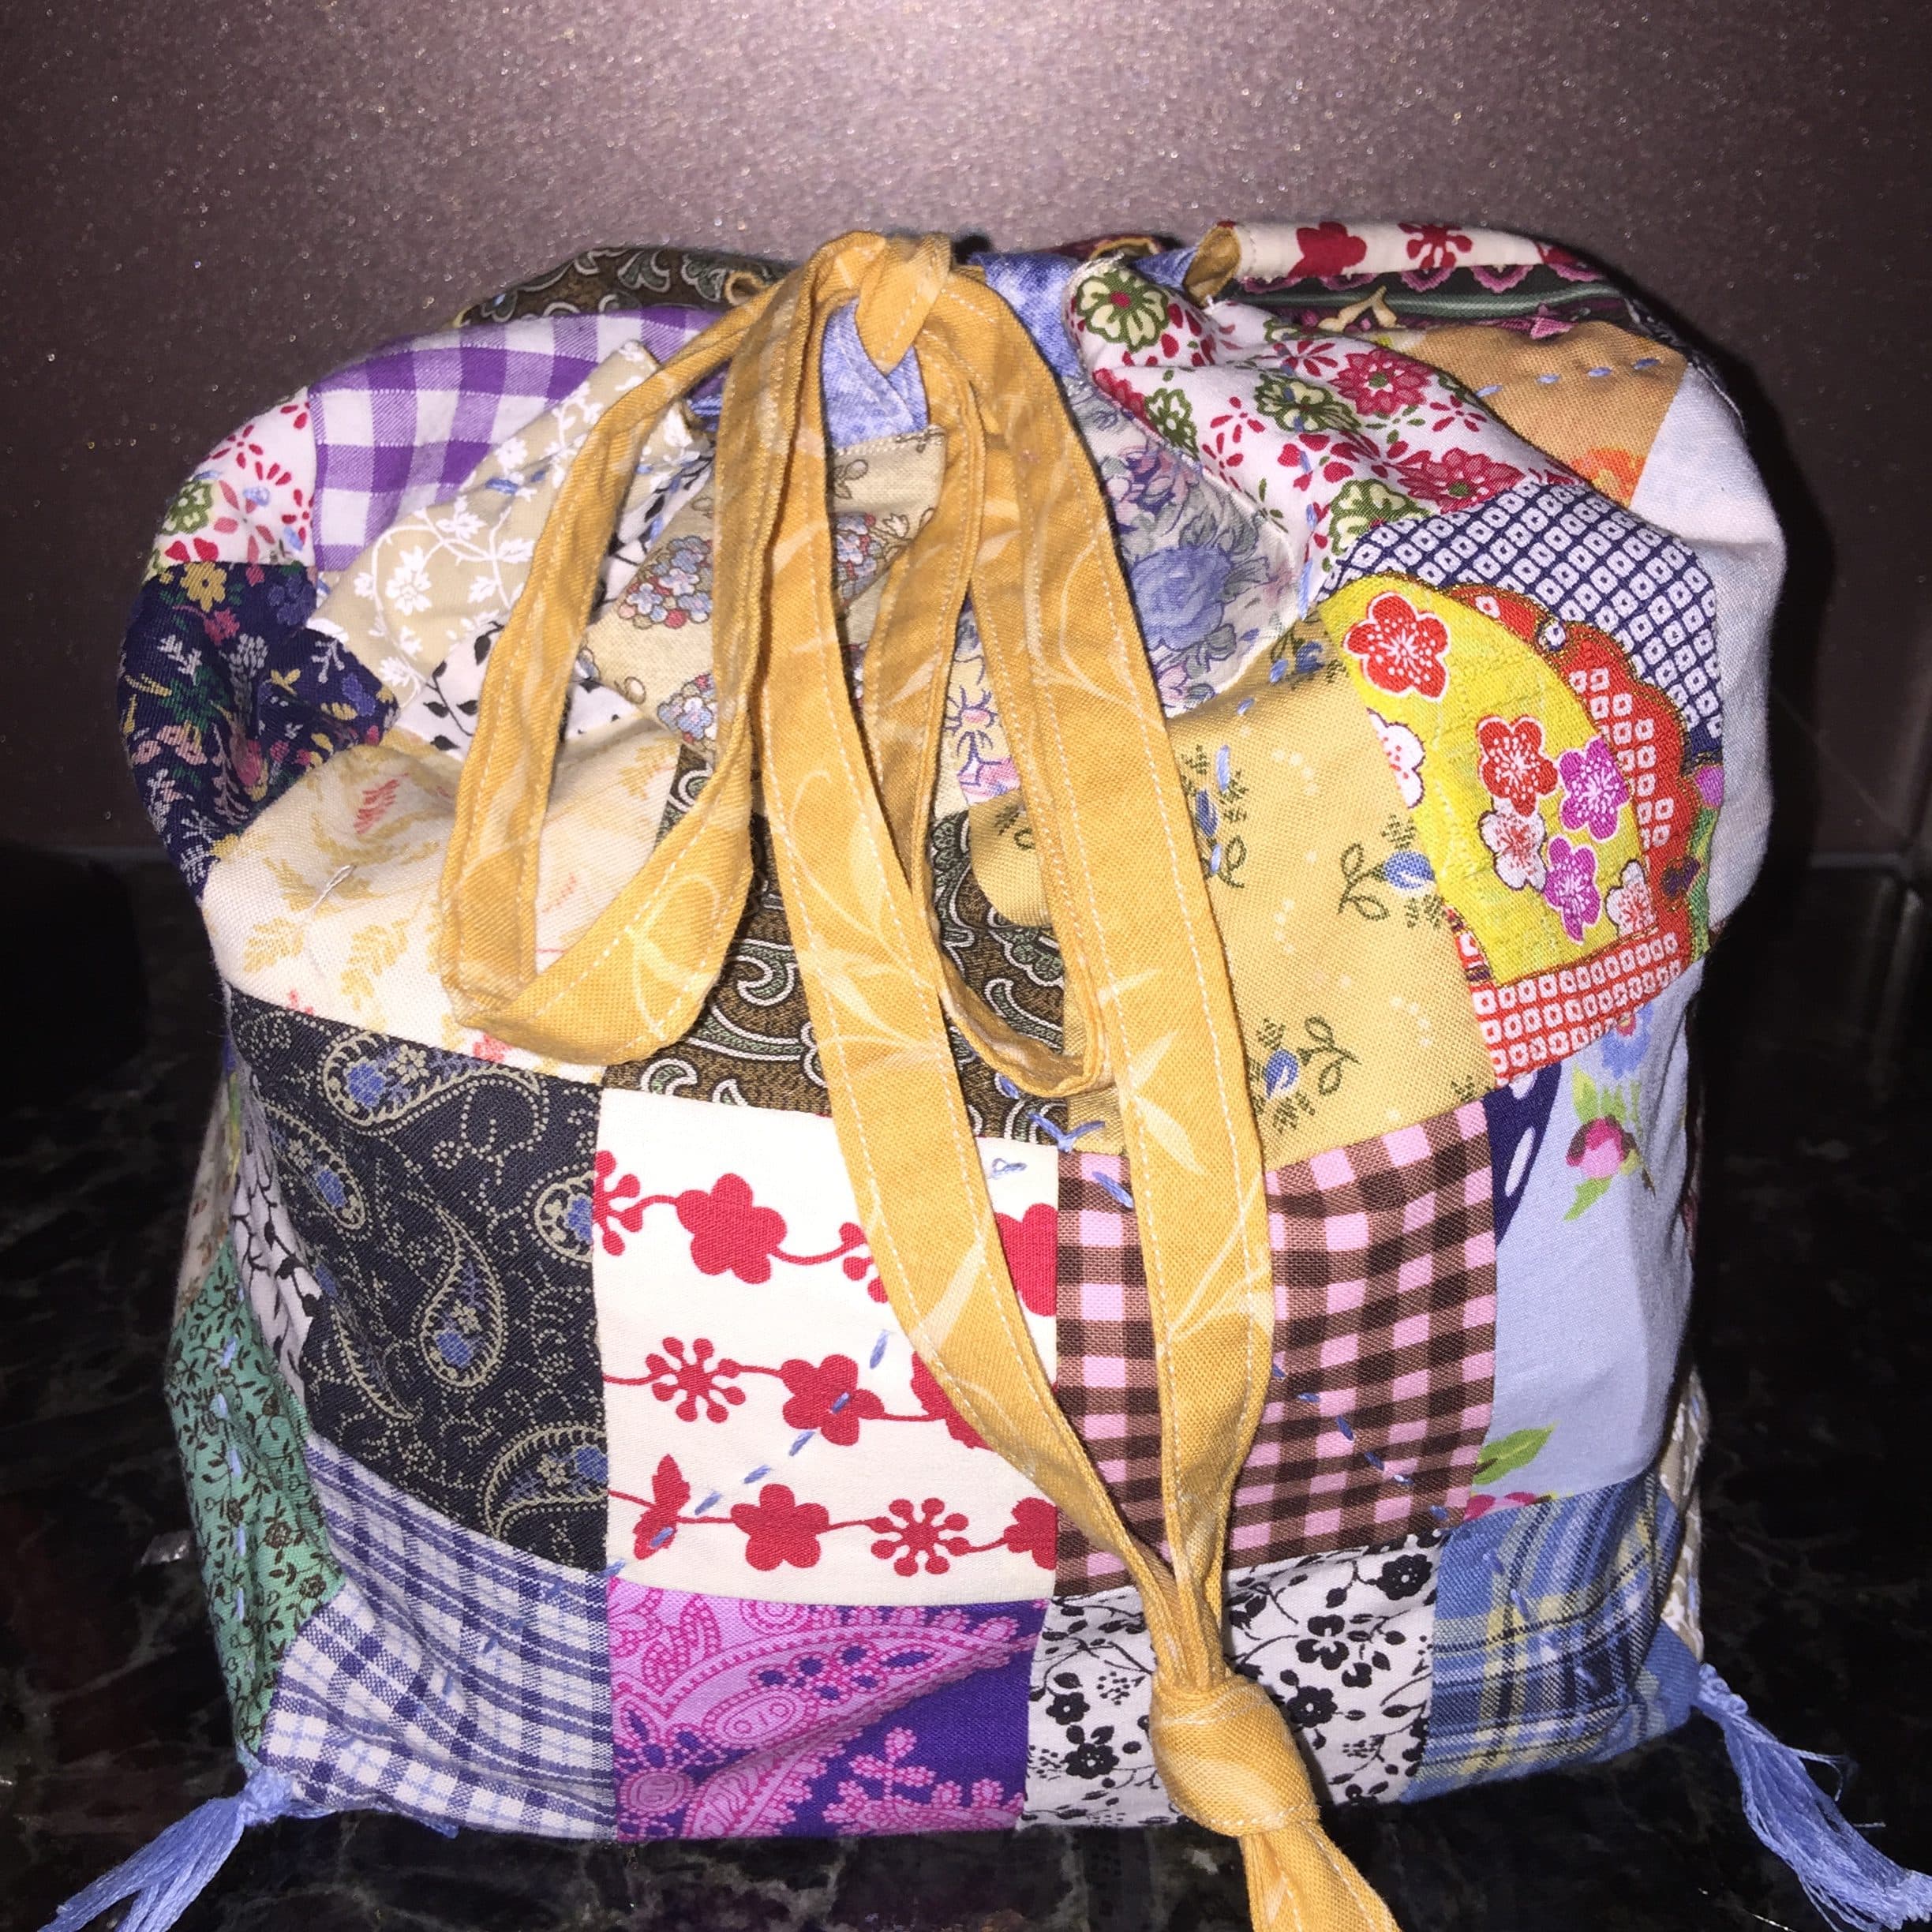
To finish thread the remaining strip through the tabs, start at the centre of one side, knot together, trim if desired. Pull up to close the bag. Repeat all steps for the second bag.

I know there will be plenty of uses for these beautiful bags like, projects, pantry goods, personal items, practical and becautiful gift giving.
If you enjoyed this project I’m sure you will like this one too…
Quilted Scrap Fabric Baskets Tutorial
Or this bag, which is one of my favorites…
Japanese Knot Bag – A New Pattern
And if you need some free fabric…
Happy quilting!
Love the bags
Pretty nice a great way to use scraps.Thanks for the tutorial!
I just discovered your website and its wonderful. Thank you so much for the great tutorials and the many ideas on ways to create lovely items with our scraps. I look forward to your posts.