
Pincushion On Point
Recently, I’ve been researching Pincushions, especially Antique style pincushions. They come in many shapes and sizes reflecting nature with strawberry, acorn shapes or walnut halves used as the base. Hearts were a popular shape especially made for someone going off to war. They were “Crazy” style pincushions with sentimental messages. I also discovered sewing birds – an intricate device which housed a pincushion but acted as an extra hand when hemming. You can see some of these on my Pinterest board if you like.
By contrast, many modern pincushions are made from novelty designs. They are interesting, and really it depends on ones own taste.
What do we expect from a pincushion? Of course we need it to house our pins. Personally, I prefer a more practical shape which has ease of use. I have made one or two novelty shapes, but they can be inclined to slip away when using because of the shape. Most often, we would not want to buy extra fabric to make pincushions, unless perhaps one is embroidering with silk. Hopefully it can be made quickly. It’s nice to make one from our left over scraps or maybe as a gift.
Anyhow I got to thinking about pincushions and I’ve come up with this quick and easy Scrappy pincushion. It was actually one of my 36 Patch blocks that inspired me.
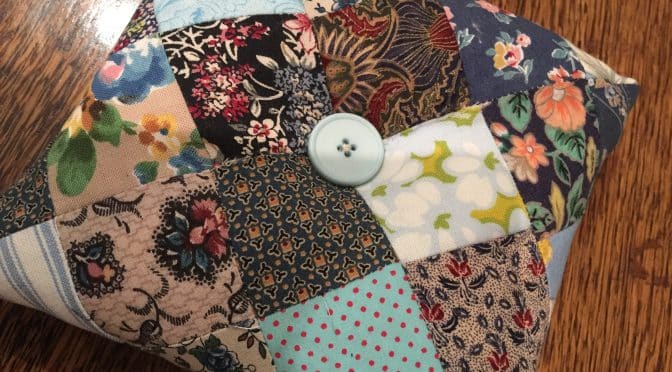
Finished size approximately 6 1/2″ x 6 1/2″
Requirements for one Pincushion On Point
Method
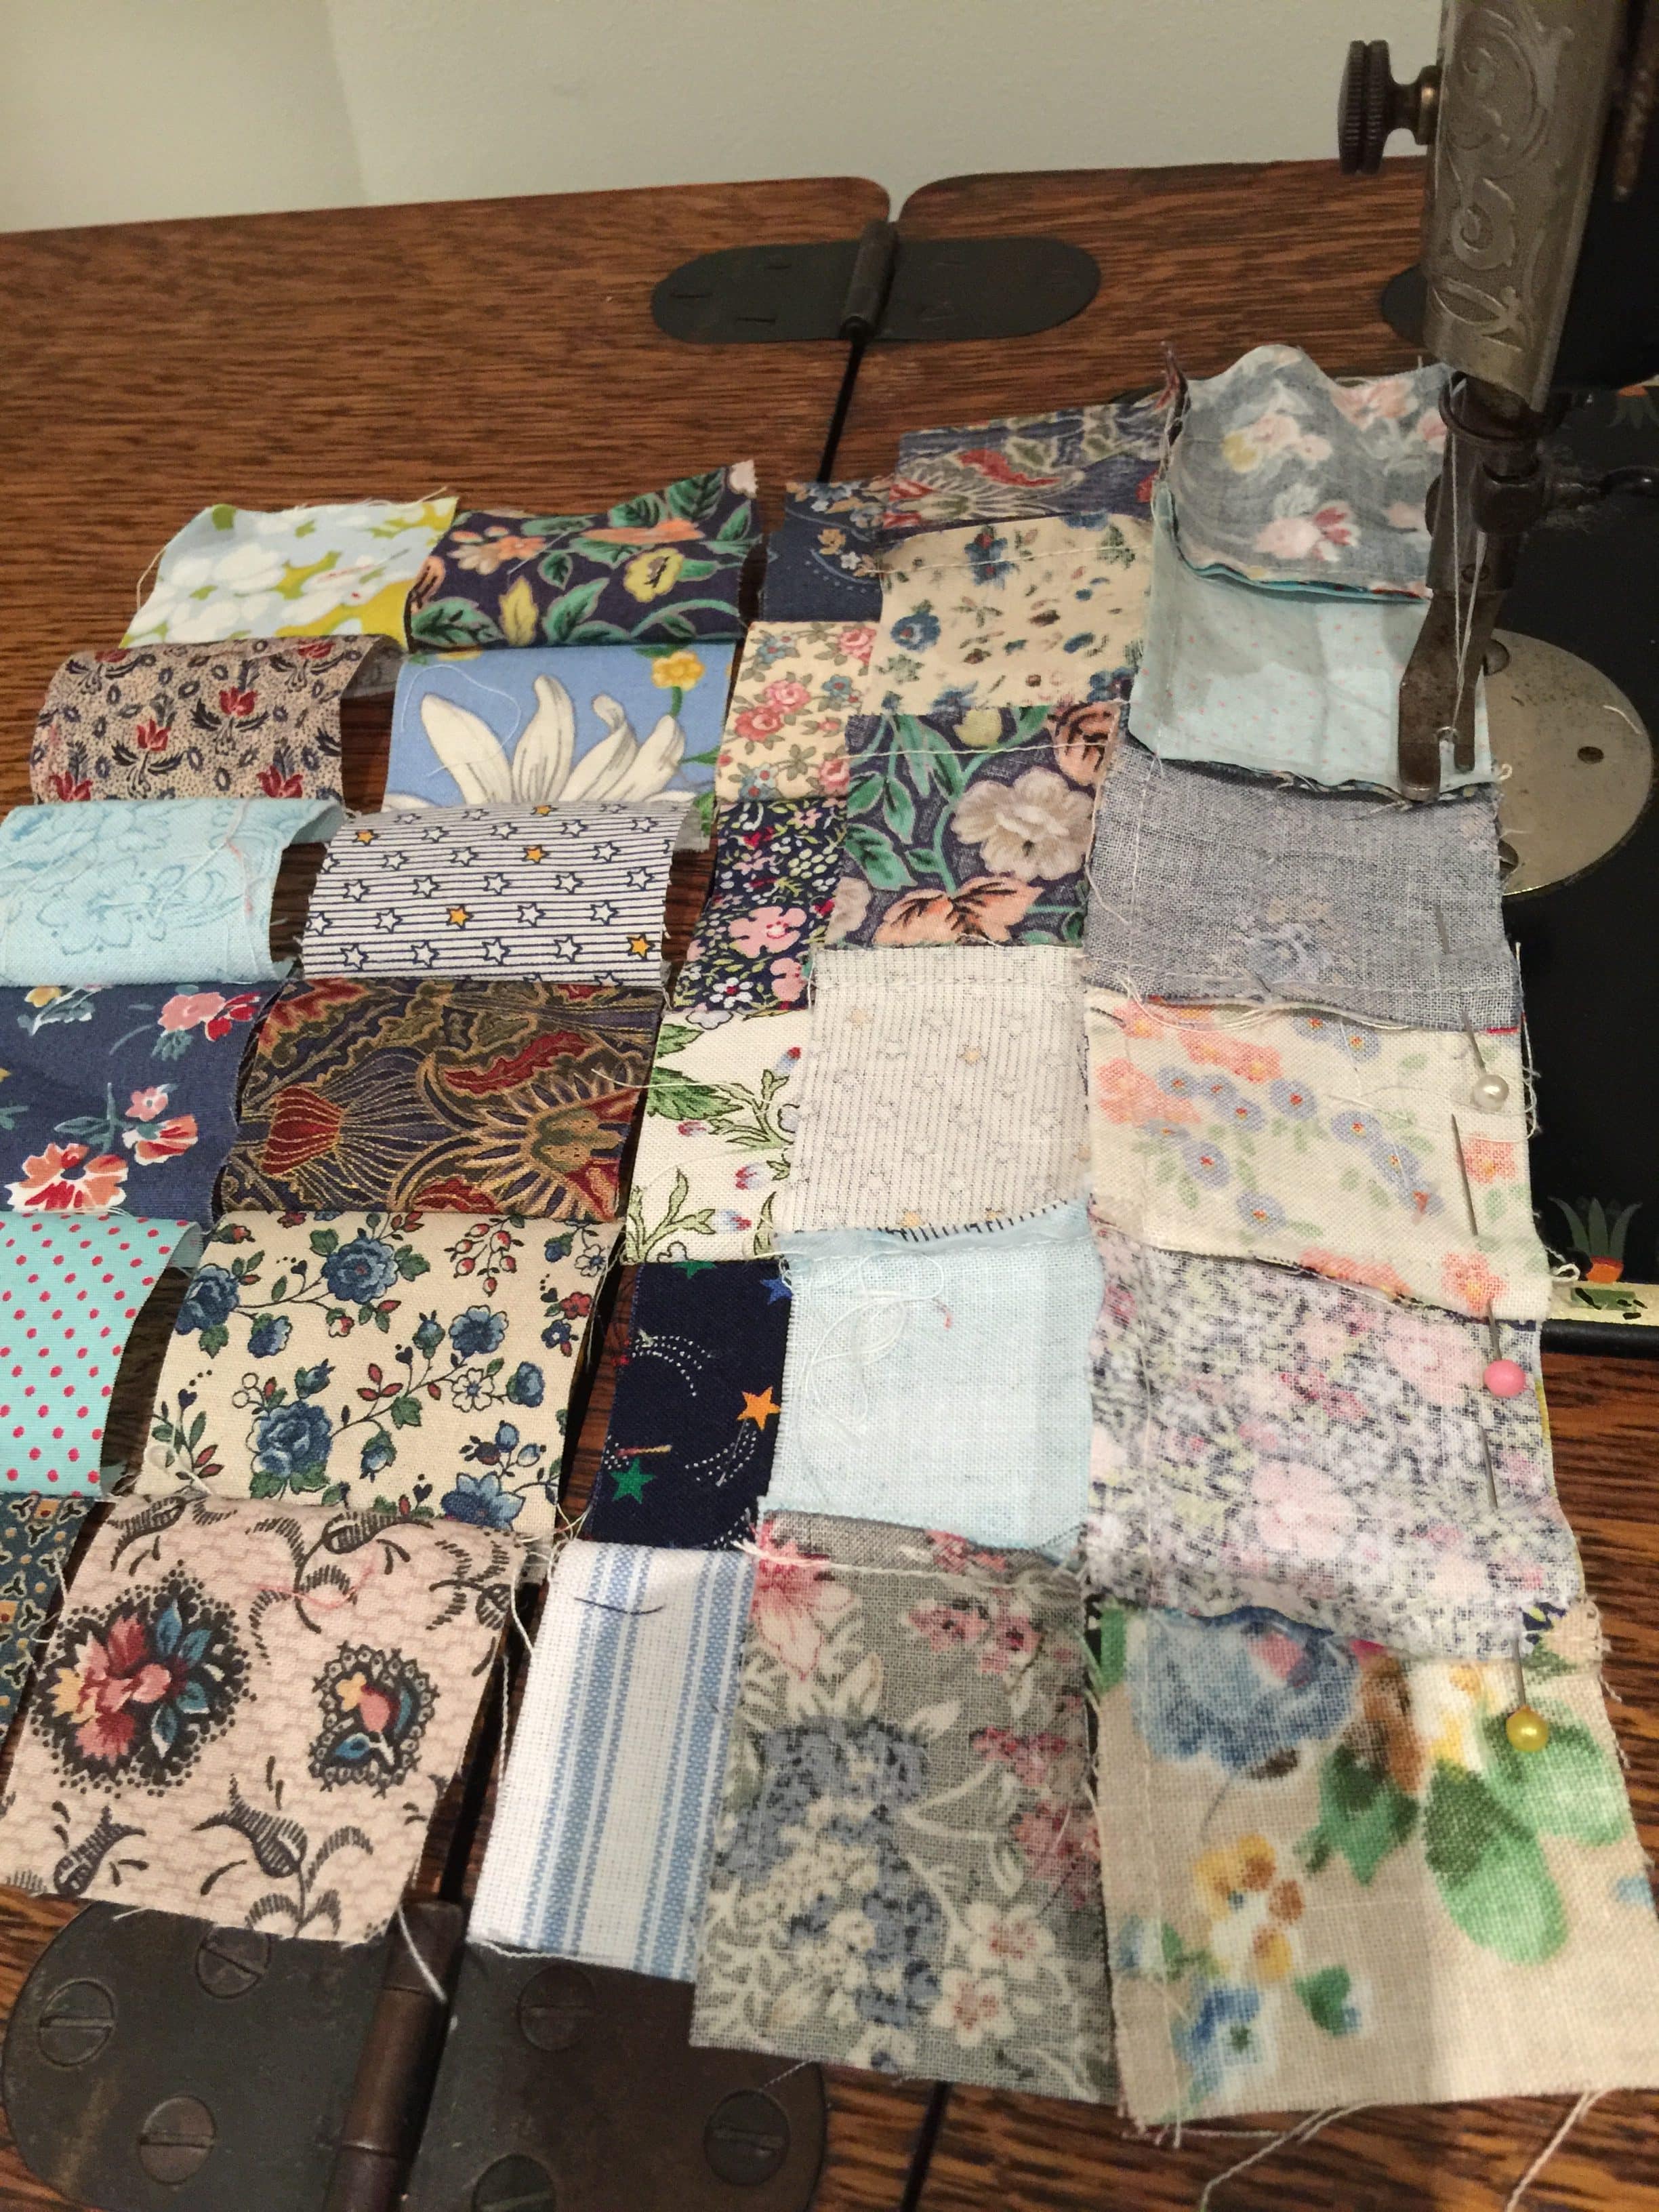
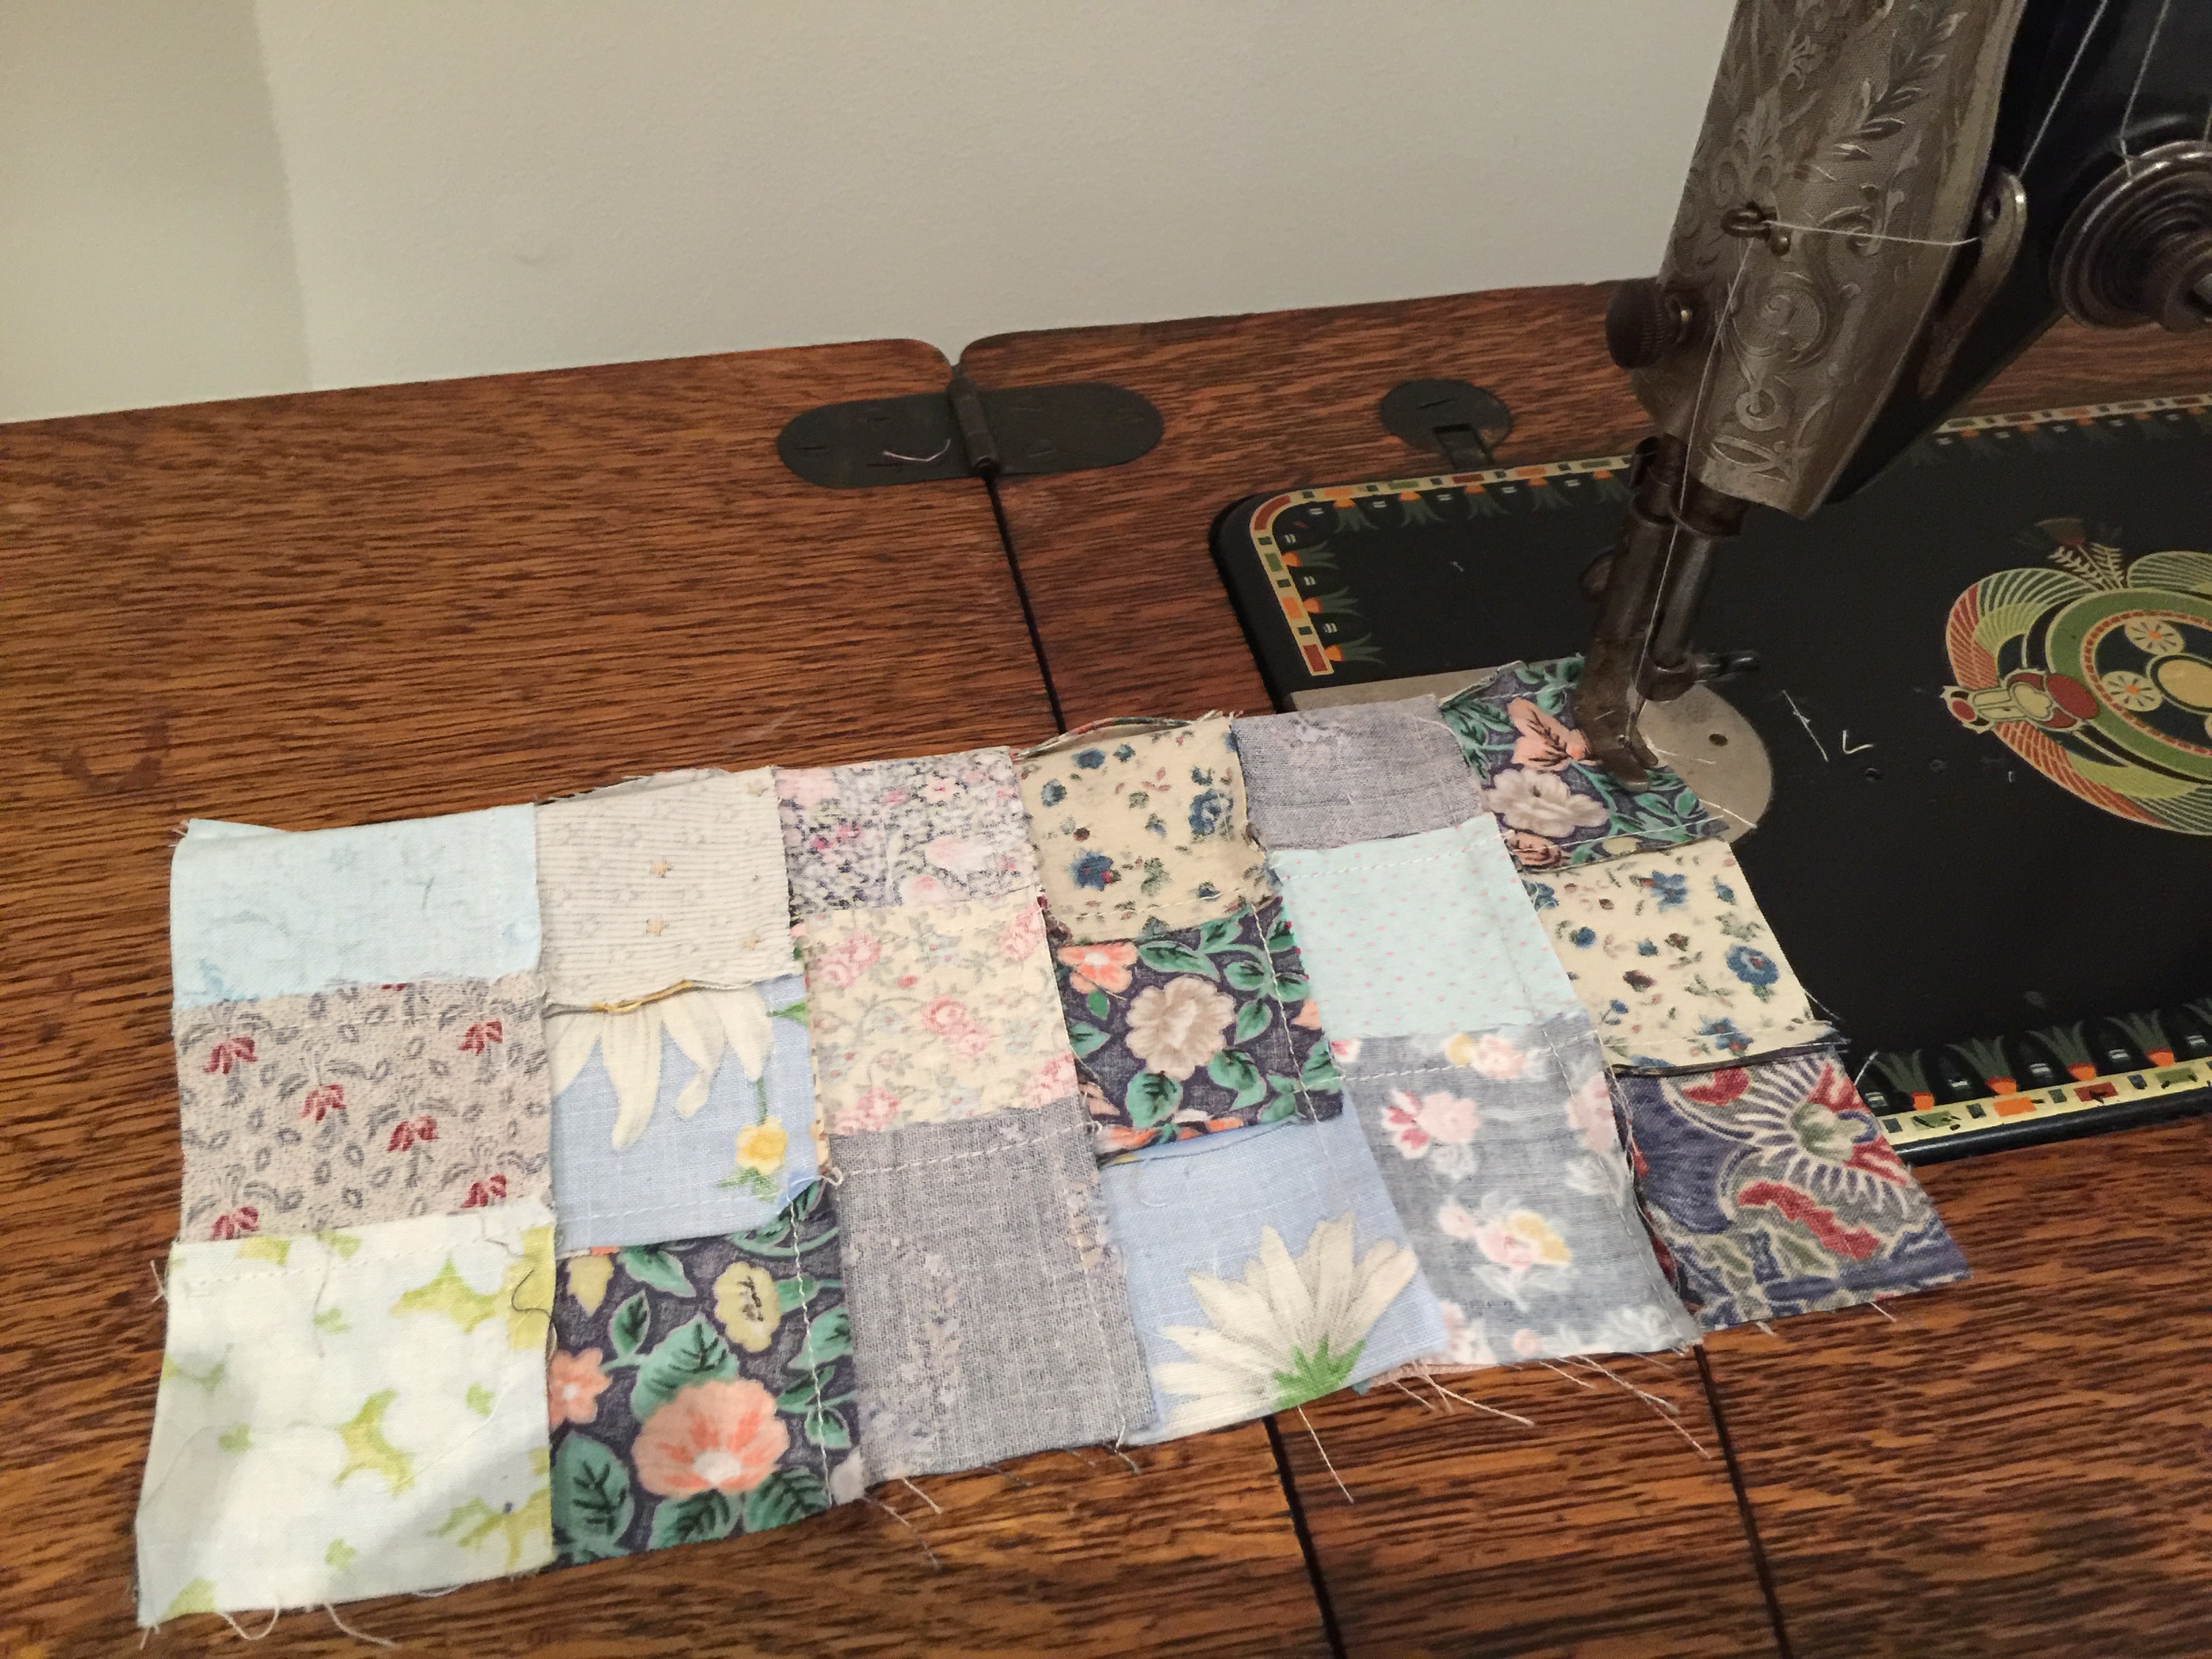
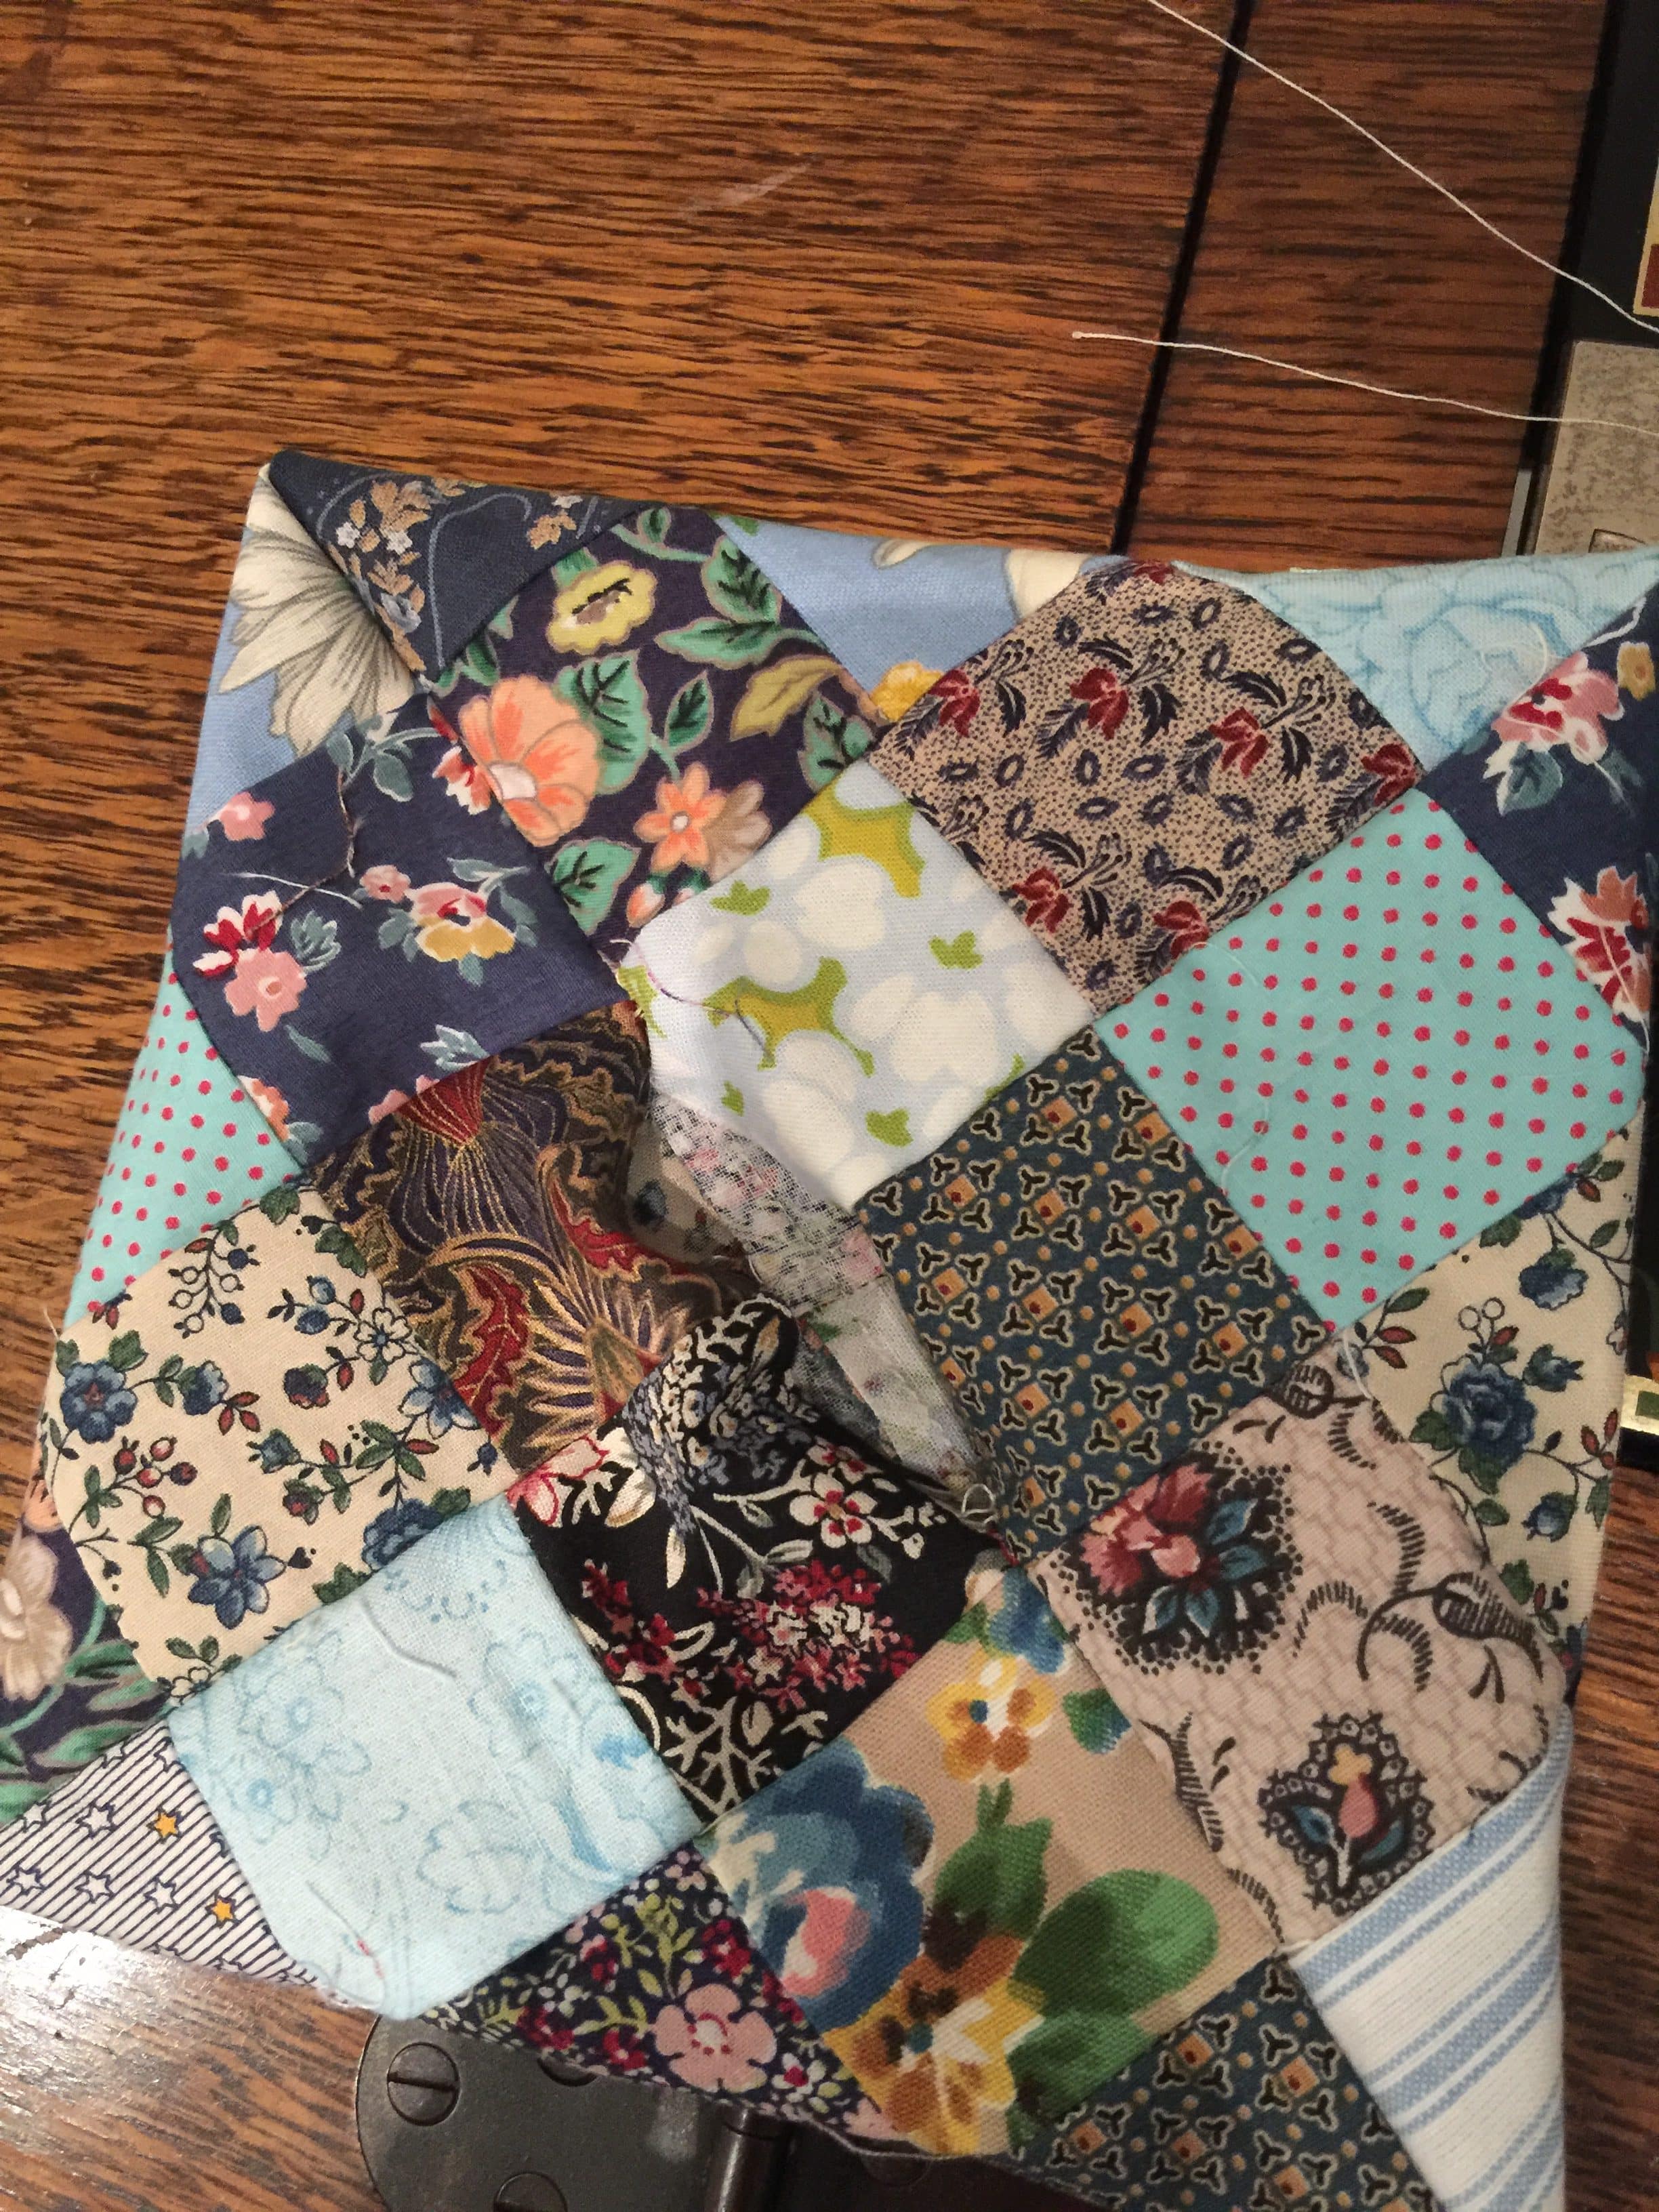
Sew the 36 squares into a 6 x 6 configuration. Use this method to make it easy…
36 Patch Postage Stamp Blocks Tutorial

Ensure no two same fabrics are touching each other. Make sure there is diversity of fabrics on the edges.
Press the finished block. Fold the block in half, right sides together. Sew down each side.
Now open the centre an bring the two sides that have just been sewn, together to the centre.
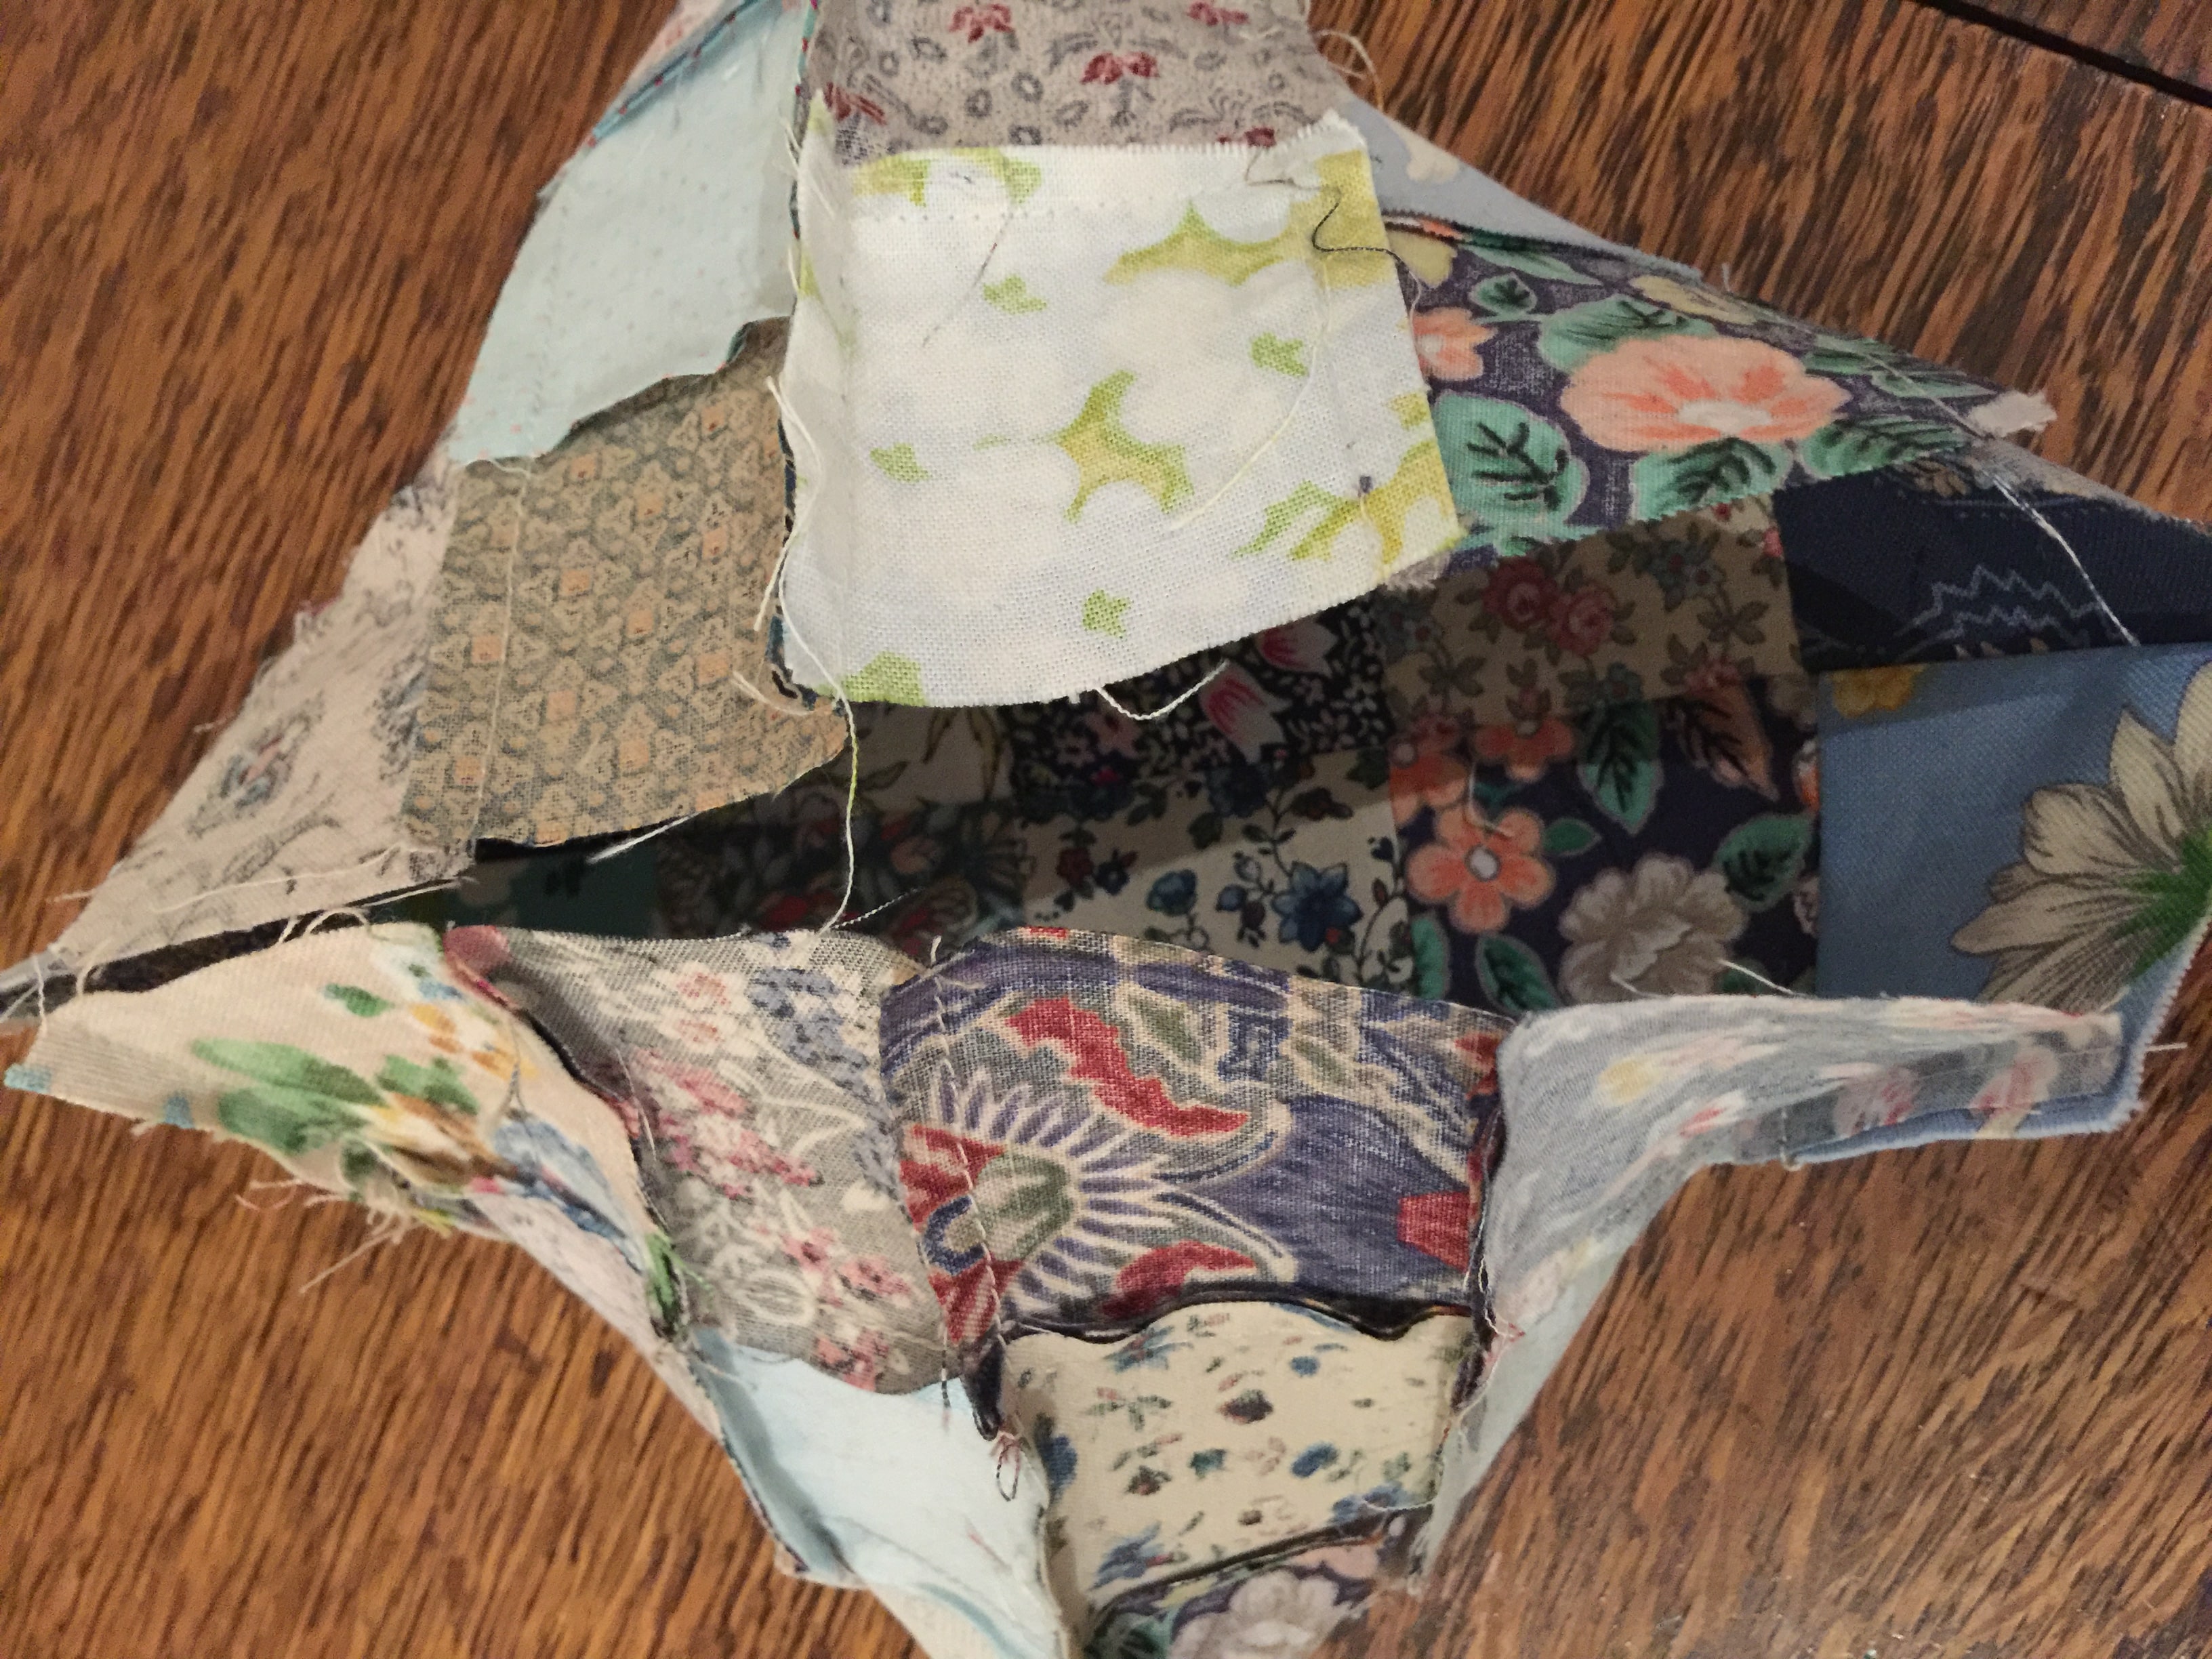
Pin from each side. Sew from each end for two squares. Leave the centre open for turning.

Turn to the right side.
Stuff your pincushion. Hand stitch the opening closed.
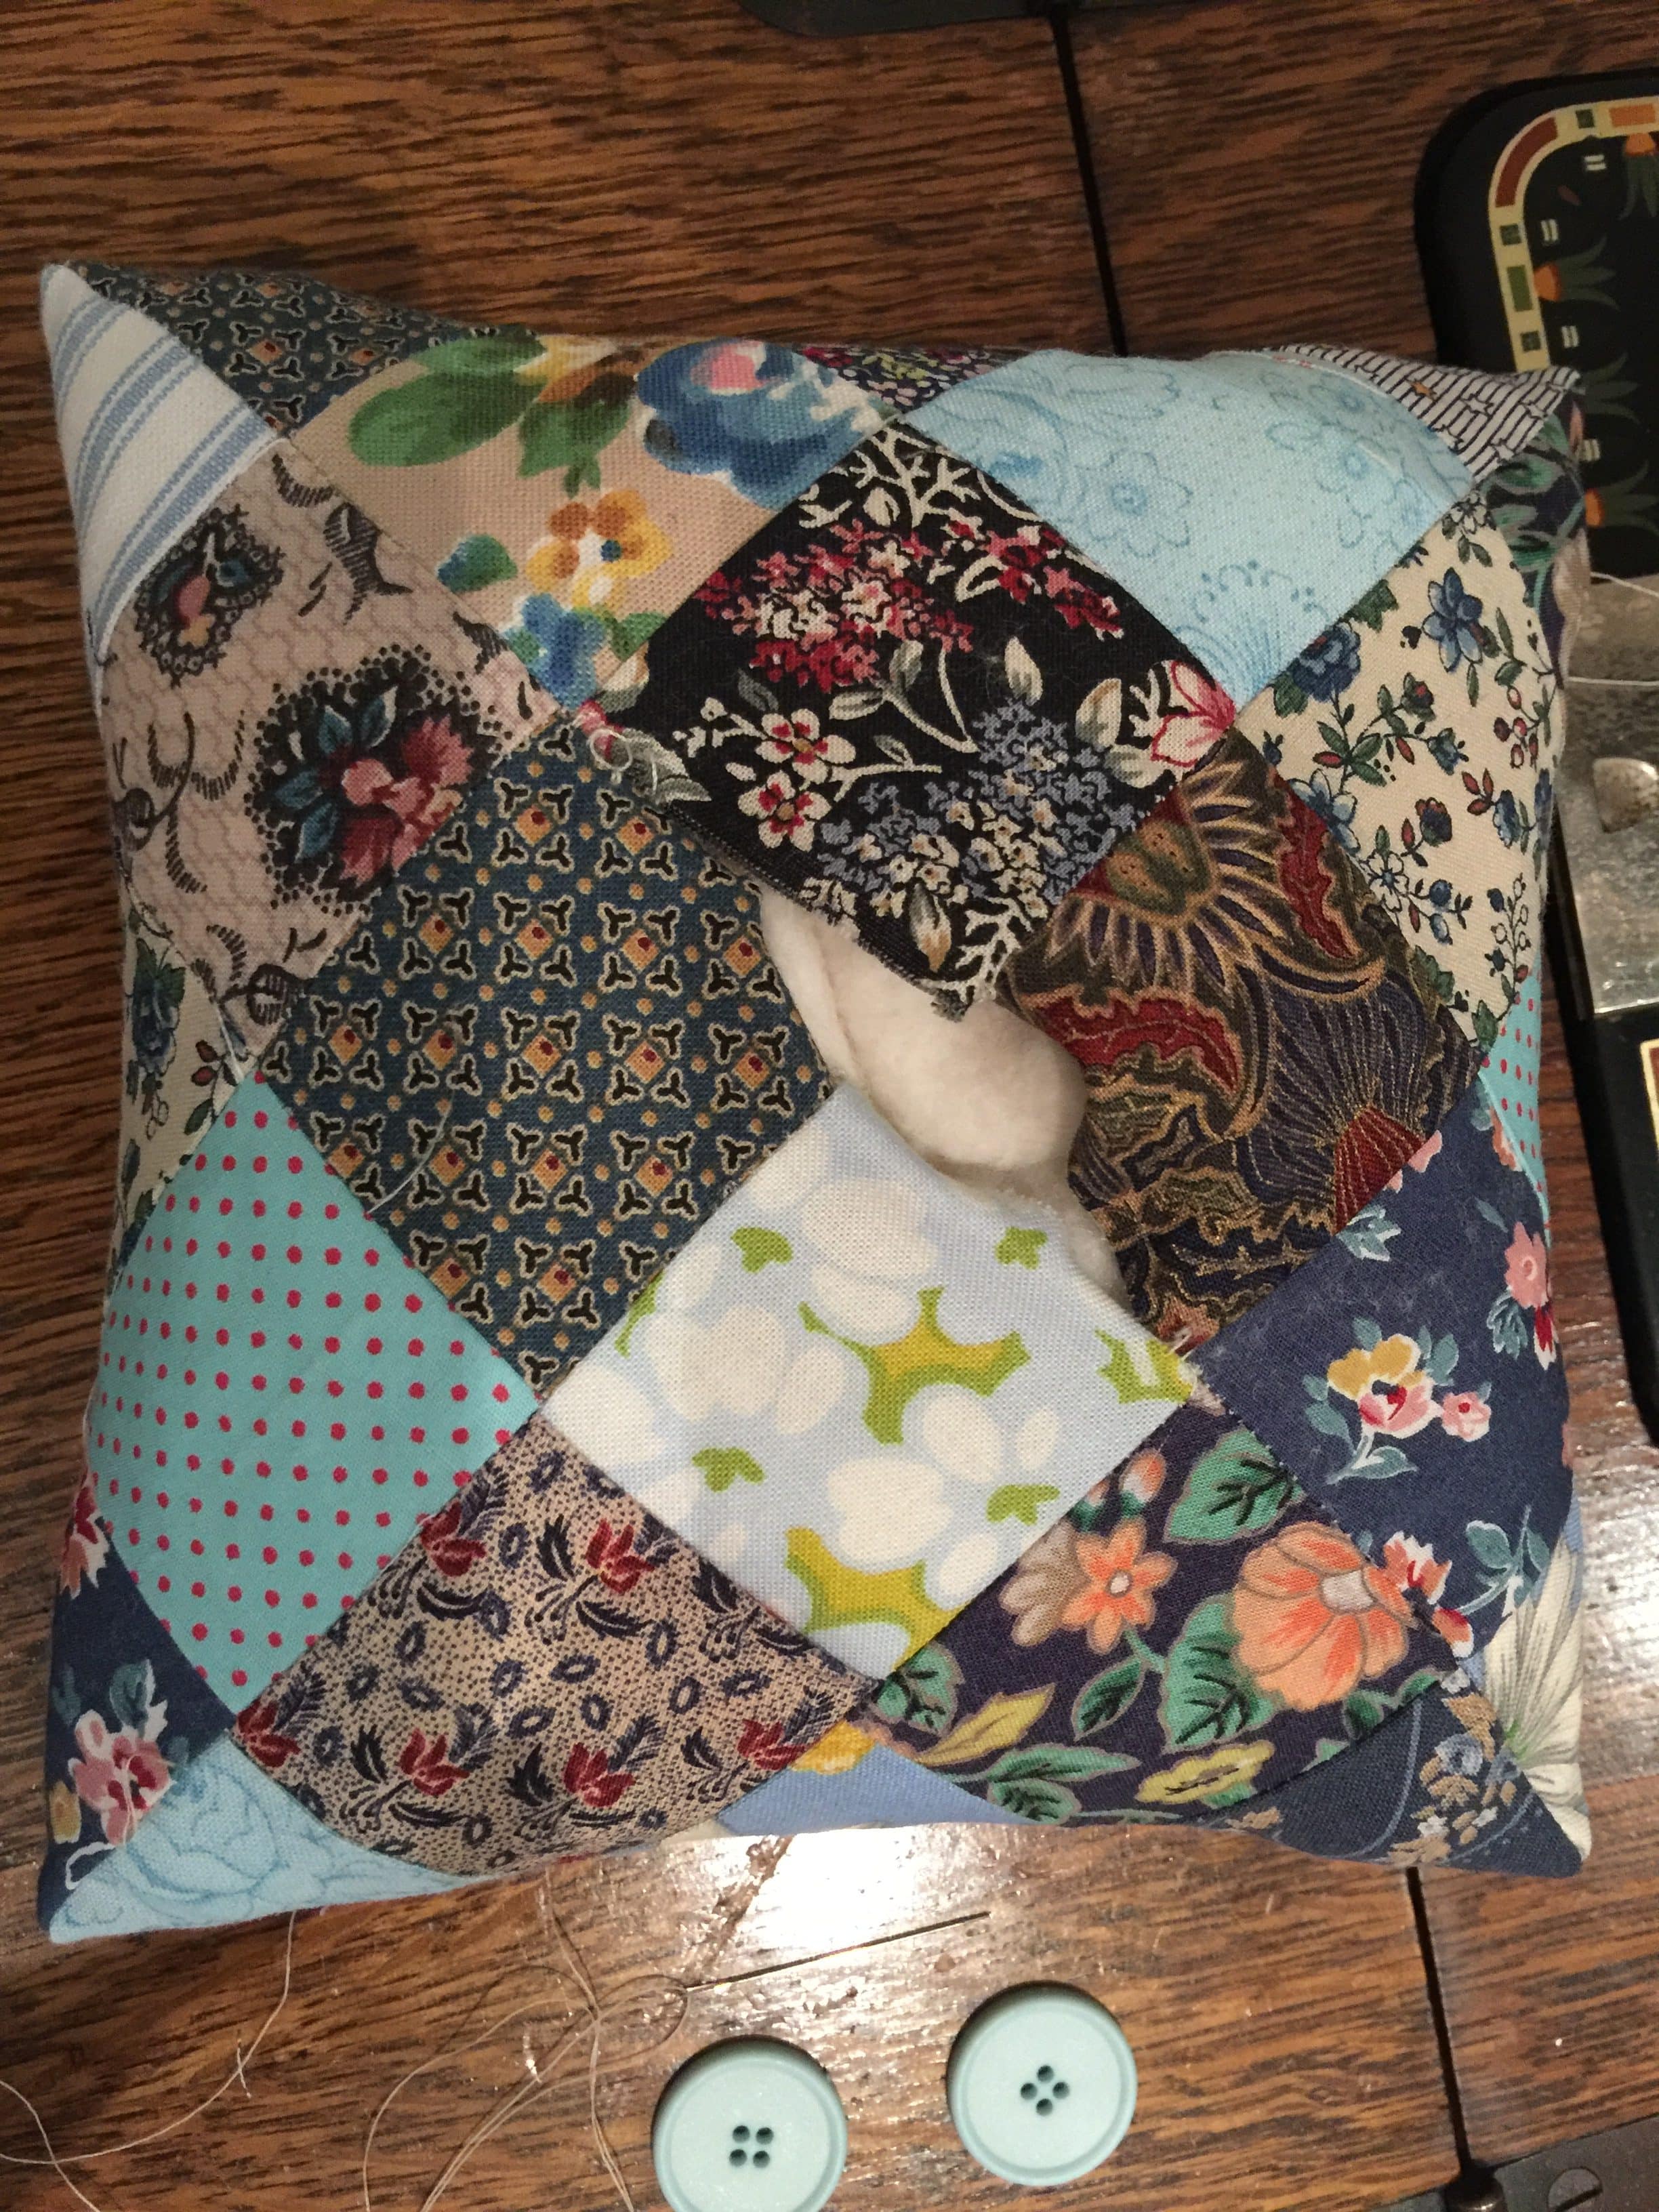
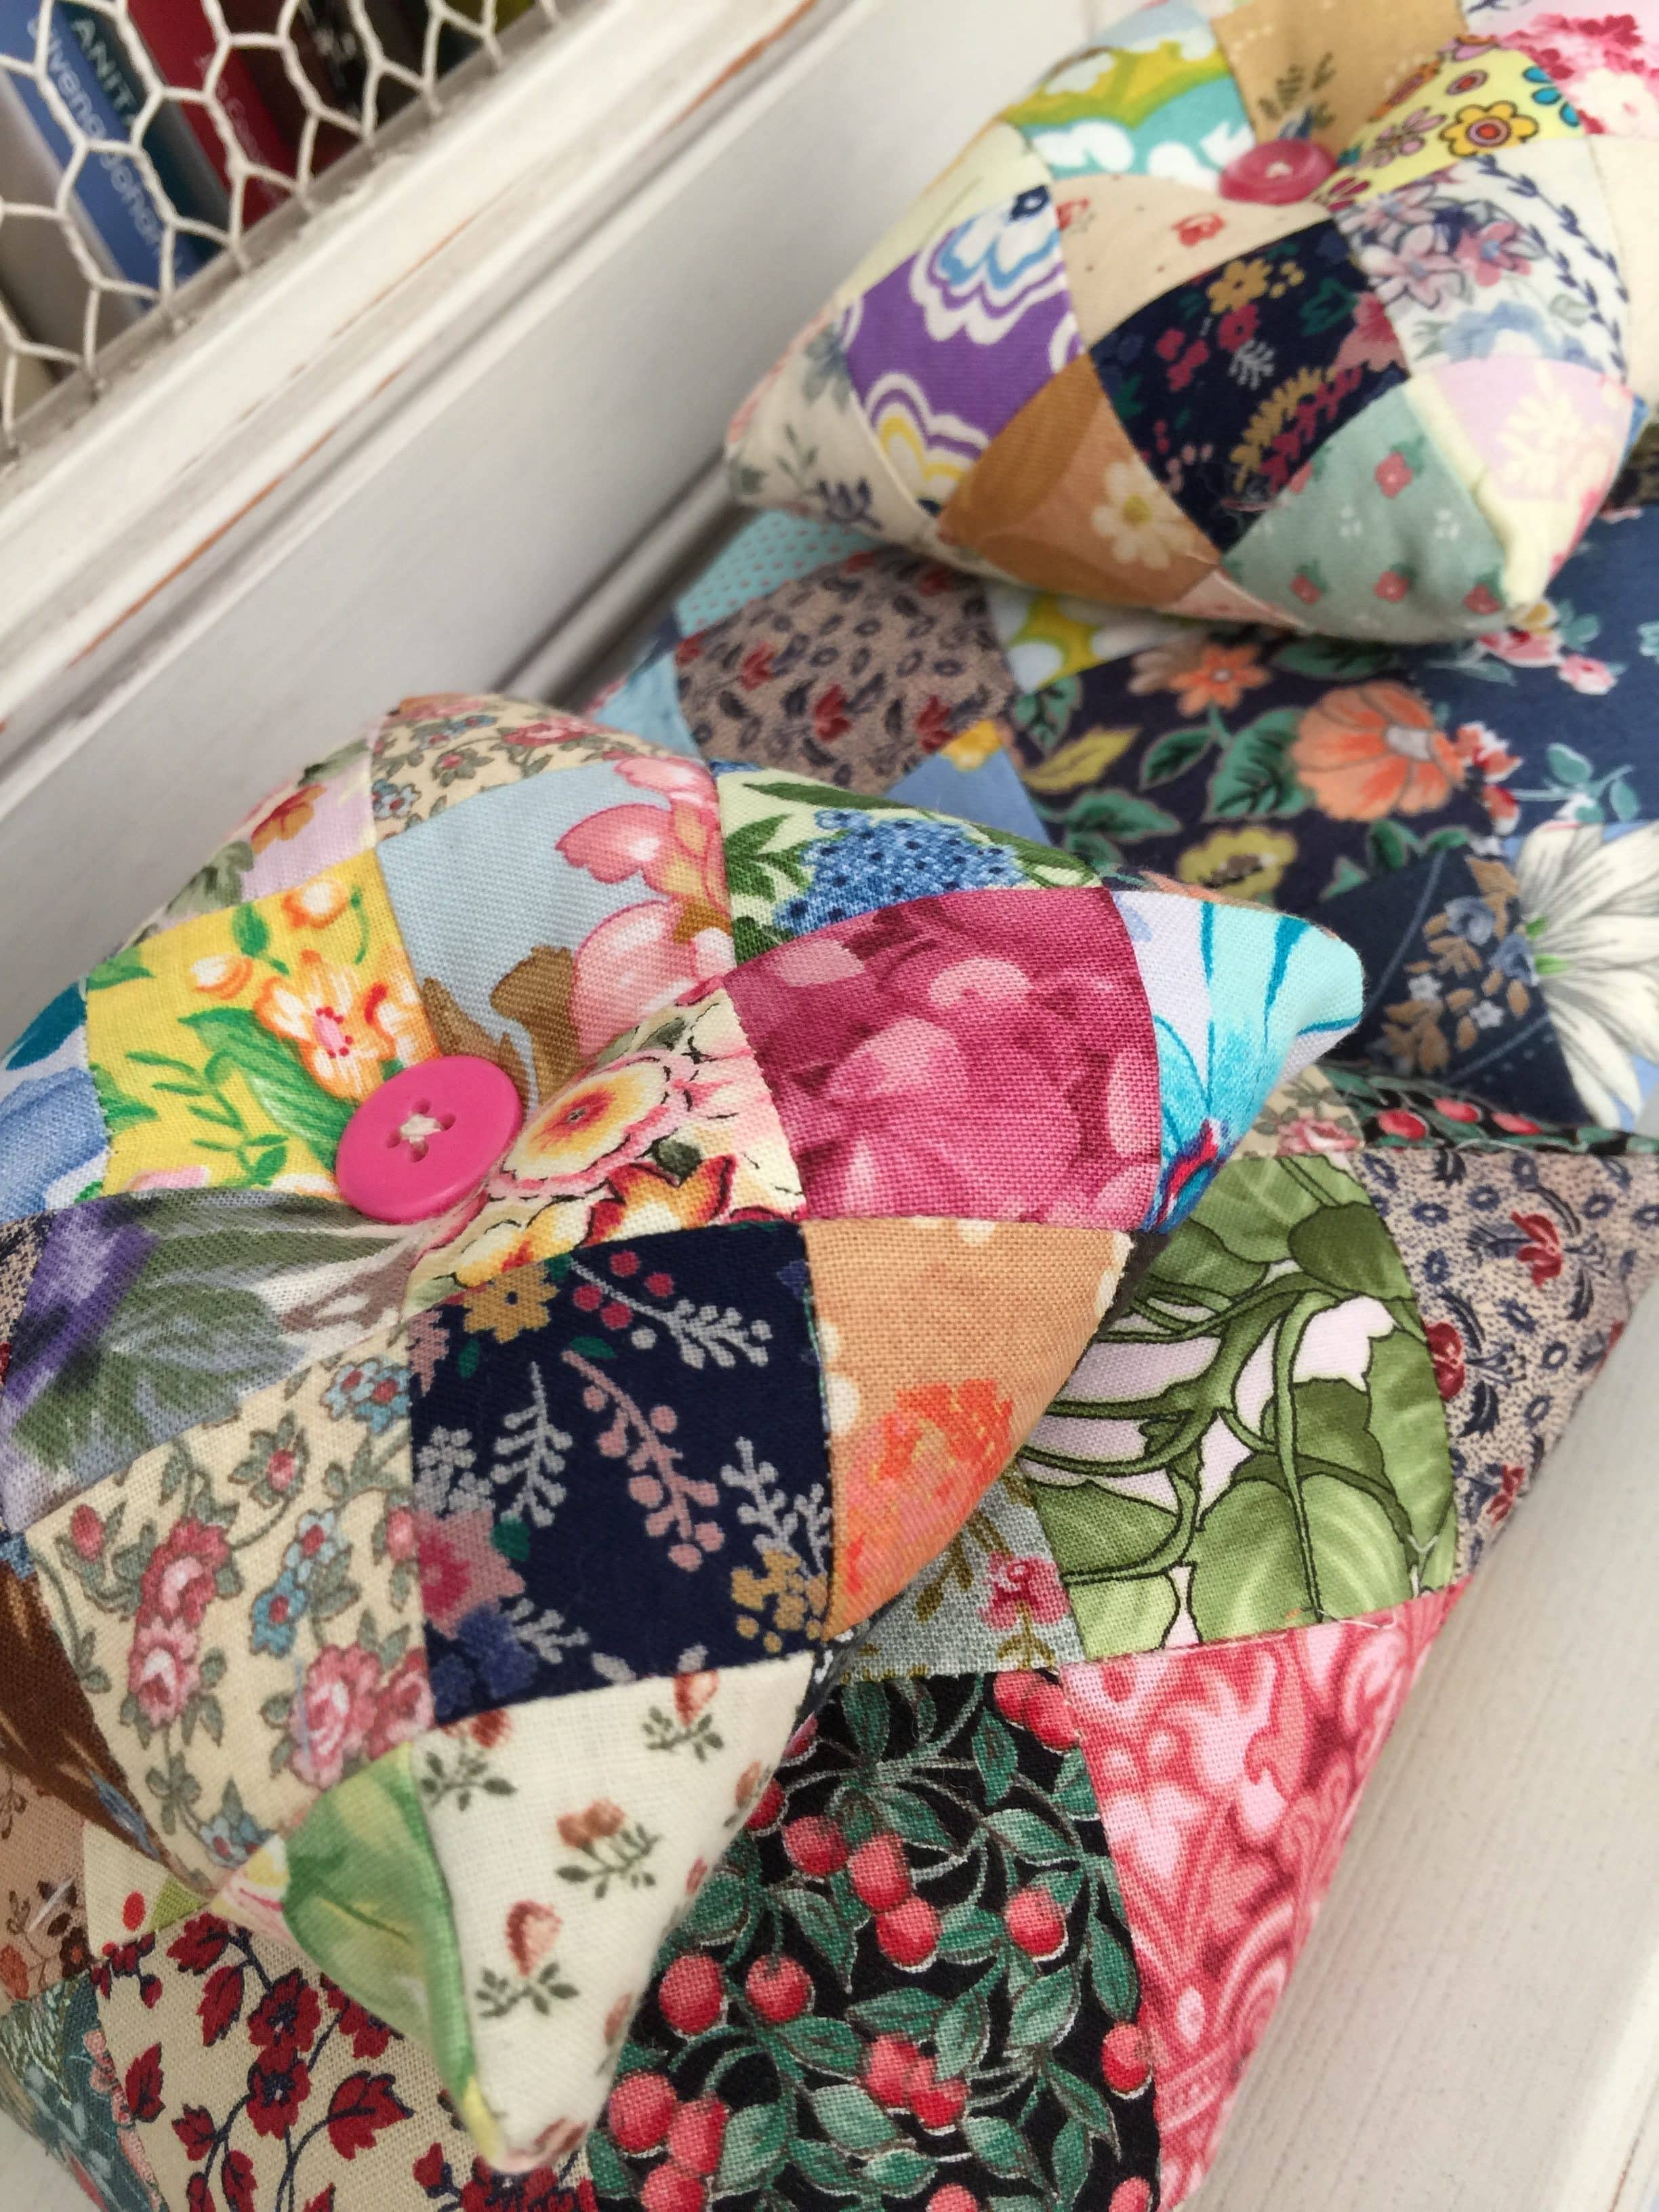
Use the long needle with a double thread to attach the buttons to the centre of each side. pull the threads to create some tension between the buttons to give the cushion shape.

Enjoy your pincushion. Have a great day!
Incidentally, if you would like to make a smaller pincushion, reduce the square sizes to 1 1/2″ x 1 1/2″. Follow the same method. This will yield a super cute pincushion 4 1/4″ x 4 1/4″.
Here I am again looking at your pincushion and was thinking just now that if it were made in the smaller size, it would be a really cute Christmas ornament. You could stitch a thread hanger on one of the corners so it could be hung on a tree. You have so much information on your website that is is amazing! Thank you for offering so much for free…so rare these days in this age of relentless greed.
Wow…so cute! You are so very talented and also extremely generous to share your patterns for us all here online. Thank you again so much! I love everything that you have here and want to make some bags soon.
xoxoJanet
Susie
I have made 3 of your quilts. I think you are a genius! Also very generous to share all your patterns. You make it so easy.
Cecilia
Dear Cecilia, I am so delighted! Thank you for sharing that with me. If you ever feel like posting them to my FB Page of susies-scraps.com, please do. All the best to you, Susie
So cute! I think I could make this! Thanks! Debbie
Love the construction love the pincushion
Nice tutorial – thank you 🙂